As exciting as it was to remove the sliding glass doors from our sunroom, it left a very unexciting task (by comparison) next on our list.
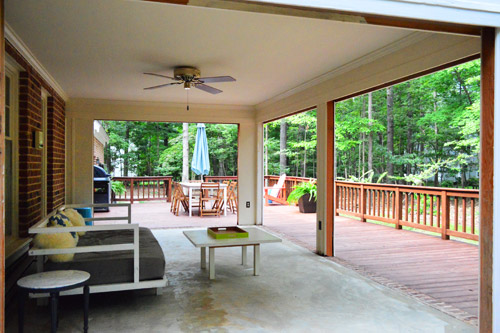
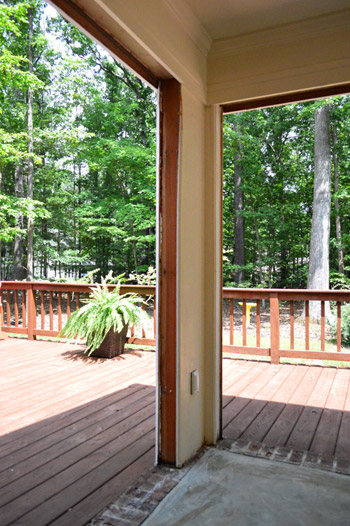
Removing all of the metal door frames left lots of exposed raw wood along the edges of each opening. Not only did it look unpolished, but it was recipe for rot (that recipe being rain water + raw wood = rot). So we jumped on this to-do right away.
When we got our house painted, this room had a lot of rot repair on the outside so we’re hyper-vigilant to the issue right now. So instead of filling those areas with wood, I splurged on PVC (i.e. plastic) since it holds up better to moisture. It was about $5 more per piece, but I figured it was worth knowing that it would last for decades without any rot. I did save about $25 by buying the pre-primed wood for the tops of the door openings (since they won’t likely come in direct contact with standing water).
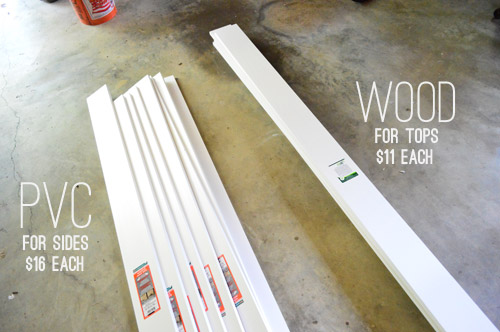
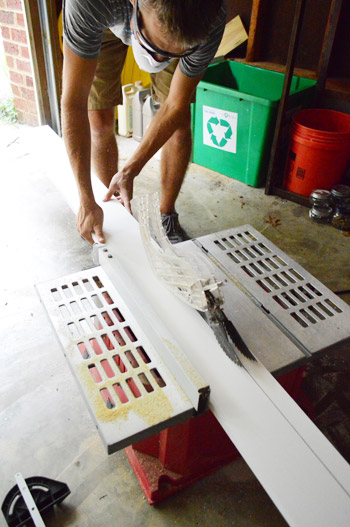
Each of my boards measured 1″ x 6″ x 8′, which was just a smidge too wide for the gaps that I was filling. So in addition to cutting them a bit shorter, I had to rip a little off the sides using my table saw. Once I set my guide to the right measurement it made for pretty easy work.
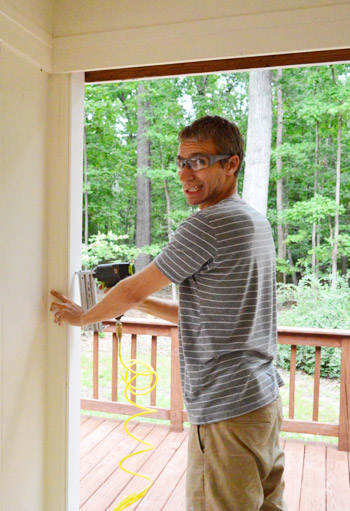
Once everything was cut, I put some construction adhesive on the back of my board and the nail gunned it into place. It had been a while since I had a date with my nail gun, so it felt good to be back in the saddle. I made super handsome faces like this.
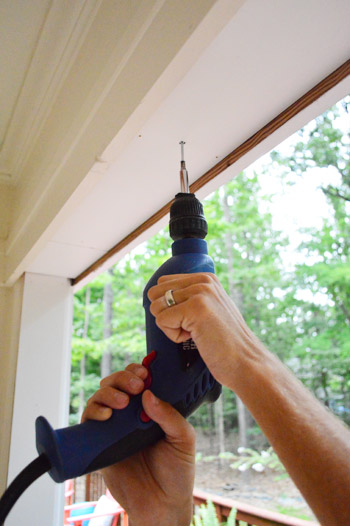
For the ceiling boards I also reinforced the hold with a few screws. I just didn’t totally trust adhesive + nails to keep it from falling on our heads at some point.
Installing the boards took me a couple of hours, only to be followed by an equally fun few hours of caulking. #YOLO
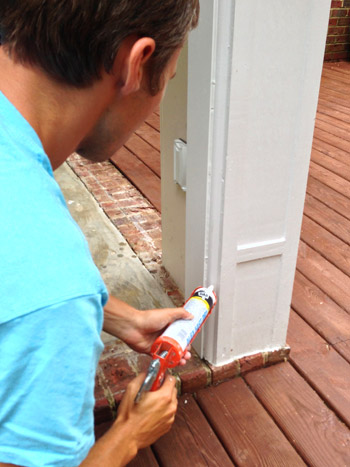
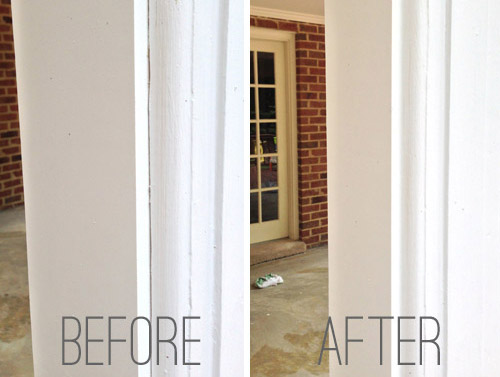
Our main mission was to caulk the gaps around the new boards (just say no to moisture creeping in there!) but we took the opportunity to fill any other cracks or gaps that we saw around the room. In addition to its rot-prevention benefits, this step also made the new frames look more finished.
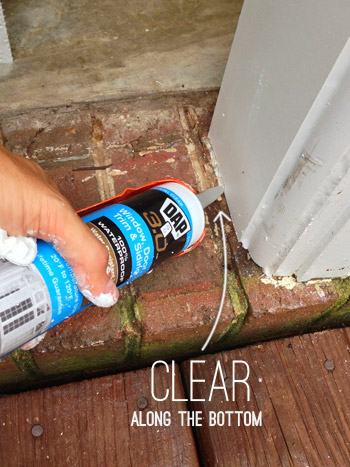
When it came to caulking the bottoms, I learned from a similar experience on our last home’s porch makeover that I should use clear (not white) silicone caulk here. When caulking against brick it’s nearly impossible to get a straight looking line because the caulk gets smushed into the ragged surface of the brick. So clear caulk allows us to still seal things tightly, while the straight edge of the board still acts as the visual edge. Obviously it looks lumpy here since I didn’t smooth it with my finger yet, but once you do that it’s pretty clean looking.
I know, I know, riveting stuff. But at least it made the room look a little less unfinished.

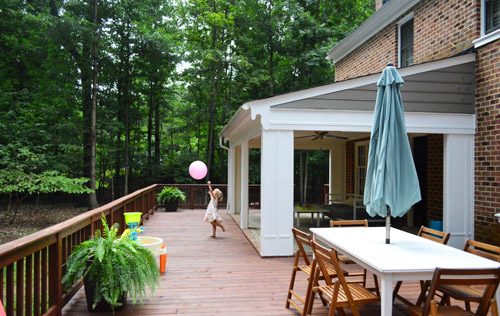
And as you can see, someone is enjoying the new open space quite thoroughly.
We still need to paint the inside of the room (right now it’s cream, while the outside is white) but before we broke out our paintbrushes, we couldn’t keep ourselves from breaking into the ceiling…
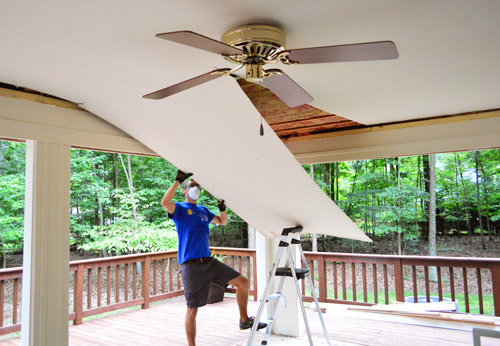
More on that once we finish poking around in there. Here’s hoping we can actually loft this baby!

Leave a Reply