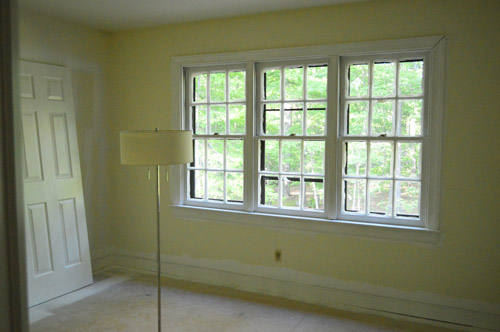
If we’ve made one thing clear about our new house, it’s that we’re not crazy about the trim colors…
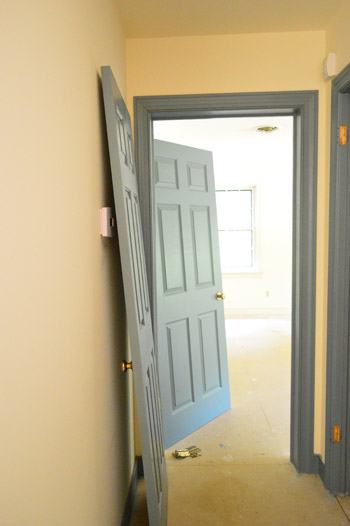
Somewhere between the Williamsburg Blue and the Muddy Mauve, our painting hands began to quiver with excitement. Or was that dread? Not sure.
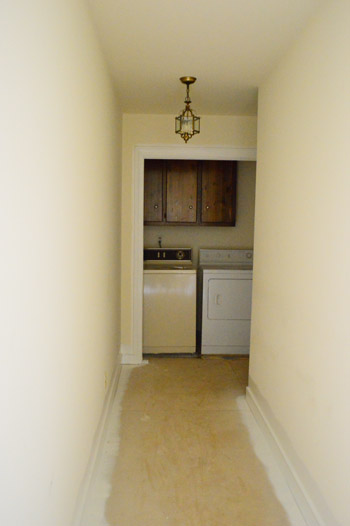
We reasoned that while all of the carpet was up and before the new hardwoods went down, we should take advantage of the can-get-painted subfloor and go ahead and tackle the upstairs trim. Correction: trim and doors. Sixteen doors to be exact… which we removed and de-hardwared first for easy painting.

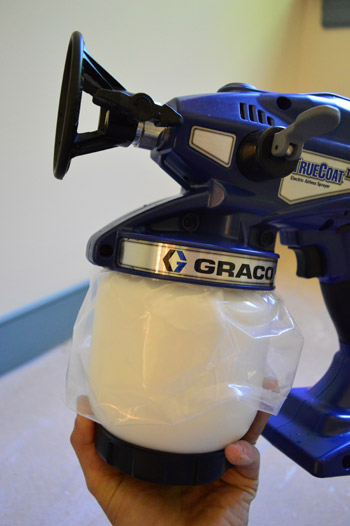
Attempting to quickly paint four bedrooms and closets worth of trim along with a long hallway plus nine windows (with tons o’ mullions) and the aforementioned sixteen doors seemed like a job that warranted a paint sprayer. So we decided it was finally time to get one. And thanks to a suggestion from the Bowers, we picked up this Graco TrueCoat II which was on sale for $180 at Lowe’s (update: we’ve since switched to using this Wagner model with more success). We opted to buy one instead of renting it because there’s still plenty of stuff to paint in this house beyond just these things – so we’d like to have one that we can use a bunch of times as we move from room to room (did we mention there’s still a ton of blue trim downstairs?).
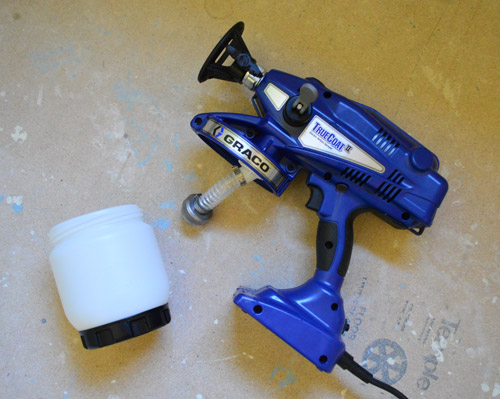
The sprayer is a lot simpler than I expected. It’s pretty much just a plastic cup attached to the gun, which just plugs in. So there wasn’t much in the means of set-up (although we definitely read the directions twice just to make sure we didn’t screw it up). Then we dove into our primer coat.
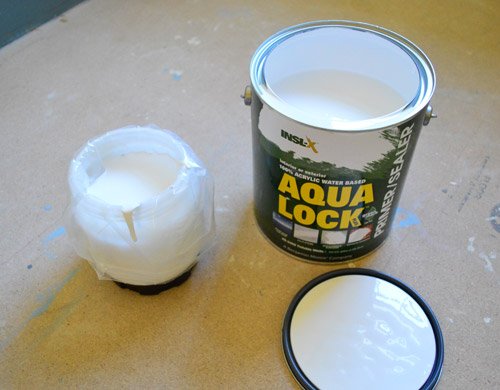
We’ve heard that the biggest pain of owning a paint sprayer is clean up, so we opted to use a provided bag in the paint cup to keep it clean and hopefully eliminate one step afterwards.
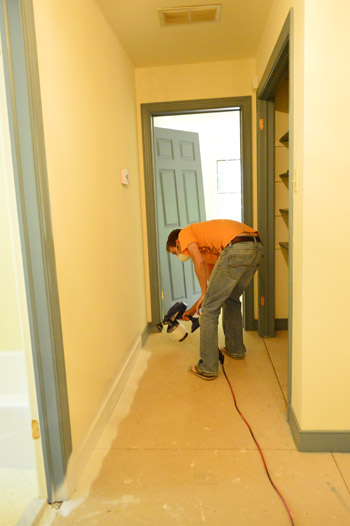
We don’t have a ton of pictures of the process because one of us was downstairs with Clara while the other sprayed. And also, the process was pretty darn fast. We could zip along the baseboards of one room in about 10 to 15 minutes, and the majority of that time was usually spent refilling the paint cup.
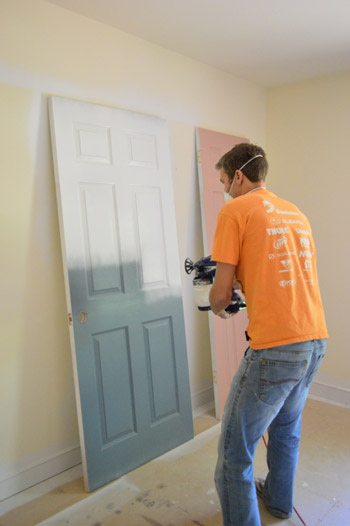
So I definitely agree with what everyone had told me about spraying: it’s MUCH faster, but you use a lot more paint. I could only get through about two door sides before having to refill my paint cup. But boy was it satisfying to watch that blue paint disappear with each swipe. And it’s not that you’re wasting paint, it’s just that you’re getting more coverage (spraying the front of a door once might take twice as much paint, but it’s akin to two coats applied with a brush).
Once we feel a bit more seasoned with the sprayer we’ll do a deeper post about using it, but for now I feel like we’re still getting the hang of it. Our biggest challenge is fighting the urge to go back and “touch up” a spot we missed because we found it’s very easy to apply too much paint and create drips.
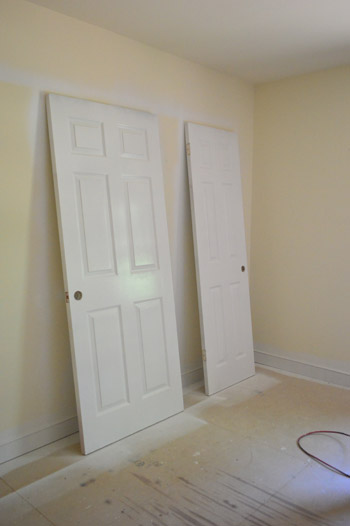
But if you go slowly and resist the urge to double spray, the smooth factory-like finish is amazing.
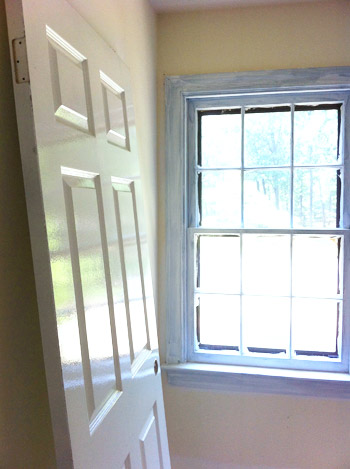
We made the call to paint the windows by hand rather than attempt to get every nook and cranny of it sprayed (we pictured a ton of rogue drips and a bunch of overspray covering all of the glass panes). After the fact, we’re not so sure it was the right call since our hand technique will still require some glass scraping with a razor and all of the blue/mauve windows took one coat of primer plus 3 coats of paint each since we were doing them by hand. Woof.
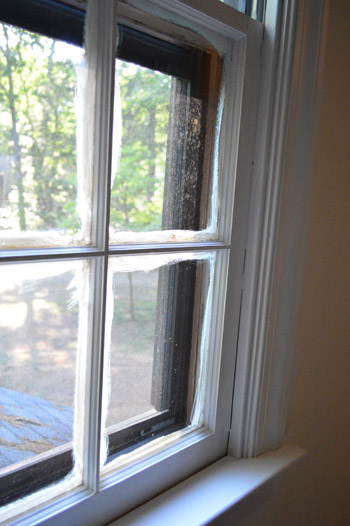
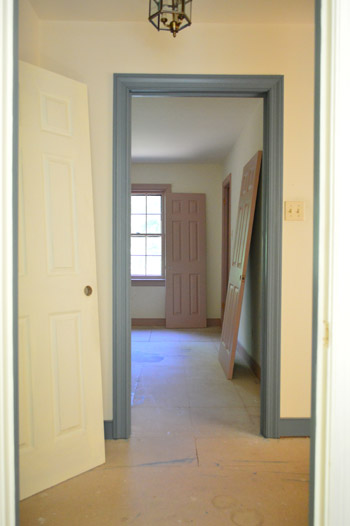
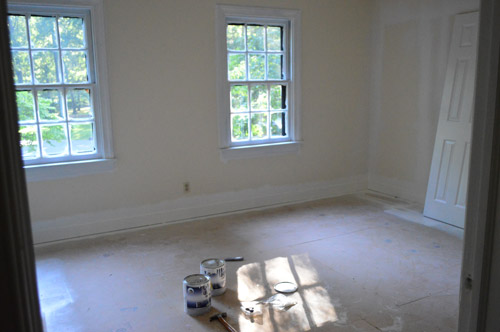
So yeah, this has pretty much been keeping us busy for the last few days. Spraying only occupied two mornings (priming one, painting the next) but we’ve made several trips to hand paint the windows and other areas that we couldn’t spray easily. I’ve lost track of which trip these photos were taken, but you can see what a difference it’s making.
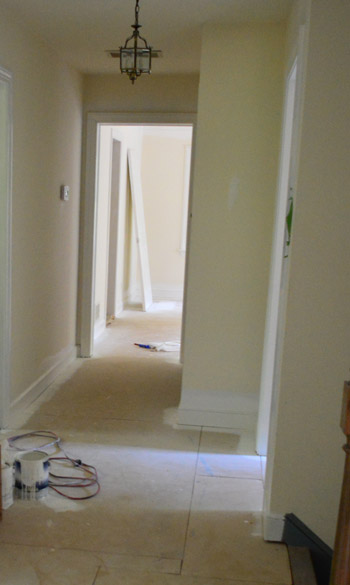
We didn’t bother to tape off the walls or floors or anything around the sprayed areas (except for some too-close-for-comfort outlets and vents). So it means the walls are in desperate need of painting now too, but that’s a project for another day.
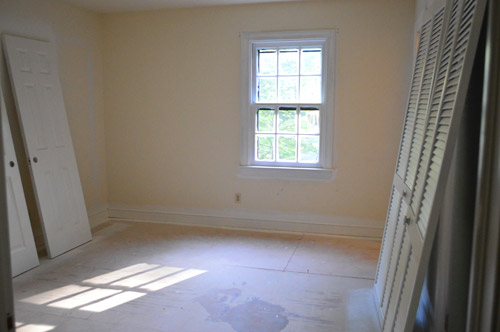
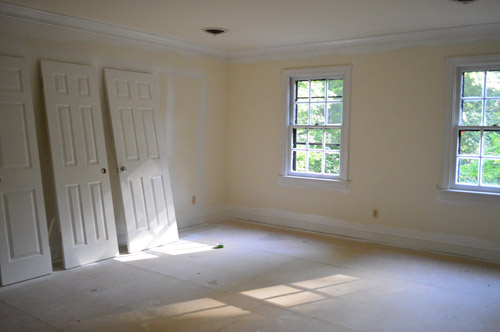
Some rooms, like the guest room and our master, only had cream trim/doors so they didn’t require any primer. Which meant this whole paint job only took 2 gallons of primer. Not bad for four rooms, four closets, nine windows, sixteen doors, and a giant hallway (about 30% of those had cream paint).
But we needed 4.5 gallons of white paint. Had we been able to predict that we’d have bought one of those five gallon buckets at the start, rather than making the multiple trips to the store we’ve been making. Live and learn, right?
The paint we’re using is Benjamin Moore’s Ultra Spec in Simply White (in a semi-gloss finish) based on a few recommendations for that type of paint from you guys (and knowing it’s one of the best white paint colors out there). It’s No-VOC contractor-grade paint that’s more affordable than BM’s Natura paint that we usually use and so far we’re really happy with it. Instead of being over $50 per gallon, it’s just $36 through our local paint store (I’m sure it varies by location, but it should be in that range), which has certainly made buying five gallons of it a little less painful.
Oh and as for choosing the color, we brought home about ten swatches of white and just picked the one that looked the best when we taped it up next to all of the others (some were too yellow, some were too blue, but Simply White looked clear and crisp without feeling too warm or too cool). Of course it’ll look a whole lot better after we paint those yellowed walls and ceilings…
Our total budget for four rooms and four closets worth of trim/baseboards plus nine windows, sixteen doors, and a giant hallway has been:
- Paint sprayer: $180
- Primer, 2 gallons: $36 (on sale)
- Paint, 5 gallons: $180 (we still have half a gallon leftover for a future project)
- TOTAL: $396
It’s certainly more than we envisioned spending, but because we’re on a time crunch to get the new floors in before we move, we’re counting our lucky stars that painting so many things went as quickly as it did. And now that we own the paint sprayer it’ll probably will work out to around ten cents per use by the time we’re done painting this house (so. much. blue. trim.).
Next step is to rehang all of the doors (after we replace some of the old pitted brass hardware) and then we can get to laying those hardwoods. We contemplated getting some other painting done while the subfloor is still exposed – walls, ceilings, closet interiors – but we’re starting to feel that move date creep up on us (T minus 2 weeks!). We figure we can move in with unpainted walls and ceilings more easily than moving in without completed floors – and thankfully we’re no strangers to painting walls and ceilings with hardwoods that are already in place.
So that’s what we’ve been up to. How about you?

Leave a Reply