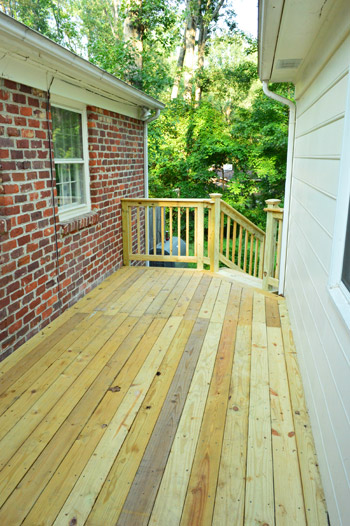
T-minus twenty for hours until we have furniture on the deck!!! Woah nellie, I’m excited about it. Hence the use of three exclamation points and the term woah nellie. Heck, I’m about to break out some coordinated and not at all bizarre dance moves. Watch out now.
We still have to choose what stain or sealer to use on the deck (some require a waiting period for pressure treated wood to dry out/acclimate while others can be used sooner) but we decided (read: I prodded John until he agreed) that putting some furniture on the deck in the meantime just means that we can start enjoying this baby. It’ll only take about twenty minutes to clear it when the time comes to seal it, and we purchased the table and chairs a while back (when we wrote this post) so I just didn’t want to wait a second longer. Yes, I’m playing the role of Veruca Salt in Charlie & The Chocolate Factory (I want it now! I want a bean feast!).
So by this time tomorrow we’ll have furniture out there (along with outdoor pillows and other accessories because you know I can’t help myself). But the reason this post isn’t full of furniture pics is that prep work is a pain in my backside sometimes keeping outdoor furniture looking good for the long haul includes some pre-putting-it-out work. Boo. But it really does add up to longer use (and better looks down the line) so we’re down. Sure beats having to buy new furniture in a few years…
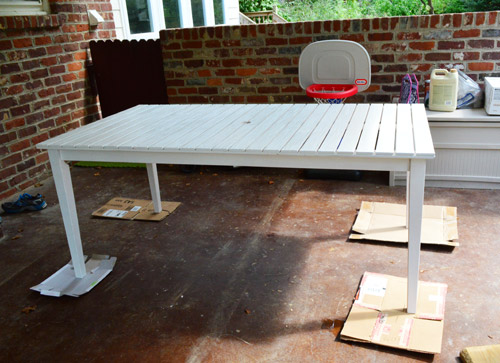
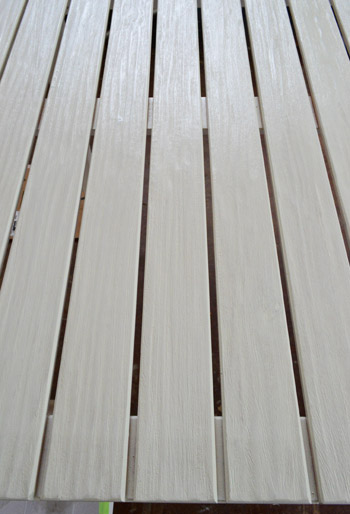
For starters we learned that the amazing couldn’t-have-built-one-any-cheaper table from World Market that we bought for $73 (more on that here) called for at least three coats of protective water-based poly to keep it from cracking and peeling in a year or two. So we broke it out of the box, assembled it in the carport, and ran out for some poly that would do the trick.
We landed on this guy:
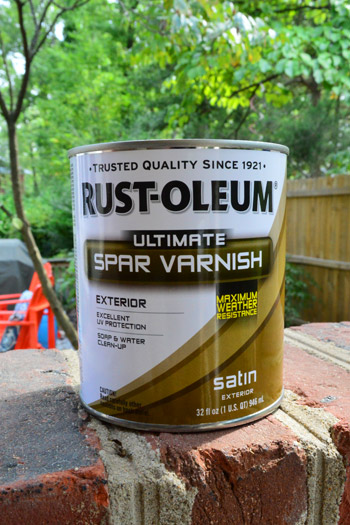
Why? Well, for starters, it’s water-based and distinctly says that it dries clear (which is very important if you’re polying something that’s white since oil-based varieties can yellow over time). It’s also made for being outside (it’s not a water-based poly that’s meant for an indoor dining table that never gets wet) and it actually sports one of the highest durability rankings out there (it has “maximum weather resistance” and is often used for wooden parts on boats, so it can stand up really well to water, sun, and the elements at large). Although it mentions that it’s great for boats, I also liked that it specifically mentioned outdoor tables in the description on the back since sometimes it’s scary to buy a product that’s made for one thing (boats) and wonder if it’s not so good for other things (wood patio furniture). It even said that it worked on painted or unpainted exterior furniture, which was great since our table is painted.
As for the application, here are my tips:
- I set each of the legs on cardboard, just to protect the floor of the carport
- I used an extra wide brush that I picked up for a few bucks at Home Depot so it would get into the slats between each board with each swipe
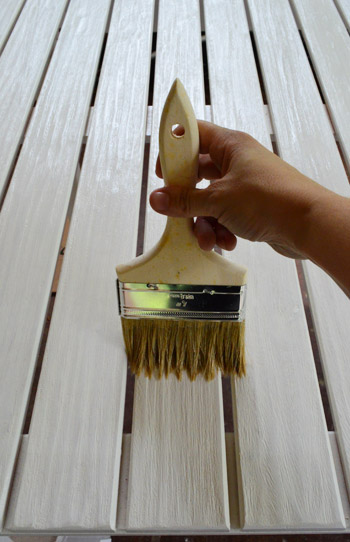
- I followed the directions to the letter, applying three thin coats at two hour intervals (the first one went on at 4pm, the next at 6pm, and the last at 8pm by the light of the carport)
- I gave it all of the drying time it allowed (I plan to carefully carry it over to the deck later this afternoon so I can set things up and shoot some pics for tomorrow’s post in the morning)
So there are those pesky DIY maintenance details for our deck table. Onto the chairs that I tackled yesterday!
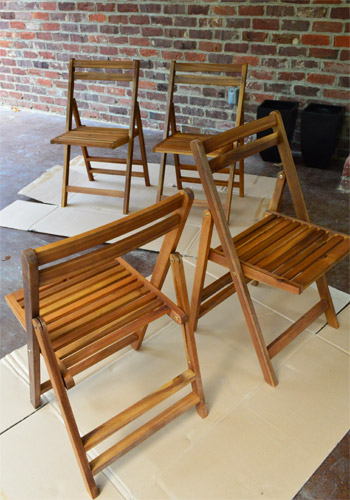
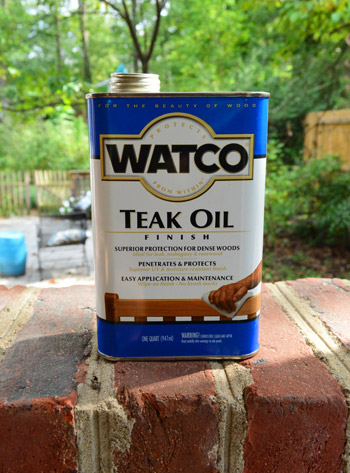
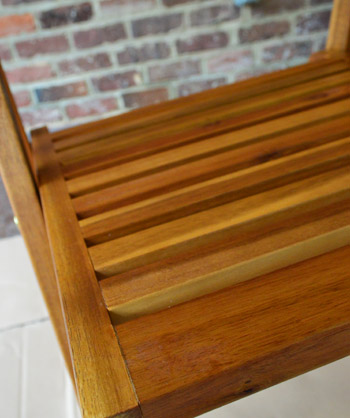
We also mentioned in our mood board post that we bought a set of these affordable wooden outdoor chairs from Joss & Main for around $40 each with free shipping. They’re made from acacia wood (it’s a material that’s sort of like teak, which does really well outside and in moist conditions) and the other awesome thing about acacia wood is that it has an awesomely rich tone that’s especially gorgeous (and durable) when it’s oiled. So for ten bucks we grabbed this Teak Oil from Home Depot (which also works well on acacia wood).
Here are a few wood-oiling tips:
- I set things on cardboard to protect the carport floor and wore clothes I didn’t care about so I didn’t have to worry about grease stains
- Per the directions on the container, I applied one coat of oil, let it sit for thirty minutes, and then applied another coat of oil and let that sit for fifteen minutes. Then I wiped it all down with a dry cloth as directed. Look how serious I am about it:
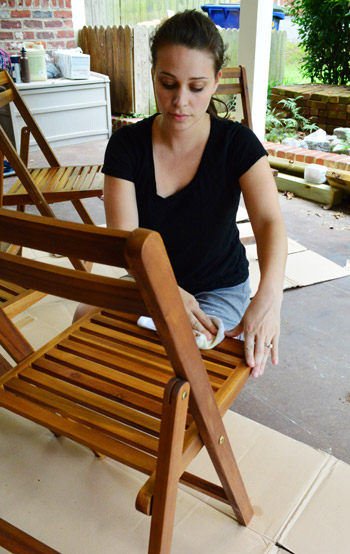
- Actually, instead of using cloths to apply it, I used a pair of old socks (one to apply the oil, and one to wipe things down later in the process)
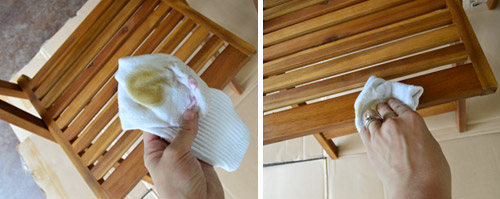
- I gave them all ample drying time (it called for 8-10 hours) before sitting in them or touching them, so I’m planning to move them over to the deck this afternoon along with the table, at which point they should be ready to use. They sure are purty, eh?
There you have it. Annoying before-the-fun-stuff maintenance that we hope will make all the difference when it comes to enjoying our deck for years to come. What are you guys polying or oiling to keep it in tip top outdoor shape? Any other acacia wood fans out there (it’s such a pretty finish!) or end-of-the-season outdoor furniture purchases?
Psst- You can see how we planned, sourced, and built this beast of a deck here – and you can read about how we prime, paint, and poly indoor furniture so it doesn’t yellow or peel here.

Leave a Reply