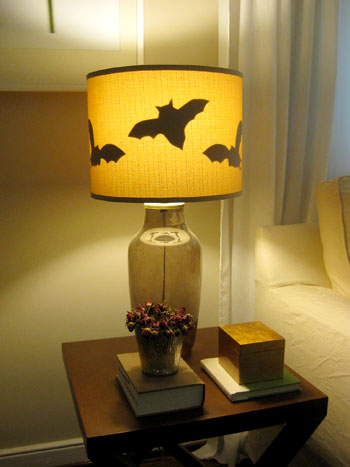
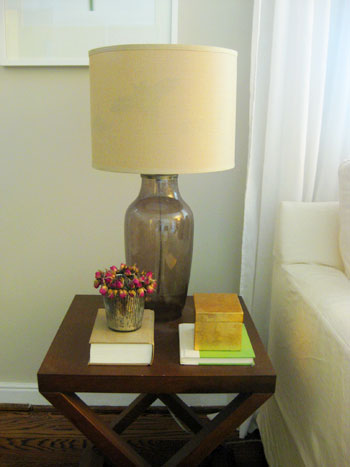
Last week’s Halloween fun didn’t end with that post. In fact we had a few more easy (and cheap!) ideas up our sleeves so we’re back to share the goods. First we took another little Martha Stewart trick and added black bat silhouettes to the insides of our living room lamps:
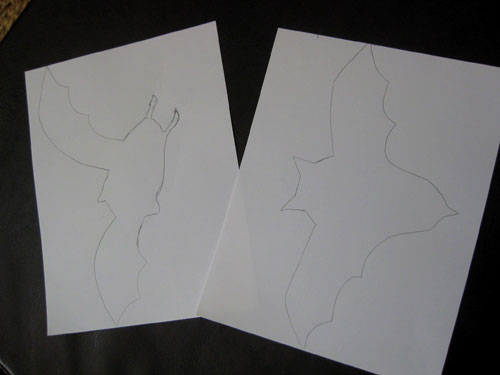
And it was really easy. Here’s how we did it in under ten minutes using stuff we already had around the house (total cost: $0.00). First I sketched out bat shapes (inspired by a quick google search) on small white pieces of paper (tip: it helps to cut the paper into rectangles that are about the size that you want your finished bats to be just keep you on track):
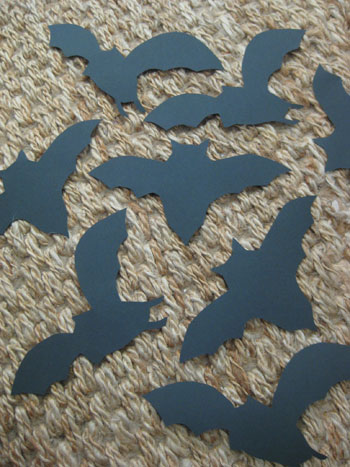
Then I cut those sketches out and created little white stencils that I could trace (with a pencil) onto black construction paper (black cardstock also works if you have that laying around). After they’re traced you simply cut them out and you’re left with awesome little bat shaped pieces of paper (feel free to print this photo out, blow it up and use it as a stencil if you’d like the same bat shapes that we sketched):
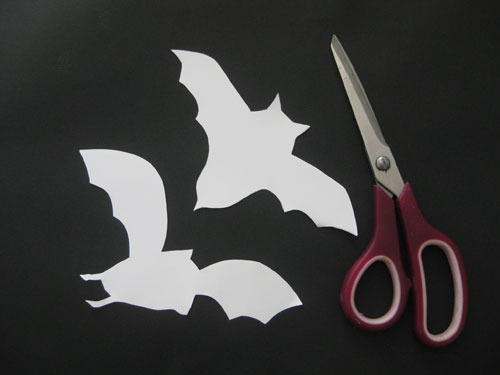
We especially like that we got three bat shapes for the time that it took to make two since the one bat that’s flying to the left can be flipped over to look like he’s also flying to the right, just to keep things looking a little less formulaic.
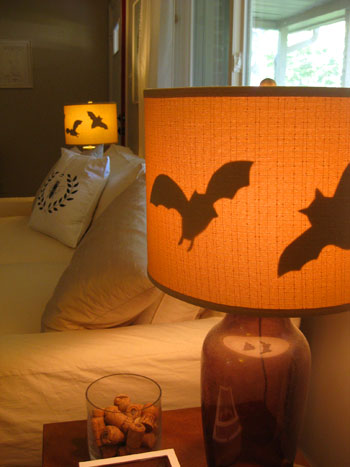
Then we just used two loops of scotch tape (one on each wing) to stick each one of them inside the two lamp shades in our living room for a bit of eerie ambiance when the lights are on (of course the obligatory warning here is to make sure they’re firmly in place and nowhere near the hot bulb so they don’t start a fire; CFL bulbs burn a lot cooler so they’re a nice bit of added insurance). Oh and we wondered if you’d see the tape through the shade but you really don’t- just the silhouette of each bat. It’s a super polished look for not much effort. Gotta love that.
And the funny thing is that when the lights are off our linen shades make the bats completely invisible, so they look pretty run of the mill…
… until you switch them on for some Halloween fun. We can’t wait to have them glowing in our front window when trick-or-treaters approach on the 31st. It’s like a modern take on carving a pumpkin (don’t worry, we did that too and we’ll share those pics in a bit…). And adding an orange bulb would be the icing on the cake (our shades just happen to cast a yellowy-orange glow as-is).
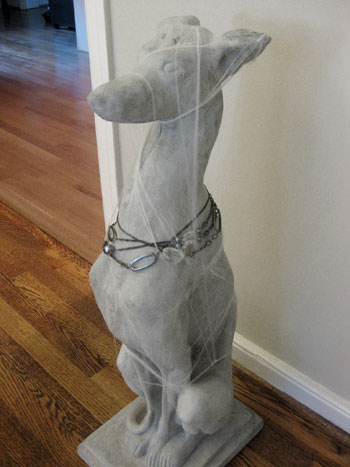
And of course we had to decorate my beloved concrete greyhound for the occasion too. We used an old necklace I already had laying around for a bit of a dark chain-y look around his neck along with some ever-so-thin spiderwebs (leftover from the porch spookifying project that we have yet to share).
Easy and free! The only downside is that we think Burger’s a little jealous at all the attention we paid to the faux dog in the house, so of course we have a costume for him too. Stay tuned for that along with our spooky little porch project and some pumpkin carving pics coming soon. And speaking of soon, we’re going to blink our eyes and it’ll be Christmas so Halloween really is right around the corner. Anyone have any fun costume ideas (for themselves or their dogs)? Any pumpkin carving or porch spookifying projects in the hopper? Do tell.

Leave a Reply