
Home Improvement
A bunch of in depth tutorials and step by step instructions for completing home improvement projects, keeping up with home maintenance, transforming a fixer-upper, and doing things like unclogging a drain or building a deck.

How To Install A Ring Doorbell In 5 Easy Steps
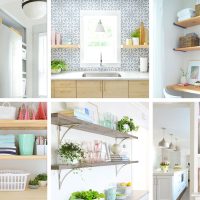
17 DIY Shelf Ideas

Adding Ikea Floating Shelves In Our Bedroom
5 Ways To Prevent Frozen Pipes

DIY Built-In Bookshelves
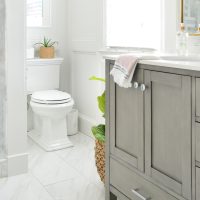
The Best Toilet (Yes, We Really Have A Favorite)
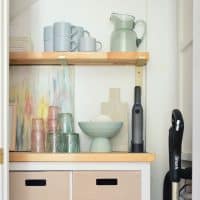
How To Add Utility Closet Storage
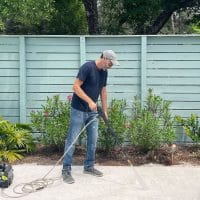
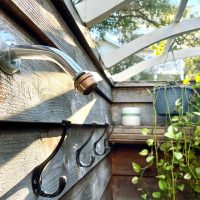
A Beginner’s Guide To Pressure Washing
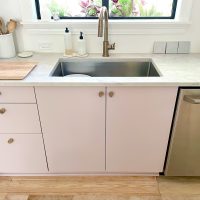
How To Paint Ikea Kitchen Cabinets
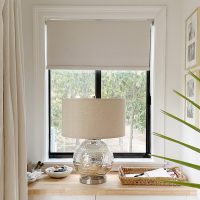
Adding Smart Blinds
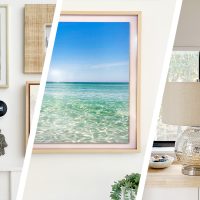
The Best Smart Home Tech
- 1
- 2
- 3
- …
- 34
- Next Page »