
Our First House
Come check out all of the decorating & home improvement projects we worked on to transform our first house. We loved showing our fixer-upper some love, and doing room makeovers on a budget thanks to lots of DIY enthusiasm.

Three Easy Ways To Figure Out Your Style
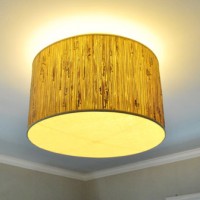
Making A Ceiling Light With A Diffuser From A Lamp Shade
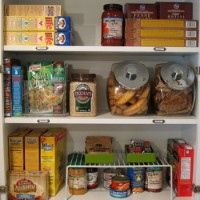
Organizing Our New Kitchen’s Cabinets
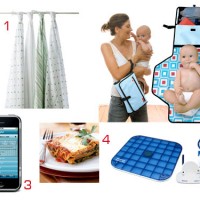
5 Favorite Baby Items & A Free Baby Book Printable
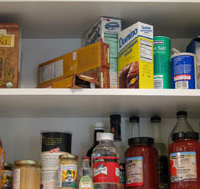
Let’s Do It Together: Organizing The Kitchen Cabinets
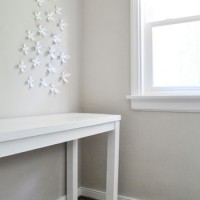
How To Build A Desk With An Old Hollow Core Door
One Desk, Four Ways
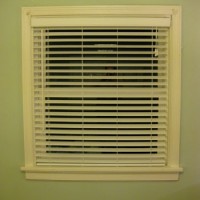
Hanging Some White Faux Wood Blinds In The Bedroom
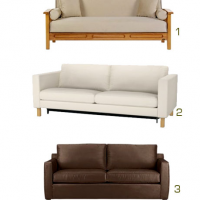
Finding An Affordable Sleeper Sofa
How To Sand Down A Door So It Stops Sticking

How About A Baby Announcement?
- « Previous Page
- 1
- …
- 5
- 6
- 7
- 8
- 9
- …
- 32
- Next Page »