Home Improvement
A bunch of in depth tutorials and step by step instructions for completing home improvement projects, keeping up with home maintenance, transforming a fixer-upper, and doing things like unclogging a drain or building a deck.
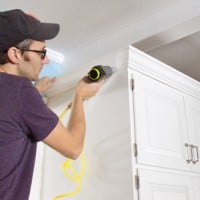
How To Add Crown Molding To Cabinets
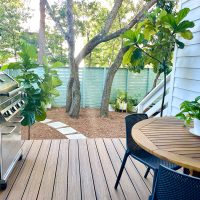
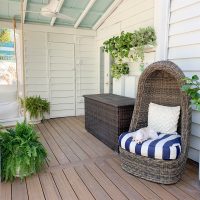
Our New Kitchen Porch
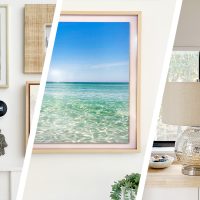
DIY Floating Kitchen Shelves
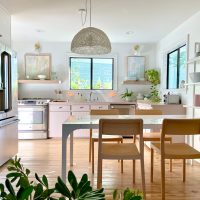
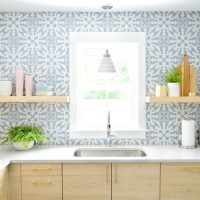
9 Small Kitchen Ideas
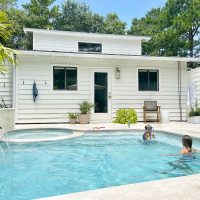
Getting A Pool – The Process & The Cost
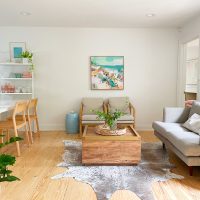
Before & After House Photos: 14 Months In!
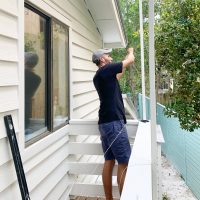
How To Build A Privacy Trellis
Hiding Ugly Utility Boxes With A DIY Shelf
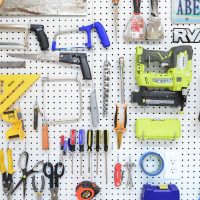
10 Easy Shed Storage Ideas

Using Ikea Pax Wardrobes To Make A Closet
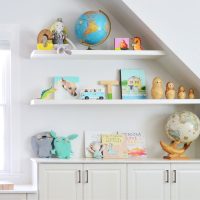
How To Make DIY Floating Shelves
- « Previous Page
- 1
- 2
- 3
- 4
- …
- 34
- Next Page »