Furniture Upgrades & Building Stuff
Check out a ton of furniture upgrades and tips for things like Ikea hacks and other simple projects to update your home on a budget. Find detailed instructions for building stuff and making your space more organized and upgraded.

How To Make A Faux Sheepskin Seat Cushion
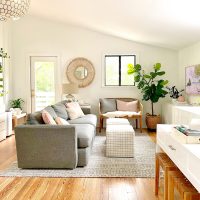
Our Family Room Is An Office, Art Room, and A Movie Room
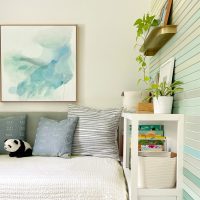
The Best 7 Storage Furniture Pieces
Hiding Ugly Utility Boxes With A DIY Shelf
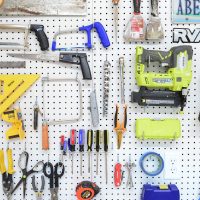
10 Easy Shed Storage Ideas
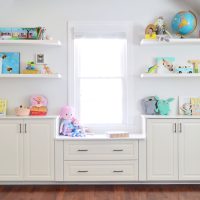
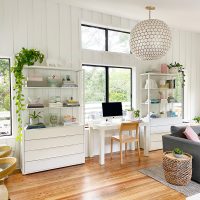
How To Make Built-In Cabinets
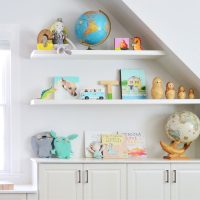
How To Make DIY Floating Shelves
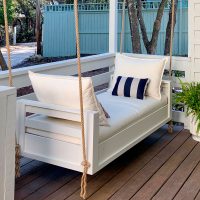
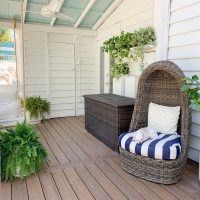
How To Hang An Outdoor Daybed (On Video!)

How To Build A Hanging Daybed

How To Build A Modern Fireplace Mantel

Five Quick & Easy Kitchen Updates
- « Previous Page
- 1
- 2
- 3
- 4
- …
- 13
- Next Page »