Cleaning, Organizing, & Eco
Great tips and tricks for getting organized at home, and cleaning your house in an easier (and faster) way! Also includes recipes for homemade eco cleaning products and our cleaning schedule for getting it all done!

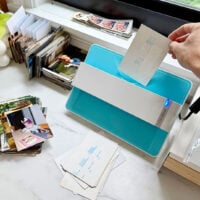
The Other Project We’re Starting…

How I Packed Light For My Trip to Italy
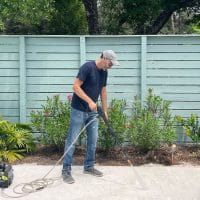
How To Use A Pressure Washer: A Beginner’s Guide

How To Get Rid Of Fruit Flies – Using Stuff You Already Own!
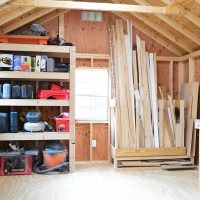
How To Build Easy DIY Garage Shelving

The Easiest Homemade Window Cleaner
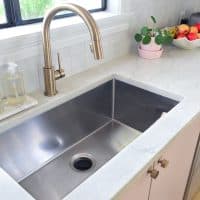
How To Clean A Stainless Steel Sink
Best Air Purifying Plants
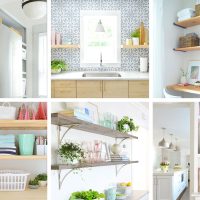
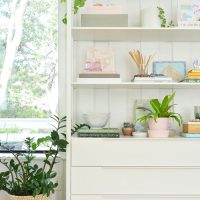
17 DIY Shelf Ideas
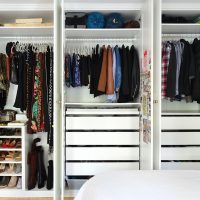
How We Organized Our Ikea Pax Closets
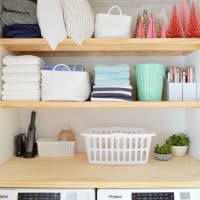
How To Build Easy Closet Shelves
- 1
- 2
- 3
- …
- 16
- Next Page »