
Reader Redesigns
Check out hundreds of amazing home makeovers, DIY projects, and awesome ideas that talented readers shared with us. We can't pick a favorite - they're all so inspiring!
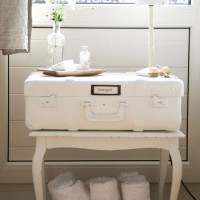
Storage For A Small Room
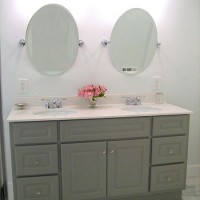
Making A White Kitchen With Simply White Cabinets
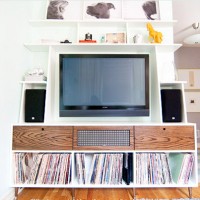
Adding Built-In Shelves Above A Media Cabinet
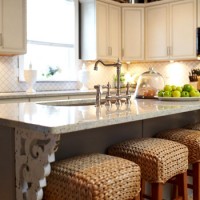
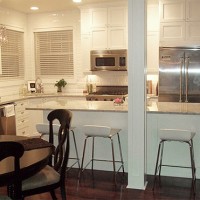
Using Brackets To Makeover A Kitchen Island
A Yellow And White Checkered Kitchen Floor
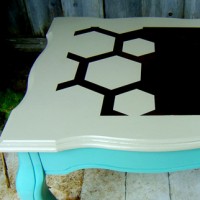
Painting And Stenciling A Coffee Table
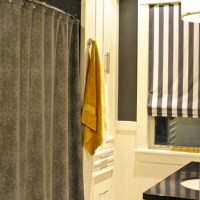
A Bathroom Makeover With Dark Gray Tile
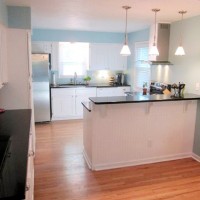
A Blue And White DIY Kitchen Renovation

Reupholstering A Loveseat With Striped Fabric

Stenciling A Wall In The Dining Room
A Classic Marble Bathroom Renovation
- « Previous Page
- 1
- …
- 4
- 5
- 6
- 7
- 8
- …
- 20
- Next Page »