Crafting & Art
Gorgeous and fun crafting and art projects you can whip up yourself - usually in just a few minutes. Learn how to hang a frame gallery, make painted baskets, sew a pillow or quilt, make a wreath, or build your own frames.
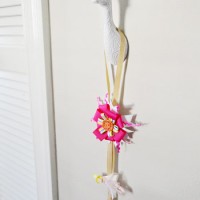
Framing Kid Clothing And Adding A Few Fun Wall Hooks

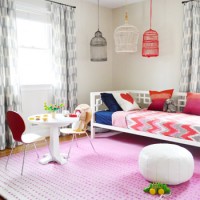
Hanging Decorative Birdcages In A Kids Room
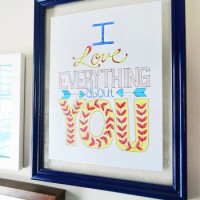
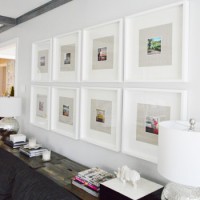
How To Make A Floating Frame
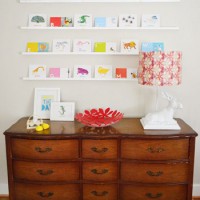
Hanging Small Wall Ledges For Flash Cards, Postcards, Or Books
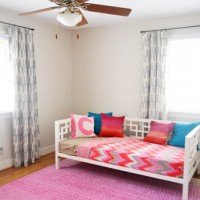
How To Make No Sew Ikat Curtains For A Kids Room
Hanging A Pegboard In A Basement Workshop
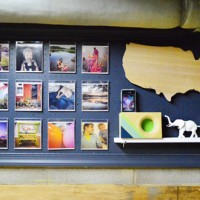
Two Fun Ways To Use Instagram Photos
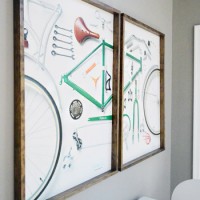
How To Make Wood Frames For Large Art Or Posters
Some Sunroom Art

Our Free Annual Calendar Template Is Finally Here For You

Handmade Holiday
- « Previous Page
- 1
- …
- 4
- 5
- 6
- 7
- 8
- …
- 17
- Next Page »