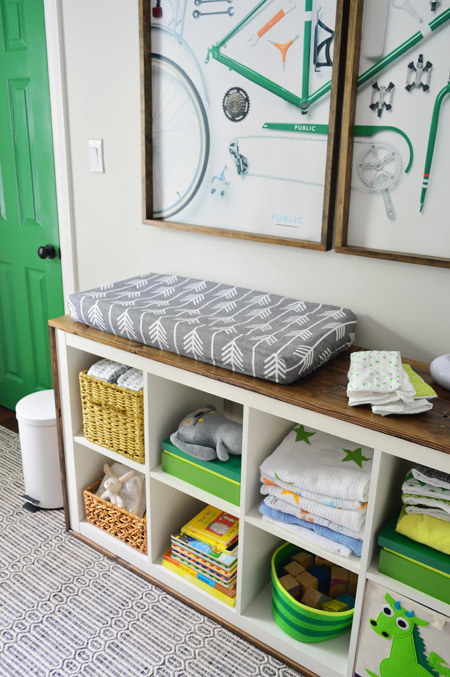
When we last left off in the nursery, we had painted the closet door green, but still had a few lingering functional things that we needed (like a changing pad cover, a hamper, and a bin for dirty diapers) as well as a plan for the wall behind the crib that we had been debating.
Update #1. You probably remember when we were considering this fun arrow wallpaper for that spot (among others) but thought it might be a little busy on that side with all the built-ins, so imagine our surprise to find a changing pad cover in the same pattern on Etsy. Teddy loves it. So much, in fact, that he has already peed on it a whole bunch of times. You know, to mark his territory.
We’ve heard a ton of tips (washcloth, wipe, clean diaper) to block the spray, but even with those methods we found that it still managed to run down and pool on the changing pad cover, meaning that we had to strip it off and wash it more times than we hoped in the first few days of being home from the hospital. To the point that even if we had 4 spares we’d still be washing them constantly. We had the same problem with baby Clara (good genes I guess) so we used a wipeable changing pad cover over her cloth changing pad during that phase (it was so much easier to wipe that down than constantly be washing the cover itself).
Which brings us to Update #2. Now that we use that vinyl pad in the car for changes on the go, I thought I’d make one for the house from oilcloth. Here was my process in a nutshell:

1. I grabbed half of a yard of “marine coat vinyl” in white from JoAnn for $6 (they didn’t have white oilcloth), and I actually got two changing pad covers out of that half a yard (so we can use one downstairs when we change Teddy on the ottoman as well)
2. I laid out our existing car pad by Skip Hop (the front is the shiny vinyl part and looks like this, so the black fabric is the back) and traced the shape onto the back of the white marine coat vinyl fabric with a sharpie (twice since there was room for two).
3. Then I just cut them out. Vinyl doesn’t have a fraying edge, so I didn’t even need to hem them or anything
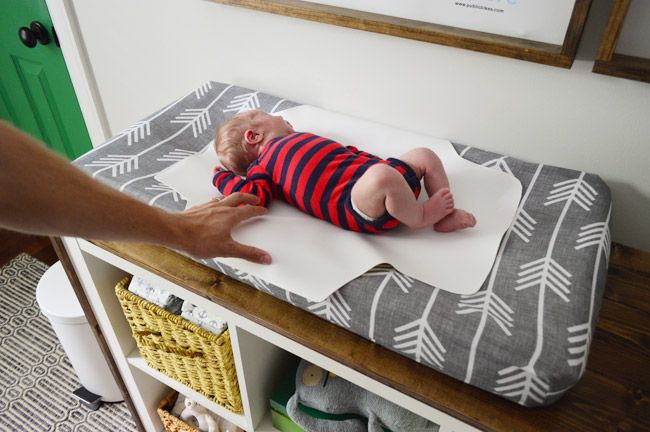
So far it has been awesome. Just look at Teddy modeling his new waterproof cover. He actually peed through his diaper and his onesie while we took this shot. True story. It’s like he wanted to test just how waterproof it was. Thankfully, it worked like a charm. And it has been saving us a little bit of laundry (every little bit helps!) ever since.
Update #3. You can also see the simple white trash can that we grabbed at Ikea for diapers (we’re using disposables until Teddy grows into our cloth ones, just like we did with Clara). So far it’s working well. The lid (with the step-to-open mechanism) keeps smells in, and makes for hands-free opening, which is really convenient.
Update #4. In other “I’ll take all the small conveniences I can get while running on a lot less sleep” category, we also got this adorable navy and white Boppy cover from John’s sister as a baby gift (it was also from Etsy). I know some folks skip the Boppy and just use a pillow or something but I use it so much in these early days when the baby’s so small and nursing all the time. We debated bringing ours to the hospital and I said “nah, that’s overkill” and I actually wished I had it instead of using wadded up blankets and pillows, which surprised me.
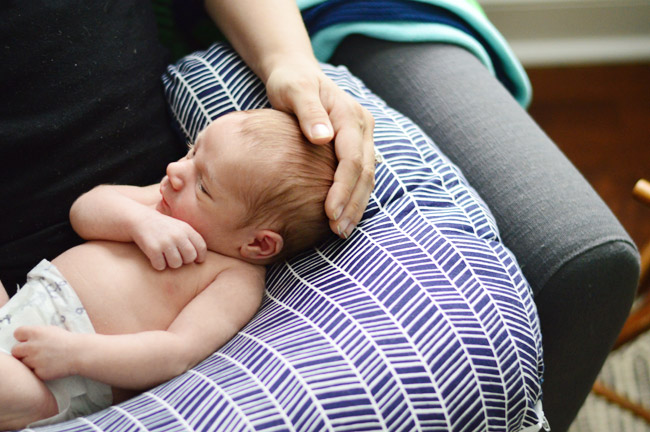
Please avert your gaze from my dirty nails and focus on the cute baby.

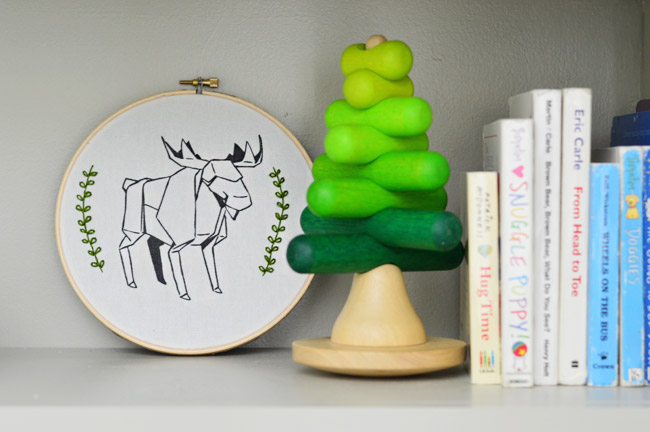
Update #5. This is a little craft fair item that we bought here in Richmond at the annual Spring Bada Bing event (we’ve blogged about it a few times before). It’s always fun to support small businesses and browse homemade wares – and this one is made by The Little Bandit Shop. It’s an embroidery hoop with discontinued fabric (from Ikea a while back) that she hand-stitched with some cute green vines on each side. We thought it was so charming, and a great idea for a DIY project too.
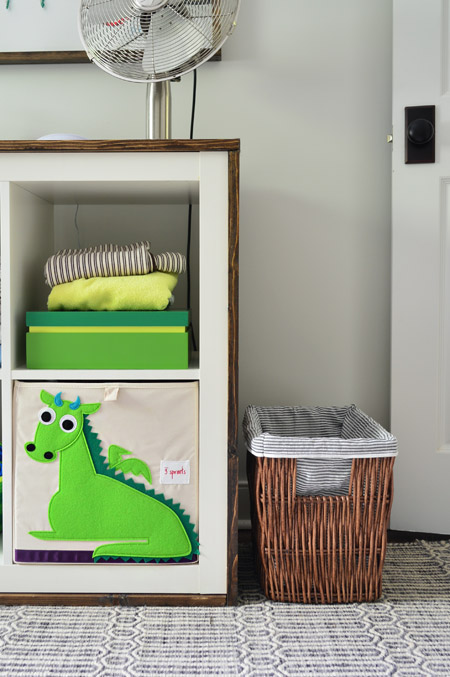
Update #6. We also realized we needed a clothes hamper, so we grabbed a basket from HomeGoods that’s around the same size as the hamper that we use in Clara’s room and I quickly sewed a little inside-out pillowcase to create a liner. Why inside out? That way when you fold the edges over the side of the basket, they face the right way (and when you look down at the inside of the hamper the patterned side shows). It’s easy to pull out and wash, and I got half a yard of this soft gray ticking fabric at JoAnn for $4.
Update #7. Now for our little plan behind the crib wall, which we didn’t actually do yet – but we think we’re set on this idea. John came up with a repeating pattern of T’s (for Teddy of course). Although this photoshopped version leaves a lot to be desired in the “realistic” department, in our minds it’ll look awesome.
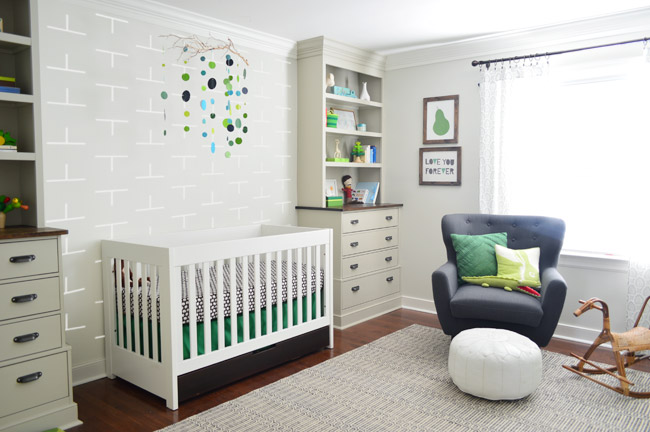
It’s subtle and sweet enough for both of us to like it best of all the other options we’ve considered, so now we’re just debating if we’ll end up making a stencil to paint the T’s on the wall like Clara’s raindrops, or if we’ll use contact paper or some other method to add them. Will keep you posted!
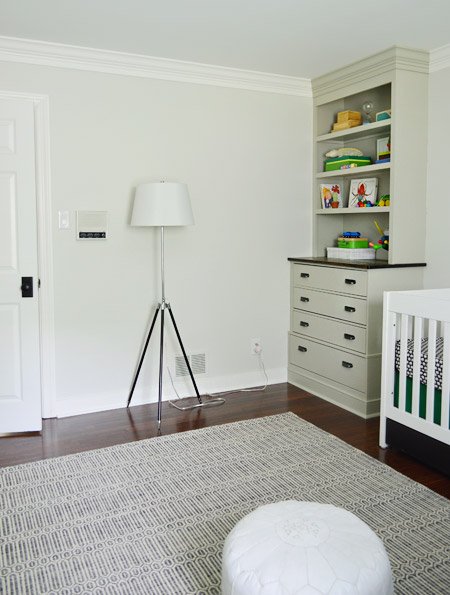
Oh and I finally remembered to snap a picture of the fourth wall of the room (it briefly flashed by in this video tour, but I don’t think I ever took a photo of that angle). Right now there’s just a floor lamp for function (it works on the wall switch, so we can flip it on when we enter the room) but eventually we’d love an overhead light on a dimmer and we think we’ll use that wall to make a fun little play area once Teddy’s a little older, like we did on this wall in Clara’s room.
Are you rallying to add a flurry of small things to a space that’s mostly complete? Buying anything fun from Etsy or at a local craft show? Peeing on changing pads, just for fun?
Psst- To read about all of the nursery updates from the beginning, here’s how we painted all the pink trim, laid new hardwood floors, got a rug, painted the walls & ceiling, added built-ins, tackled some baby bedding, hung extra thick crown molding, filled up the built-ins, added a storage cabinet/changing table, made a mobile, and made art & painted the closet door green.

Leave a Reply