Today we’re going to show you how we constructed an easy DIY deck gate to help keep our dog Burger from escaping. He loves laying in the sun out there, but we wanted an affordable and attractive way to stop him from running off after a squirrel or something. We also have a newborn and a toddler, so the gate will help with them too. And the whole thing only took a couple of hours and cost us less than $30!
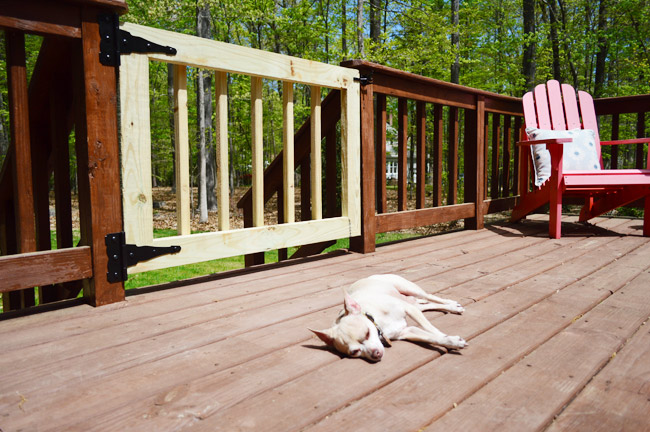
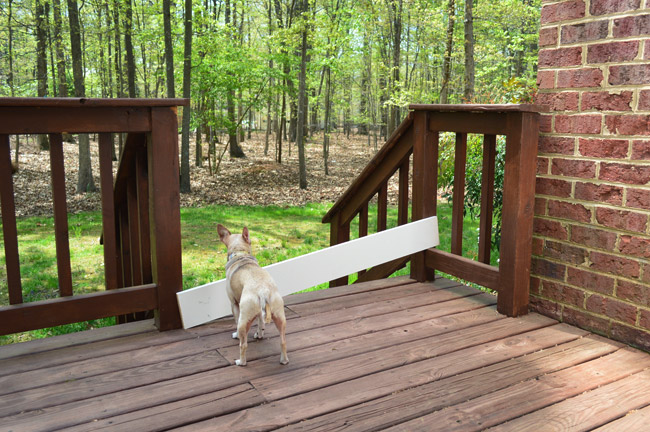
We don’t have a fence on our property, and he has gotten more brazen lately and may even wander into the neighbor’s yard. So far our solution has been this very classy plywood boards we’ve been leaning against the opening. It works surprisingly well, but it’s flimsy and ugly.
And while we could’ve bought a premade, freestanding gate. We wanted something that was integrated into the deck itself.
Material & Supply List
I read a couple of tutorials online that were particularly helpful (this one), then I took some measurements, sketched out a game plan (I modified the plan), and hit up Home Depot. Here’s what I came home with:
- 2×4″ pressure-treated boards
- 2×2″ pressure-treated balusters
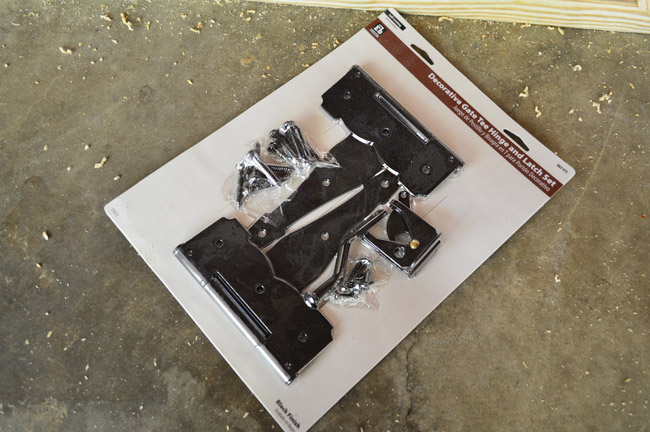
- Gate hinge and latch set
- Miter saw
- Screwdriver
- 2″ deck screws
- Measuring tape
- Clamps
- Pocket hole jig (optional)
- Carpenter square (optional)
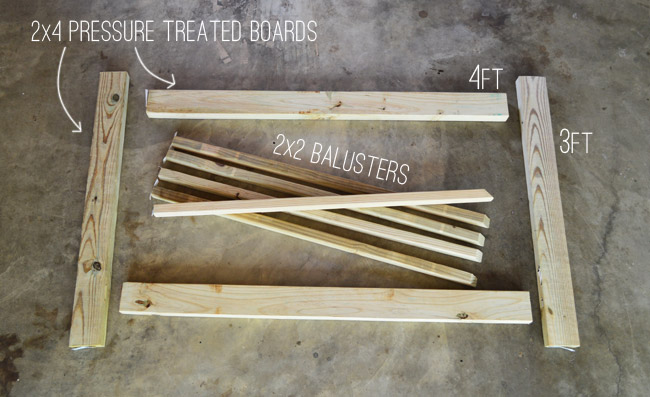
You can see the basic arrangement of the deck gate build above. I was able to save money by purchasing some longer 10′ boards that they cut down in store to fit in my car (that’s what you see above). I was building too gates, so my materials were double what you see in that photo.
Step 1: Measure & Cut Your Wood
The width of each gate should be 1″ shorter than the width of the opening. This leaves room for it to swing easily once finished. The height should match your existing deck railing. This particular gate was 44″ wide and 29″ tall. We also chose to miter the corners of our gate for a cleaner look, but that’s up to you.
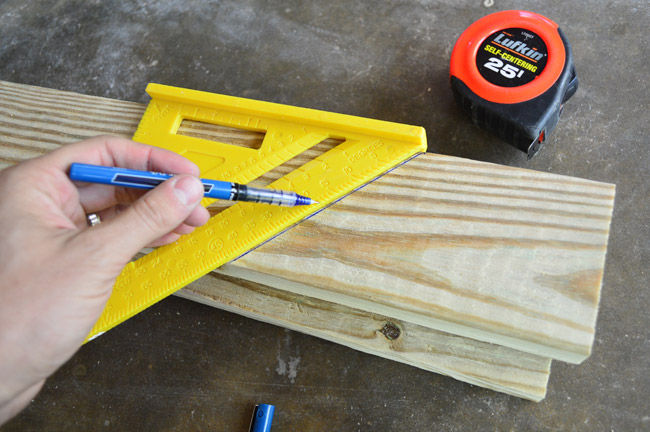
Using a carpenter’s square to mark your 45° cuts is recommended to get the most precise cut. We also suggest cutting your boards in pairs: the top & bottom boards together, and the two sides together. This ensures that the pairs were identical lengths and will help keep your gate square in the end.
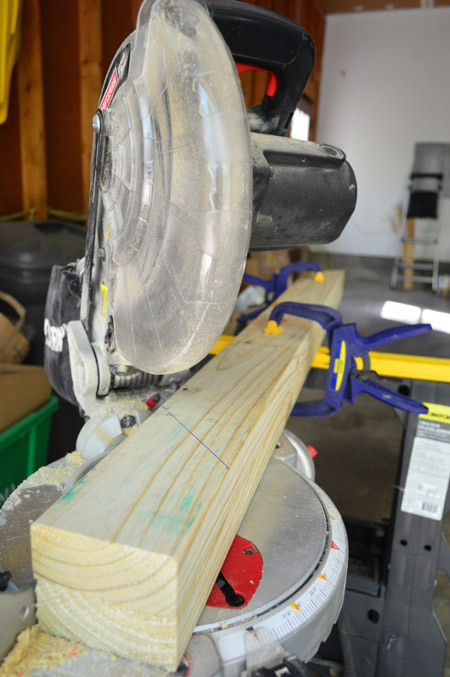
You can see we clamped the board together as we cut to keep them lined up as we cut them on the miter saw.
Step 2: Screw Your Gate Frame Together
To join my deck gate together, I used my Kreg Jig to create two pocket holes on cut end of the 2 vertical boards (you could do the horizontal boards instead, but there’s no need to do all 4). These are holes I’ll later fill with wood putty.
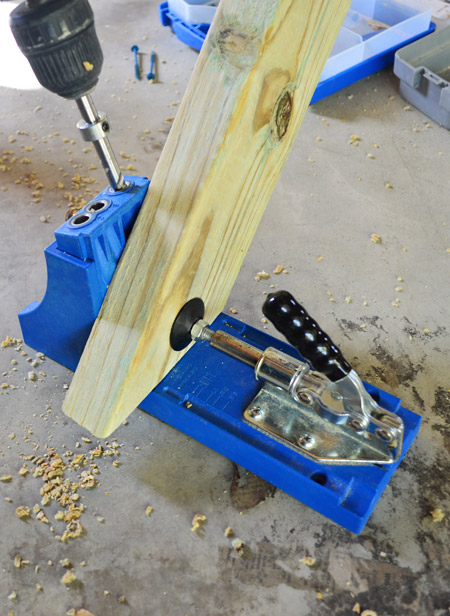
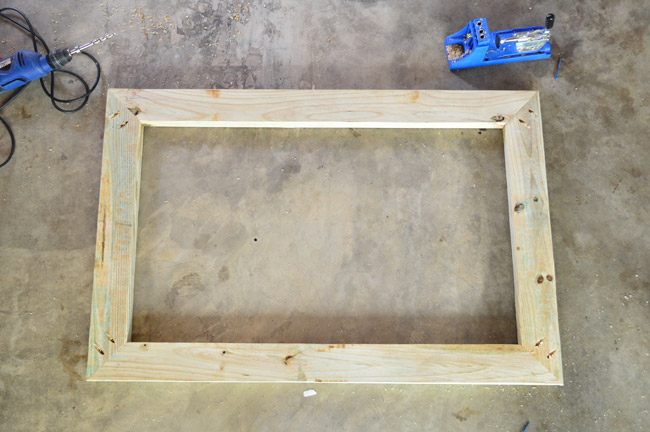
If you don’t own a pocket hole jib, you could also just use long screws right through the sides of the boards. We just find the pocket hole system is a tighter, more precise system. Here’s my frame after everything was screwed together using 2″ deck screws.
Step 3: Add Balusters To Your Gate
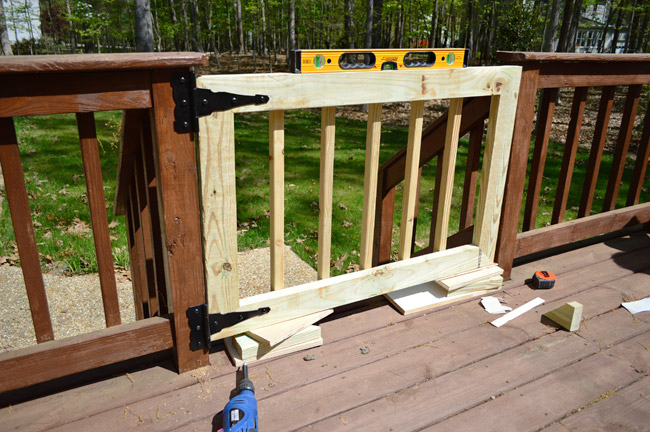
Next we attached 2×2″vertical balusters to mimic the look of the rest of the deck’s railing. We measured the spacing between the existing balusters and determined I’d have space for five of them on my gate. So after cutting them to length, I attached the first one at the center point of my gate on both the top and the bottom using two 2″ decking screws.
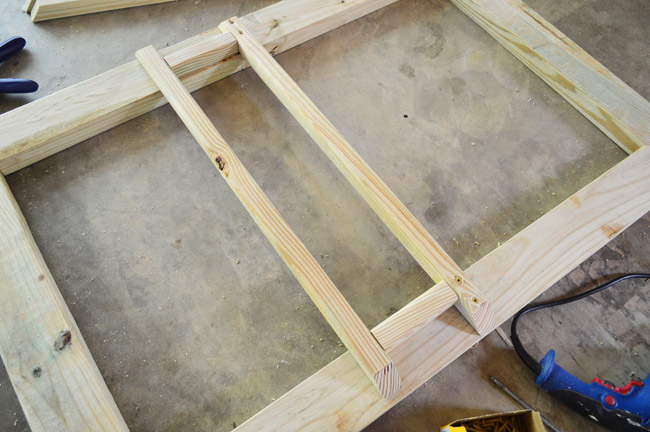
To make this task easier, we recommend creating a spacer out of scrap wood to make sure your balusters are evenly spaced. You can see ours in the photo above.
Step 4: Hang Using A Gate Hardware Kit
With the gate constructed, we just needed to attach it. Home Depot sold a $15 kit that included two T-hinges and a latch. Your hinge should stretch about 1/5th the length of your gate, so these 8″ hinges were just about perfect for our project.
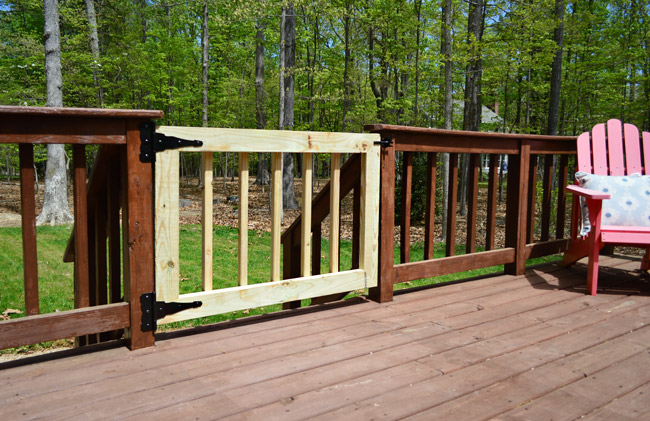
To hang the gate, I used some scrap wood to prop it in place and (with Sherry’s help) determined the best spots to attach all of the hardware with the provided screws. We couldn’t center the top hinge (it ran into the existing deck railing) so it rides a little low. But once the light wood is stained to match the rest of the deck we hope it won’t be too noticeable.
Then we just attached the latching mechanism to the other side, and we were in business.
Some people also choose to install an anti-sag kit on their gates to keep them square over time. We opted not to at this point because we preferrred the cleaner look. It’s always something we could add later, but luckily our gates aren’t very big or heavy.
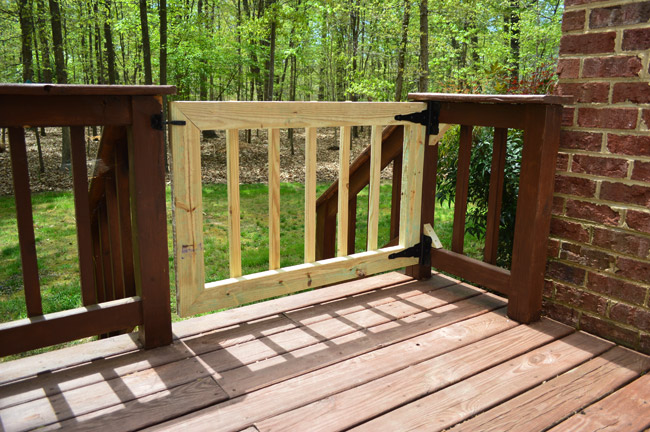
The gate above was a bit challenging because it was attached at a corner of the deck. Since we couldn’t screw into the post, we had to use the horizontal rails instead. The hinge was too tall to fit entirely on each rail so we screwd in some blocks (the initial mitered corners that I had sawed off) to give the hinge a place to attach.
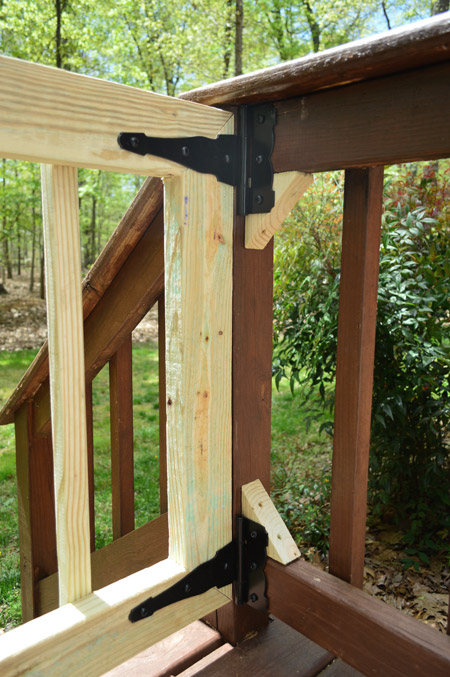
Once everything is stained, the blocks should blend right in with everything else.
Step 5: Stain And/Or Seal Your Gate
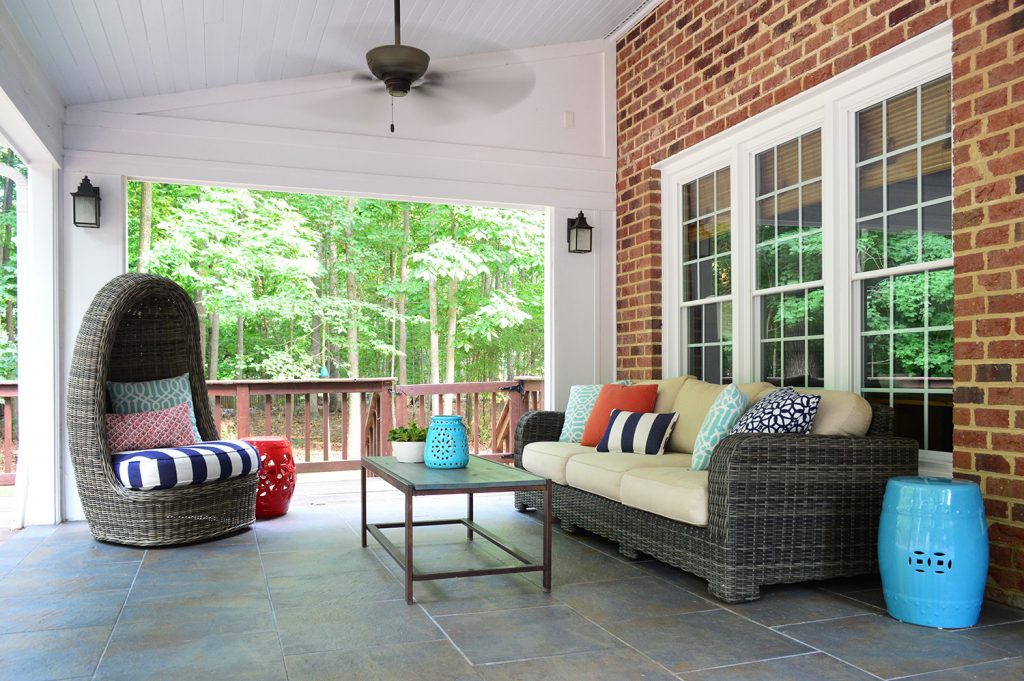
Depending on the look you want, you’ll likely want to seal or stain your new deck gate. Just be sure to wait about 2-3 weeks to let your pressure-treated wood dry out first. If you seal it too quickly, some of the pressure treatment chemicals can cause bubblnig or peeling. We used the same stain we’d used months prior to stain and seal our whole deck. You can see one of the finished gates in the background of this photo.
It took just about three hours to make both deck gates and my total cost was $53 ($23 for the wood and $30 for the hardware). And it’s been HUGE help in keeping Burger on the deck. Sure, he could squeeze his little chihuahua body through the gate if he really wanted, but he’s just not that adventurous. Remember: this is the same dog that was stopped by a small plywood sheet before.
And even though our kids don’t play out here unsupervised at this point, we know thes gates on the deck will be extremely helpful in preventing falls down the stairs. Especially once our newborn reaches the learning-to-walk age.
Want More Deck DIY Projects?
We’ve tackled a lot of builds and home improvements to our various decks over the years, so be sure to check out these posts too.

Leave a Reply