Updated 2019
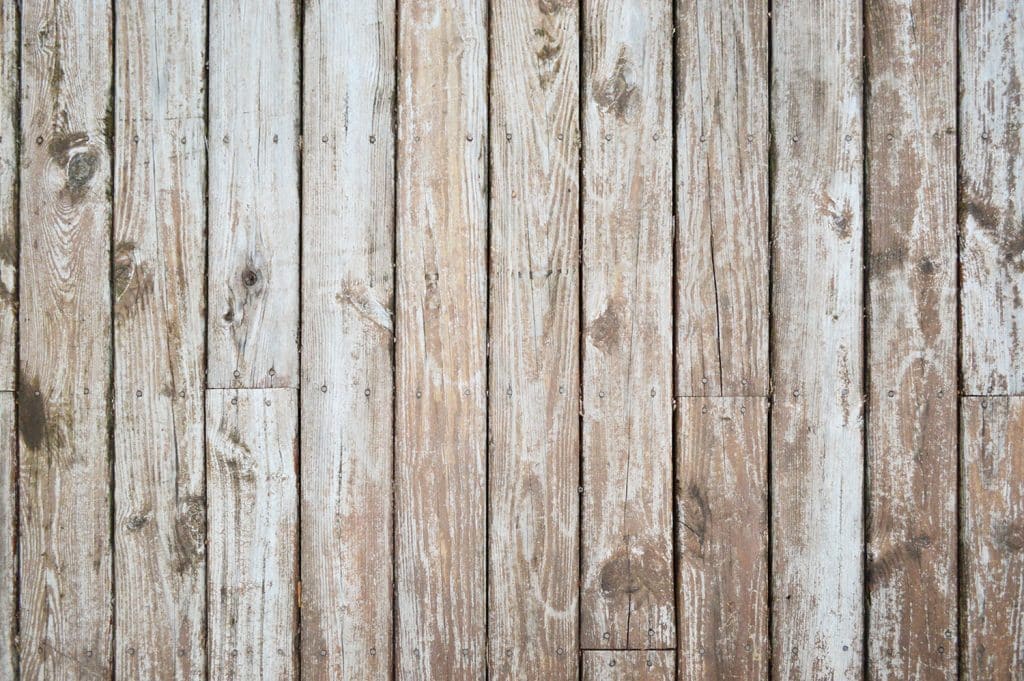
When we bought our house, the deck was in ROUGH shape. Before we could revive it with a fresh coat of stain, we had to strip off the old stain first. It definitely took some time and effort – our deck is nearly 700 sq. ft! But it was totally a doable weekend project for even a first-time stripper. Sorry, I couldn’t help myself.
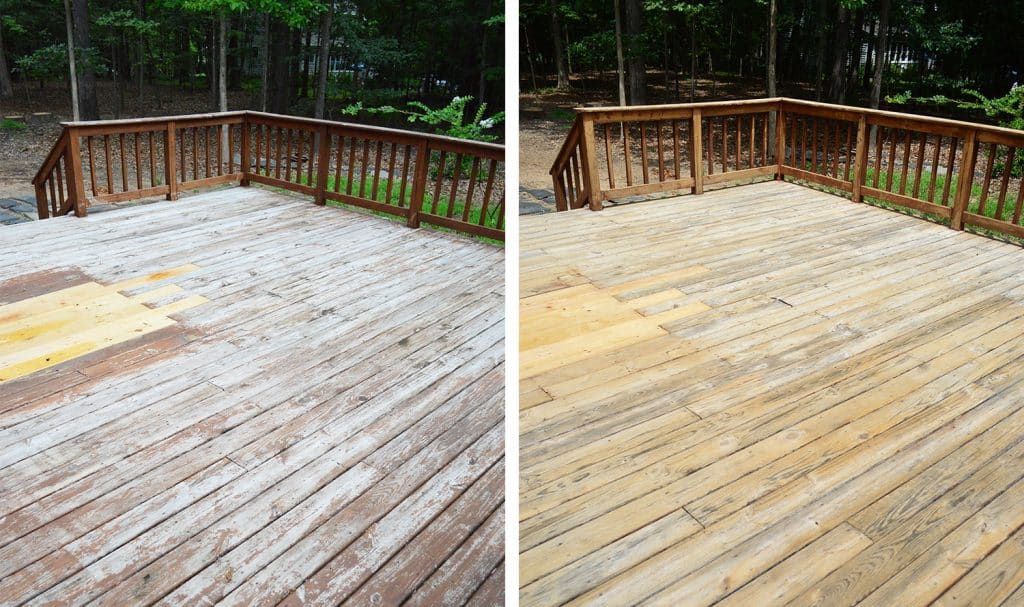
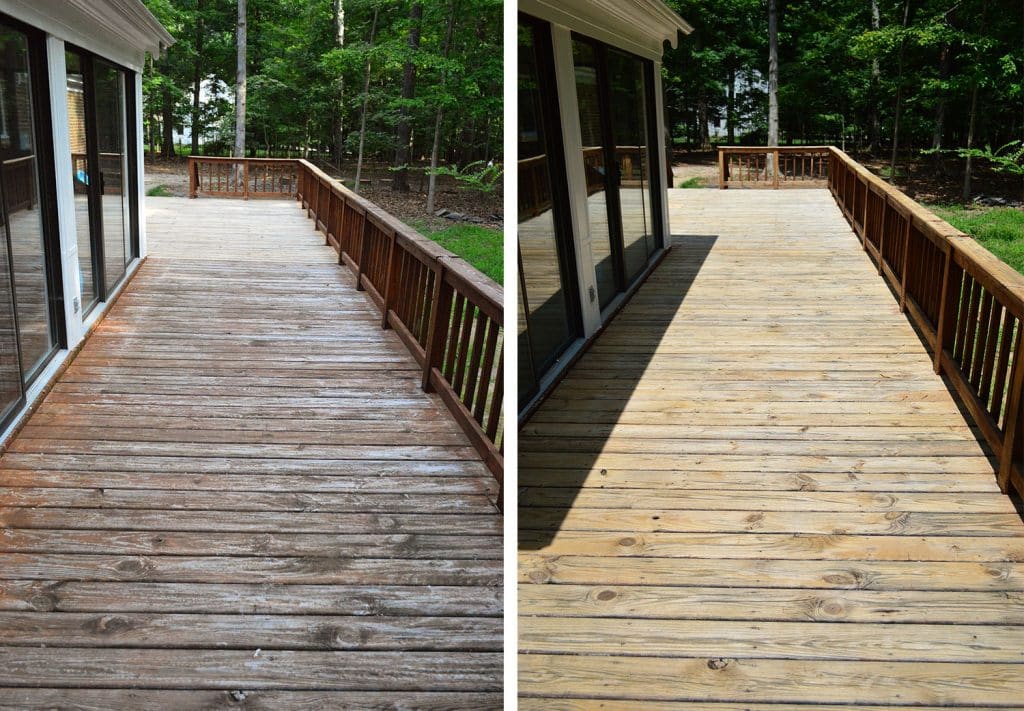
That’s the before-and-after of the stripping process, but if you’d like to see how it turned out with the new stain, check out our How To Stain & Seal A Deck tutorial.
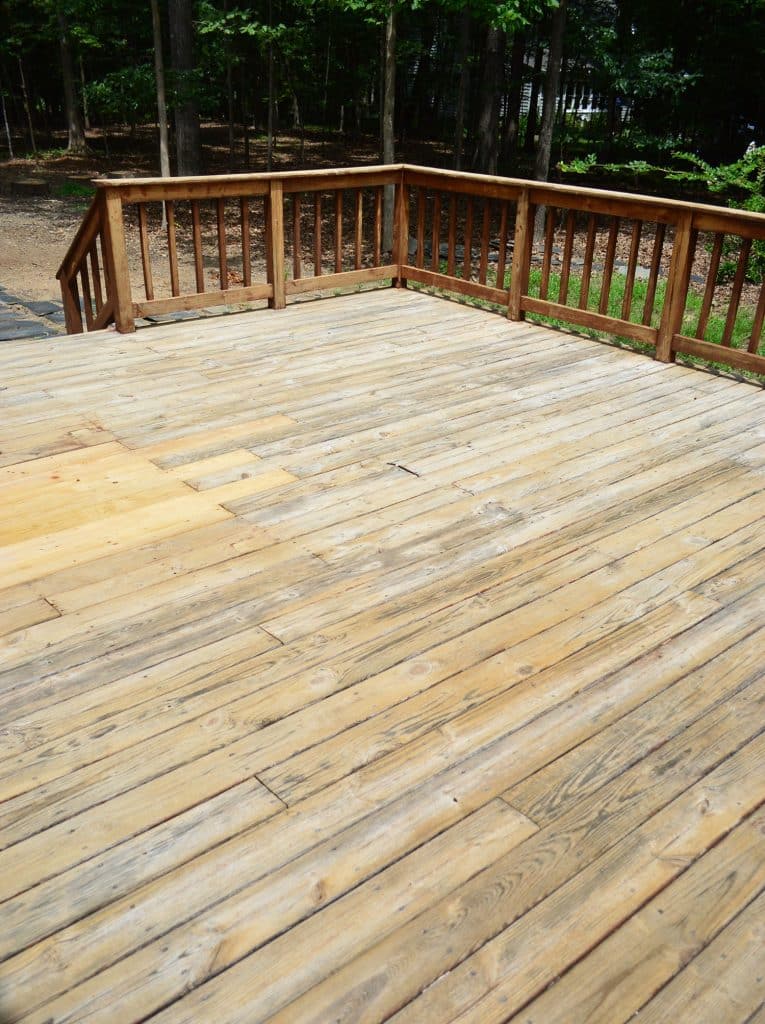
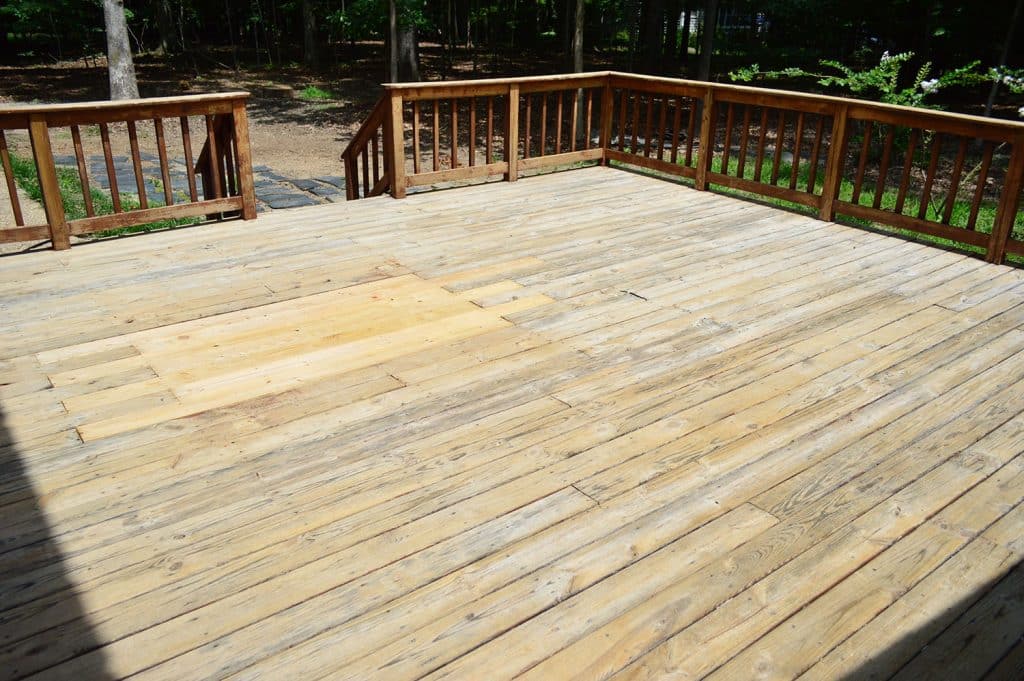
And ignore the patch of new wood. We had to repair a section where a tree had been growing through the deck. We also have a tutorial for Patching a Wood Deck if you need it!
Can I Skip The Stripping Step?
If you plan on restaining or repainting you wood deck, you need to remove the old finish for the best, more durable bond. However, there ARE some products that are designed to be applied directly over your existing coat. Both Rust-Oleum Restore and Behr DeckOver create a thick layer of paint over your deck for almost a plastic-like end result. We personally didn’t like the rough texture of Restore and, while DeckOver was smoother, it would’ve been pretty costly. We also wanted a more traditional stained wood finish in the end, not the thicker coat those products would’ve given us. So that’s why we chose to proceed with stripping our deck.
Can I Just Use a Pressure Washer?
Maybe! Power washing CAN be a really quick and effective way to strip old paint or stain from a surface, especially when combined with some of the chemical cleaners listed below. In fact, we used our pressure washer to help revive the wooden outdoor shower at our current home. We weren’t removed stain though, just layers of dirt, grime, and mildew, so we didn’t use any chemical to clean it.
For the deck shown in this post, we chose NOT to use a pressure washer because the wood was in such rough condition. It was soft in some spots and rotting in others and we feared the pressured water would damage the wood too much. We knew the wood on this old deck was way past its prime, so our goal in refinishing it was to extend its life another couple of years before we could afford to replace it.
But if you want to try using a power washer, you can read our Pressure Washing Guide here and grab our favorite power washer for just $99!
How To Strip Your Deck Yourself
Here’s a quick overview the 6 steps to stripping the finish off your old deck, porch, stairs, or railings. Depending on the size of your deck, it can easily be completed in a day or maybe a weekend.
- Ready You Deck
- Wet Your Landscaping
- Apply Your Stripper With A Roller
- Scrub Off The Old Paint Or Stain
- Neutralize The Deck Stripper
- Enjoy Your Results!
Tools & Supplies To Strip Your Deck
Here are the materials we gathered to strip the old finish off our deck:
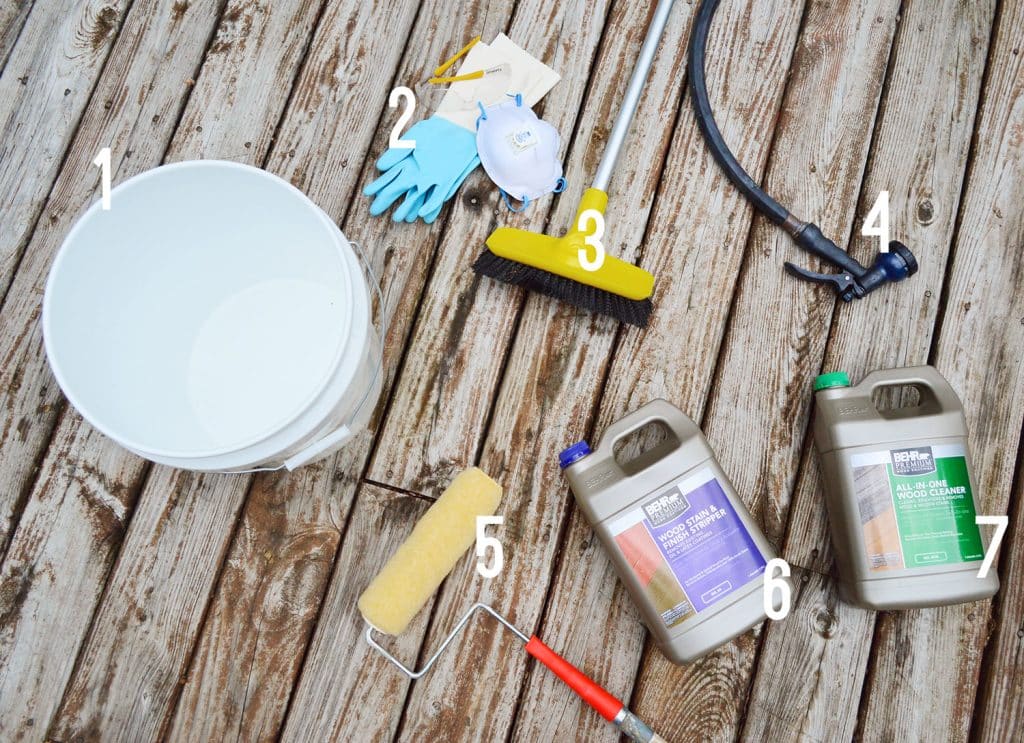
- Bucket – to pour the stripper into for easy dipping of my roller
- Protective Gear – rubber gloves, goggles, and a mask (this stuff STINKS)
- Stiff Bristle Brush With Pole
- Hose
- 1/2″ Nap Paint Roller With Extension Pole
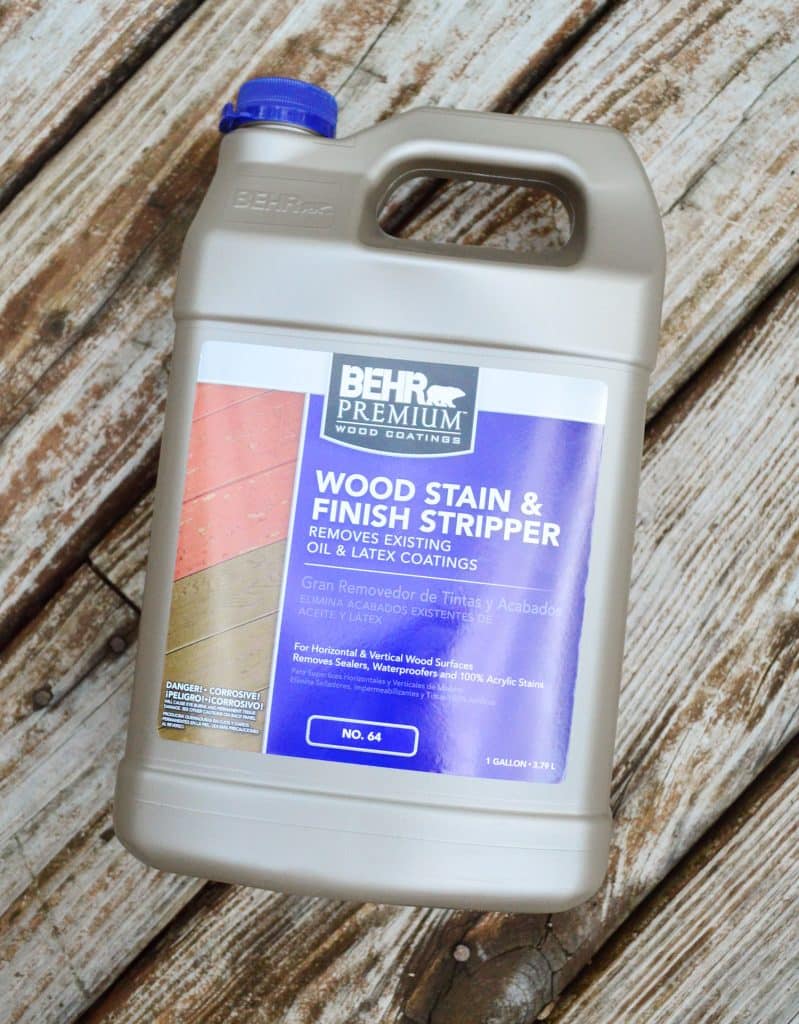
- Wood Stain & Finish Stripper – we bought 4 bottles (at $19 each) but ended up only needing 3
- All-In-One Wood Cleaner
- Pump Sprayer (not pictured) – we still had this one leftover from cleaning our last deck
Step 1: Ready Your Deck
Prep your deck by removing any furniture or obstacles that may prevent you from accessing the whole space. You’ll also want to check your weather forecast to make sure you have time to complete your entire deck without interruption from rain. Preferably it’s a cloudy, cooler day too because you don’t want the stripper fully drying during the application process.
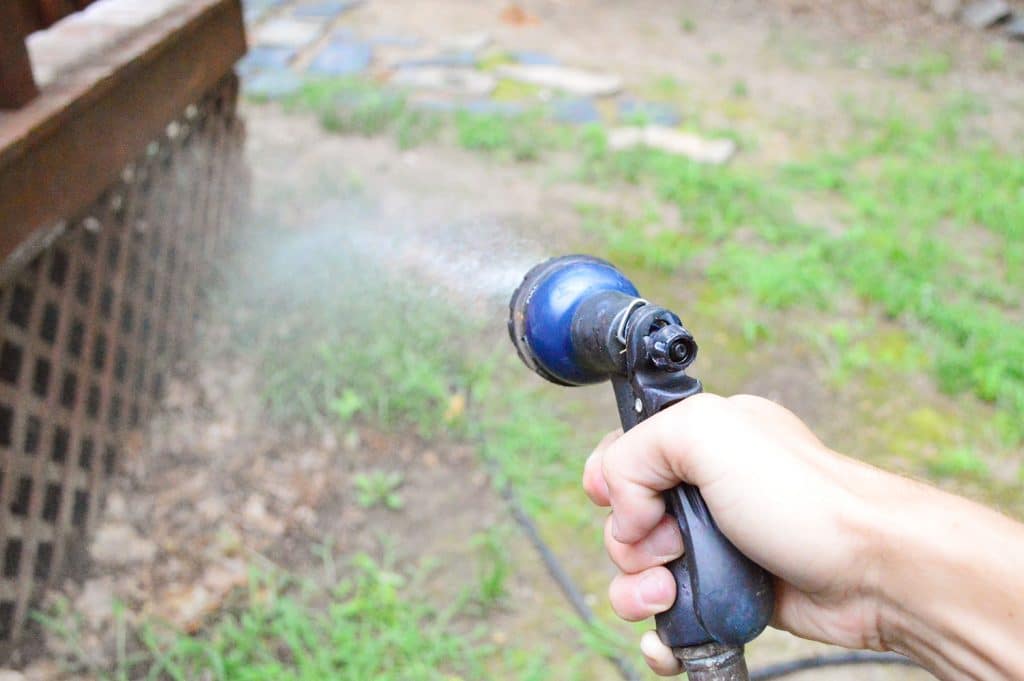
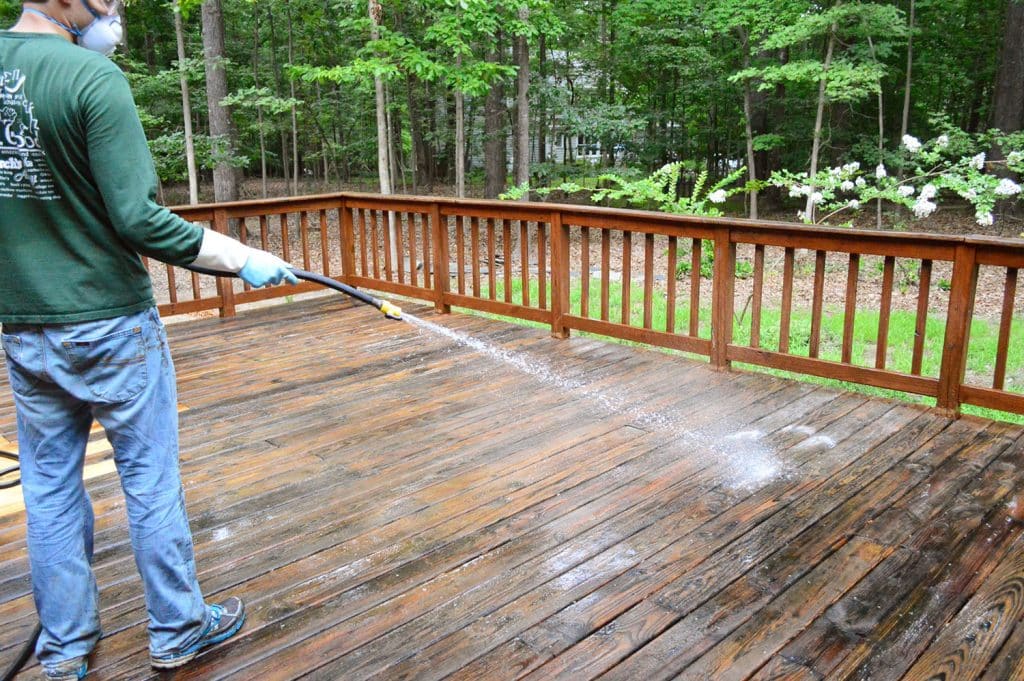
Step 2: Wet Your Landscaping
Before you begin, use your hose to wet down any surrounding plants to help protect them from the runoff. The stripping agent is “biodegradable with easy water clean-up” but you still don’t want it sitting on your bushes in high concentrations. We don’t have much greenery worth saving around the deck, but I did it anyway. You know me, I’m a rebel rule follower without a cause.
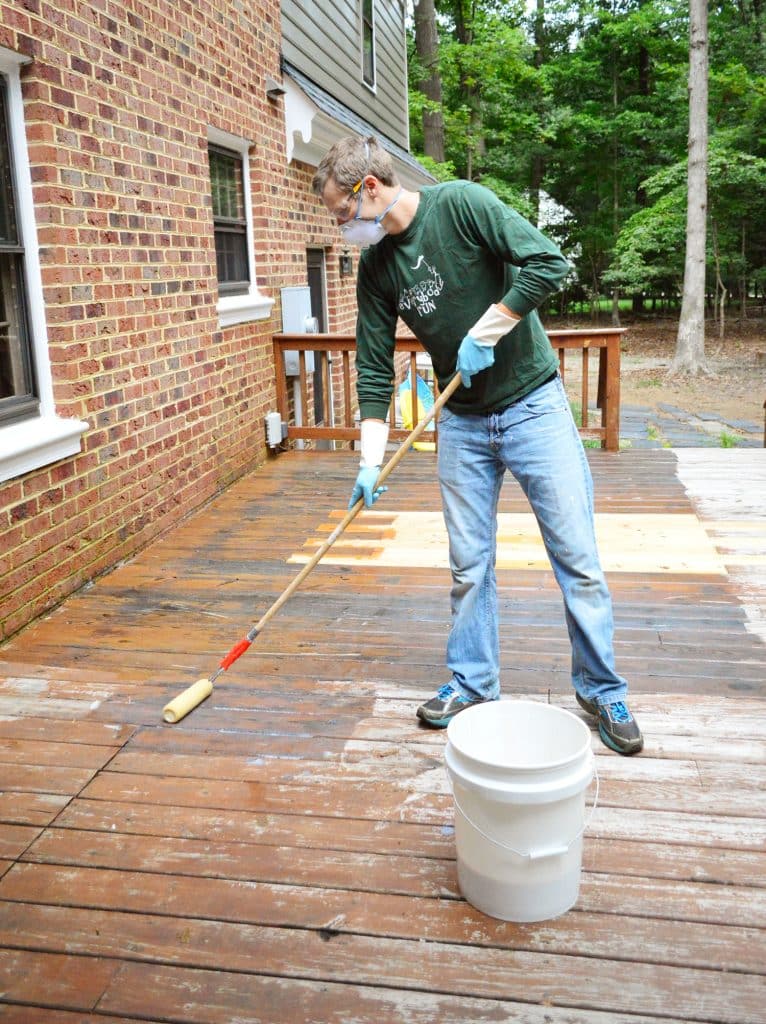
Step 3: Apply Your Deck Stripper With A Roller
Since we’d be applying this stain stripper with a roller, I combined a couple of bottles into the bucket for easy dipping. A deep paint tray would work as well, although I found the bucket really helped me get my roller saturated.
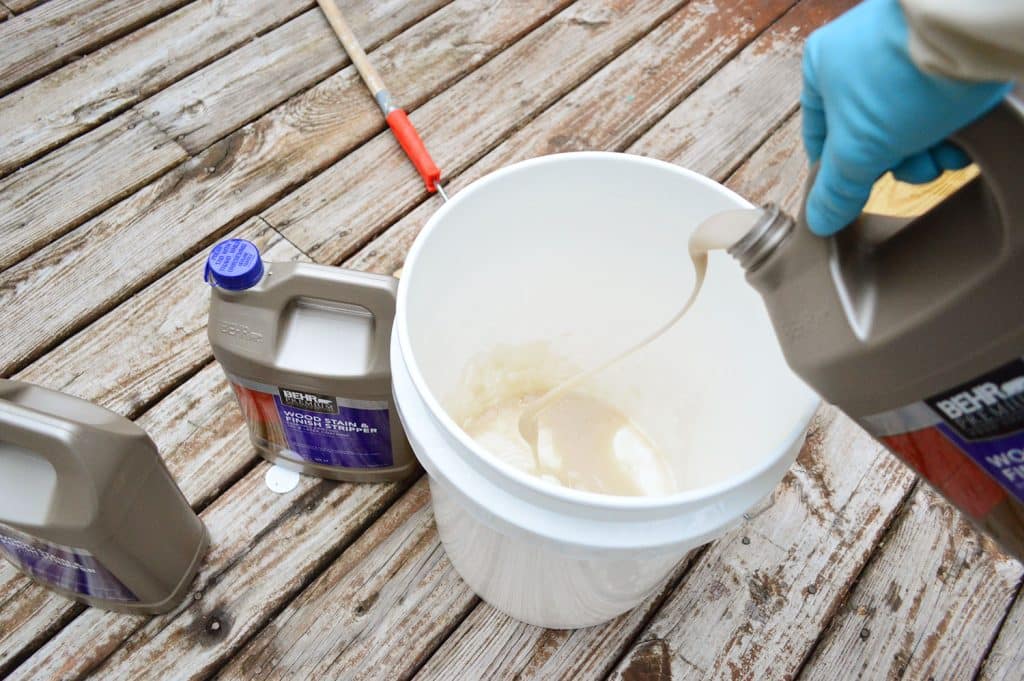
The deck stain stripper is pretty gloopy (a technical term). Almost a gluelike consistentcy. I imagine it to be what porridge looks and feels like. But hopefully not what it smells like. Otherwise Goldilocks has terrible taste in stolen snacks.
The consistency actually makes it really easy to apply. It’s thick enough not to drip off your roller too wildly, but thin enough to spread nicely. We just worked methodically to make sure we coated every board.
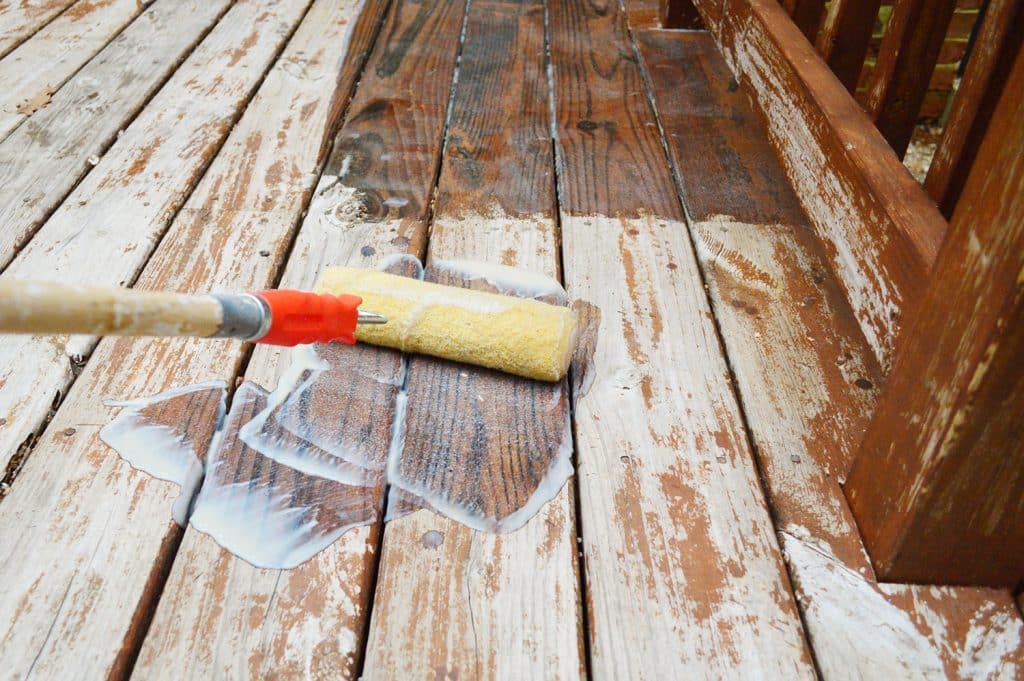
The instructions tell you to spread it “liberally” over the surface and let it sit for 5-45 minutes. In that time you’re supposed to not let it fully dry, which is why choosing a cloudy, cool day is best.
I waited a good two weeks for the “perfect day” and even then it turned out to be to sunnier than I had hoped. Stupid clouds never stay put, do they?
Luckily, the instructions tell you to just lightly mist any spots with water if they are drying out before you can finish your application.
One warning – this stuff is also pretty slippery. I did my best not to walk on it at all, but when I did it felt like it was almost moving under my feet.
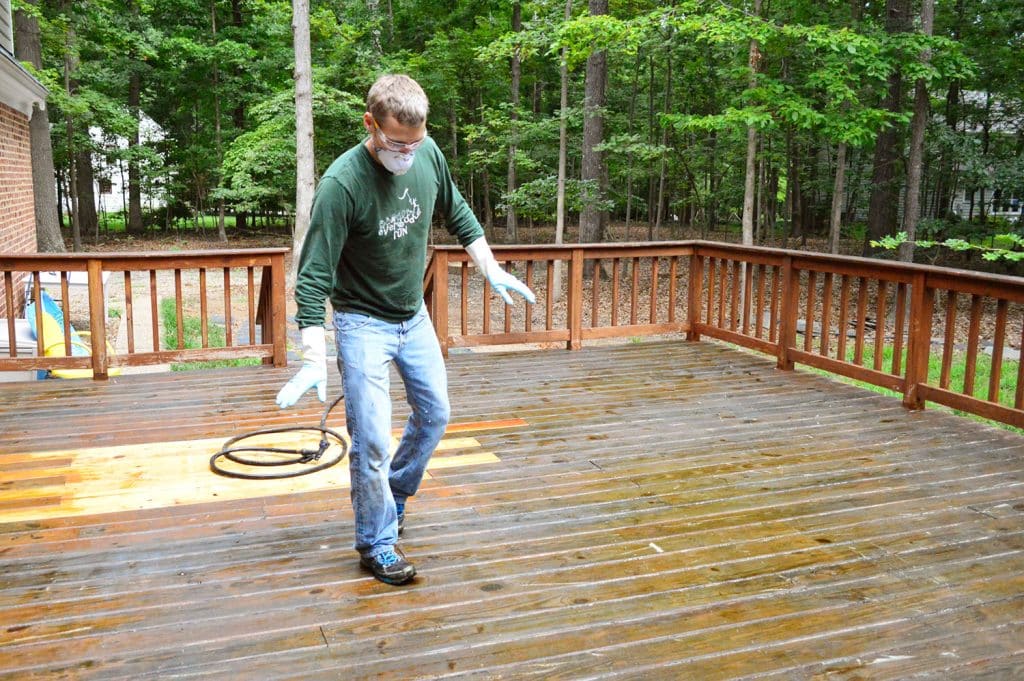
That’s when I realized it WAS MOVING UNDER MY FEET. It was slippery because the finish was literally coming off under my feet. Suddenly my caution turned to excitement. It was working!
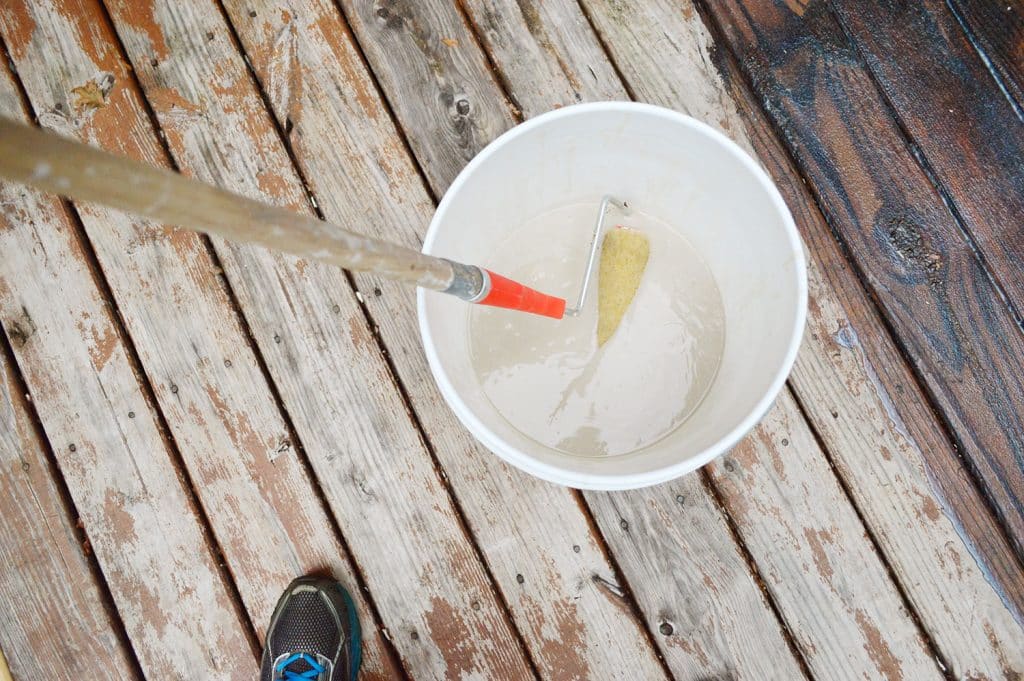
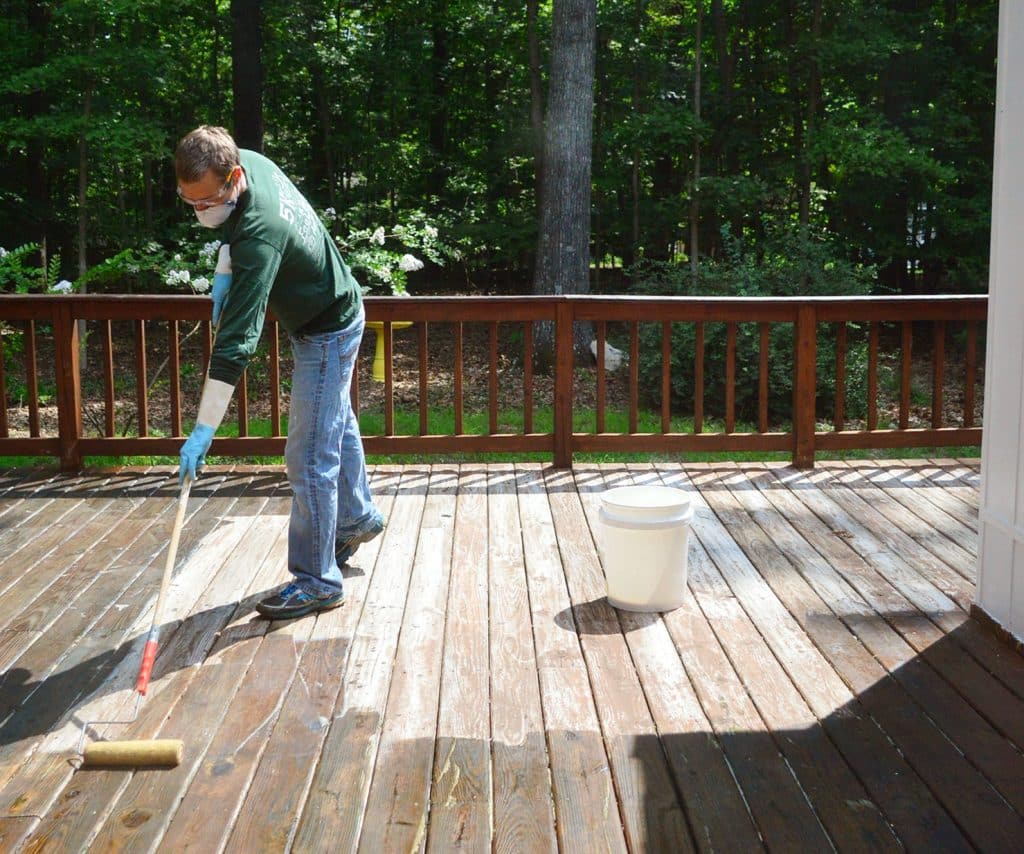
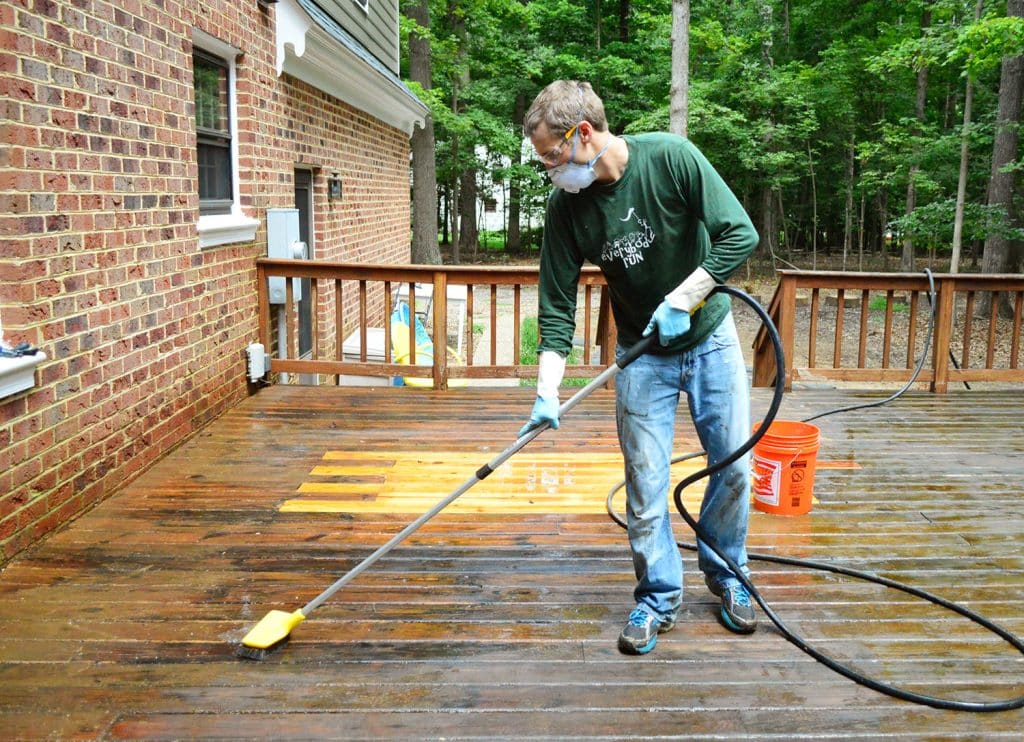
Step 4: Scrub Off The Old Paint Or Stain
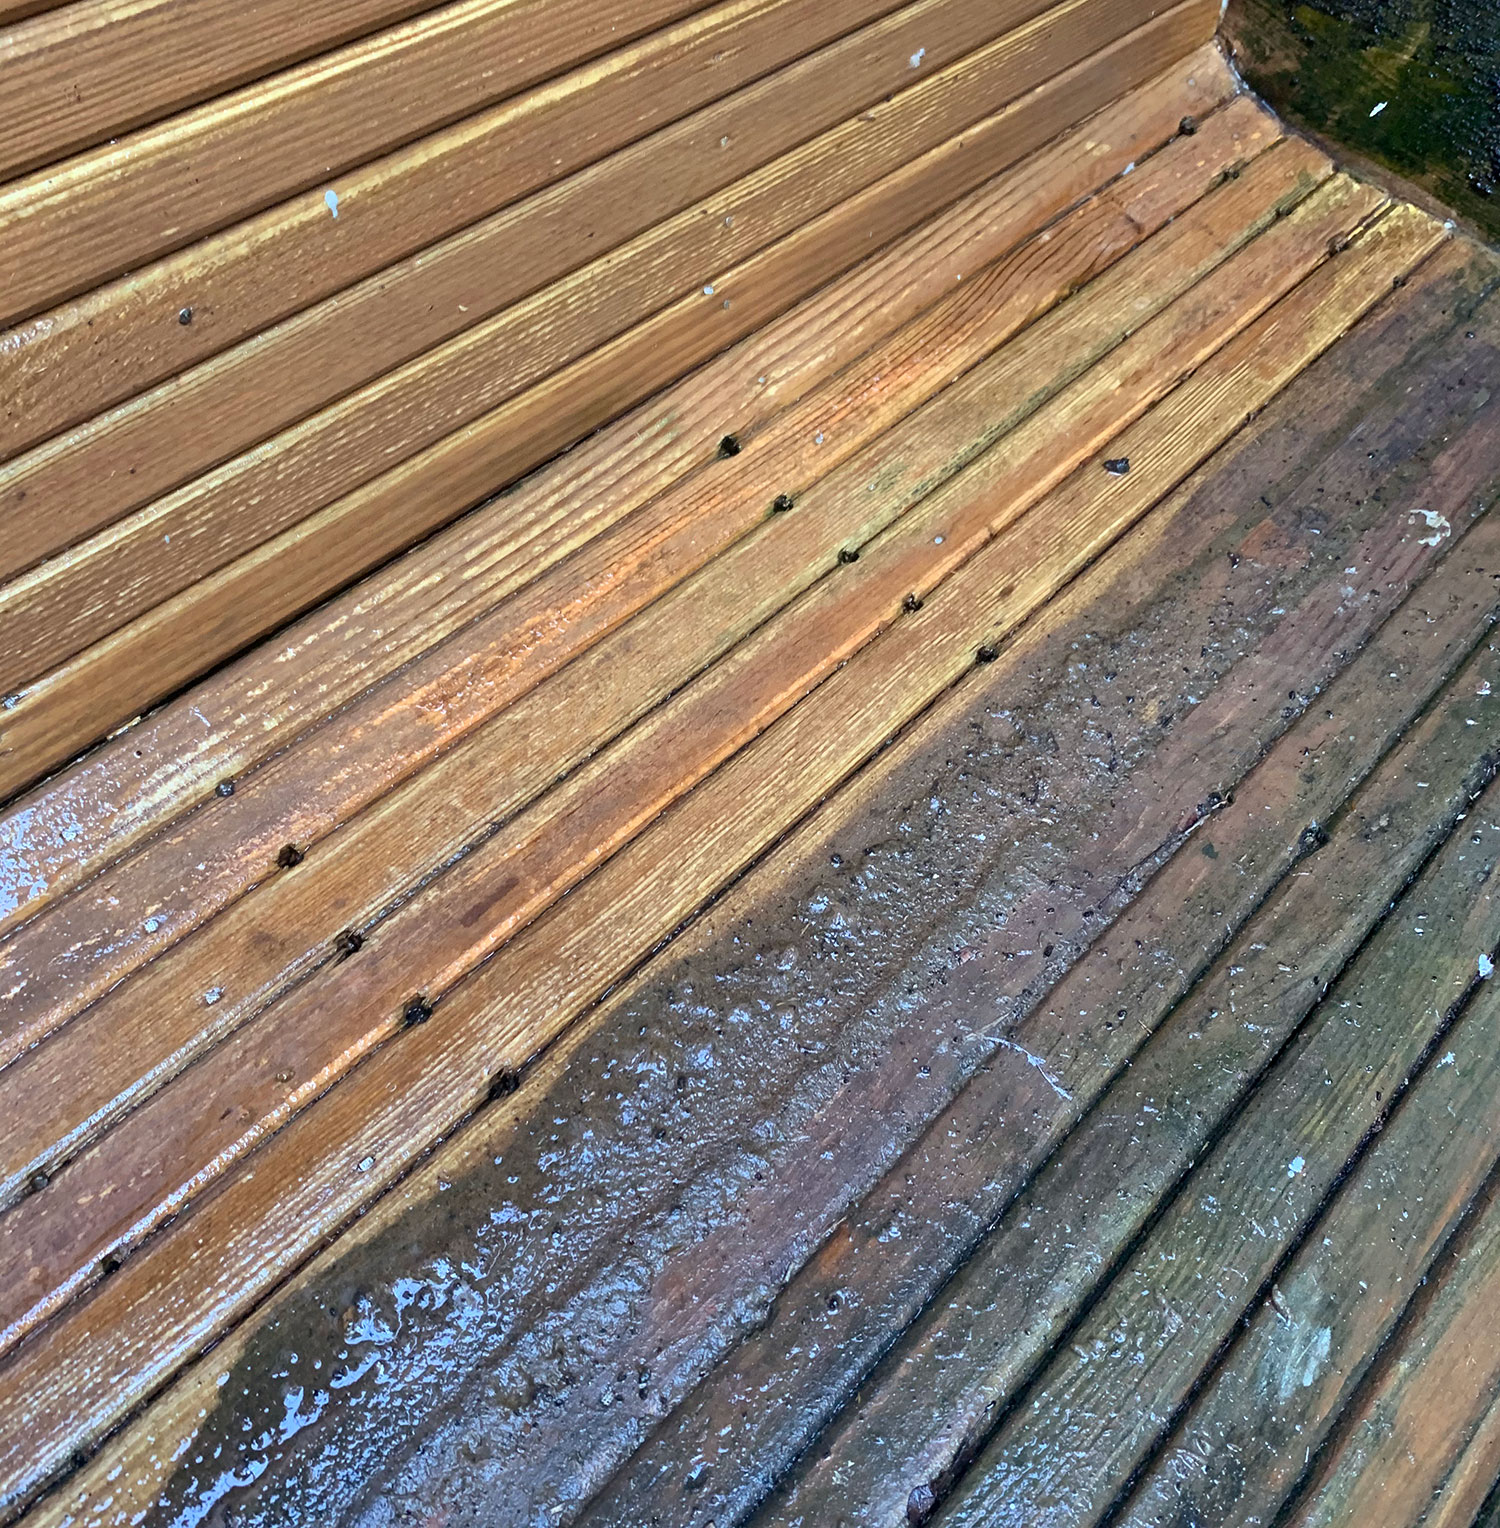
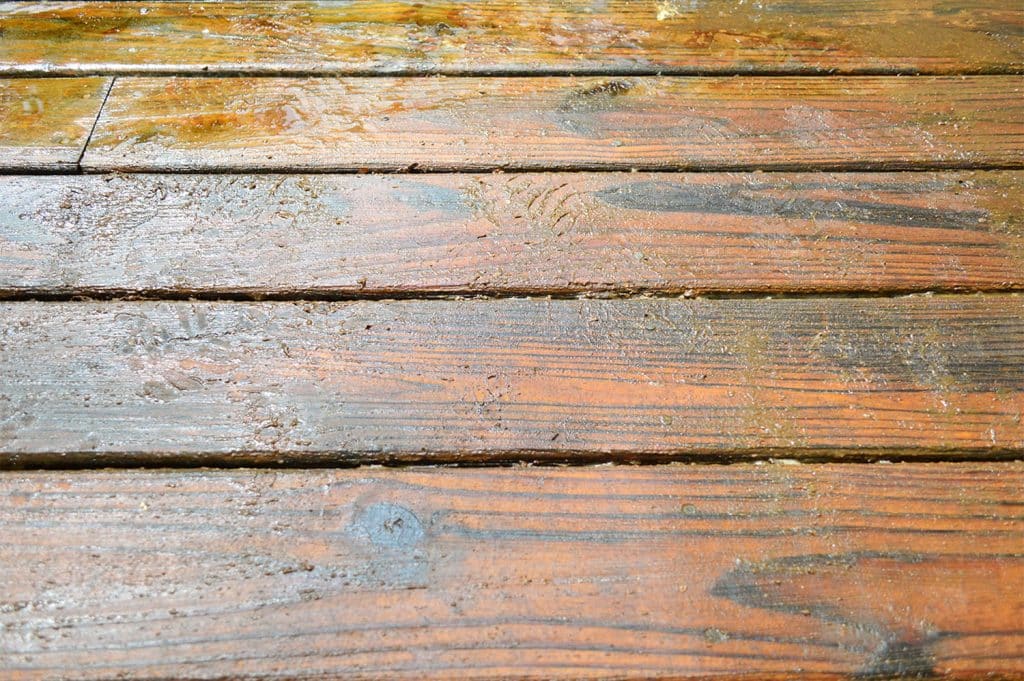
The stripper will help lift the old finish, but it needs some friction to actually remove it from your deck. It had been about 25 minutes since we started and, since it was literally coming off under my feet, we took that as our cue to move on scrubbing!
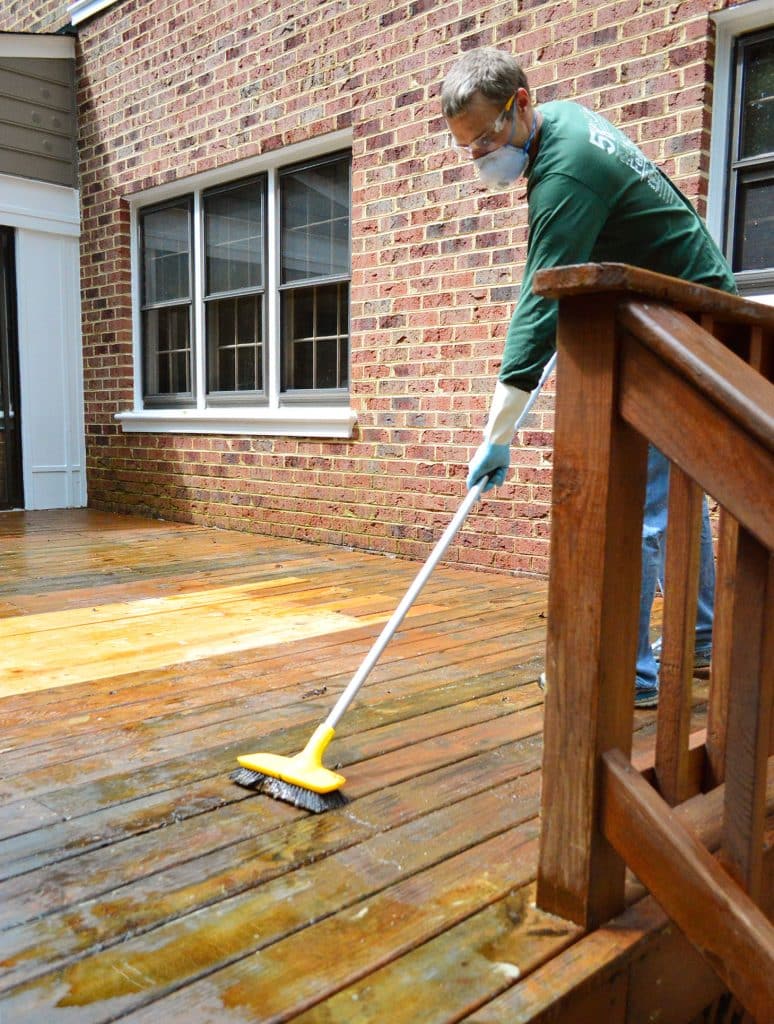
This stiff-bristled broom did a great job, but it did take a little bit of force/pressure. In most cases I could get the finish off with just a couple of swift strokes on each board. It came off in sort of a brown sludge, but after a rinse you could really see how the wood grain was reappearing.
The job went a lot faster once I realized I could hook up my hose to the back of the brush I had bought. It meant I could kinda scrub and rinse all at the same time, which made it easier to see the progress I was making.
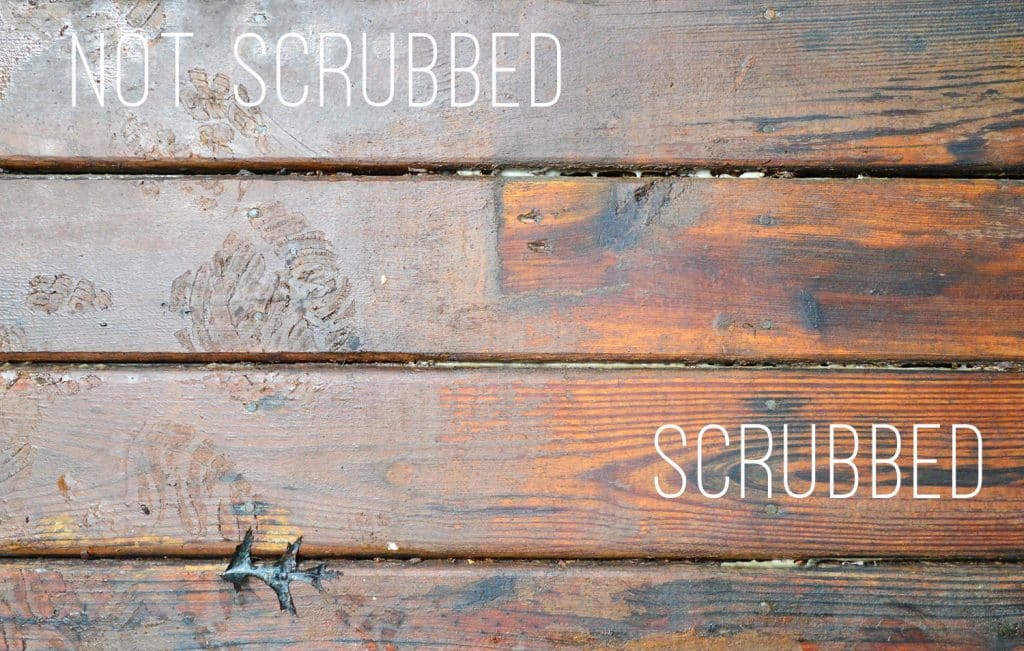
The scrubbing part was definitely the longest part of the process. It took me about 45 minutes to do my first pass, and then I went back and spot scrubbed parts that I had missed or that took a bit more oopmh. Even then it took two or three rinses to make me feel like I had actually gotten all of the sludge off.
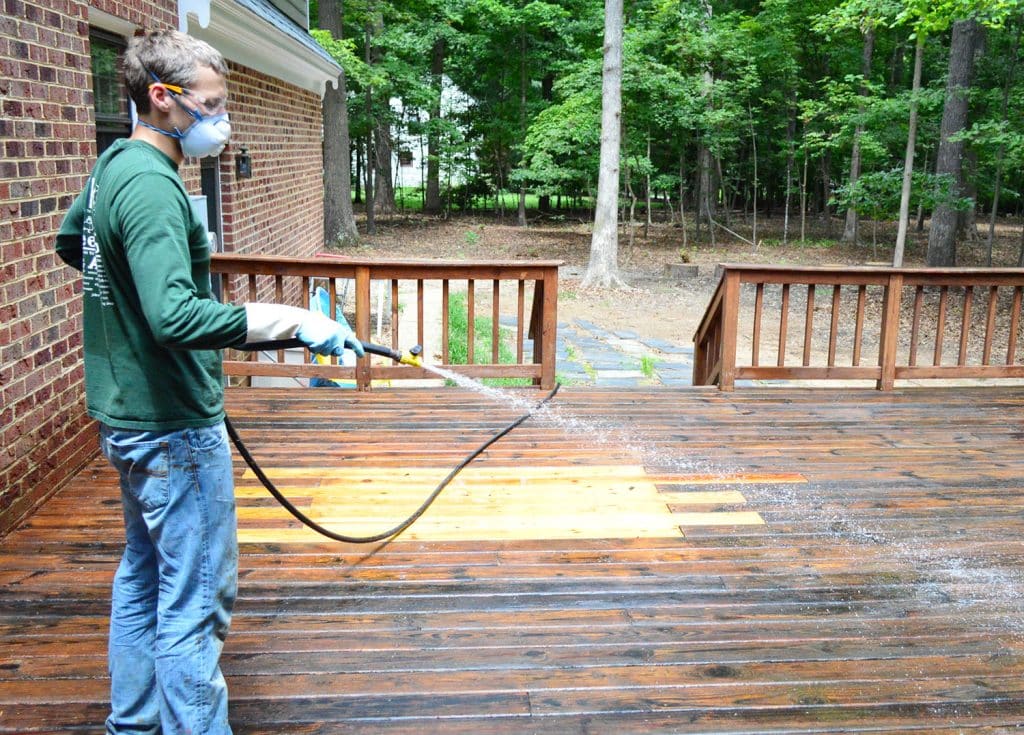
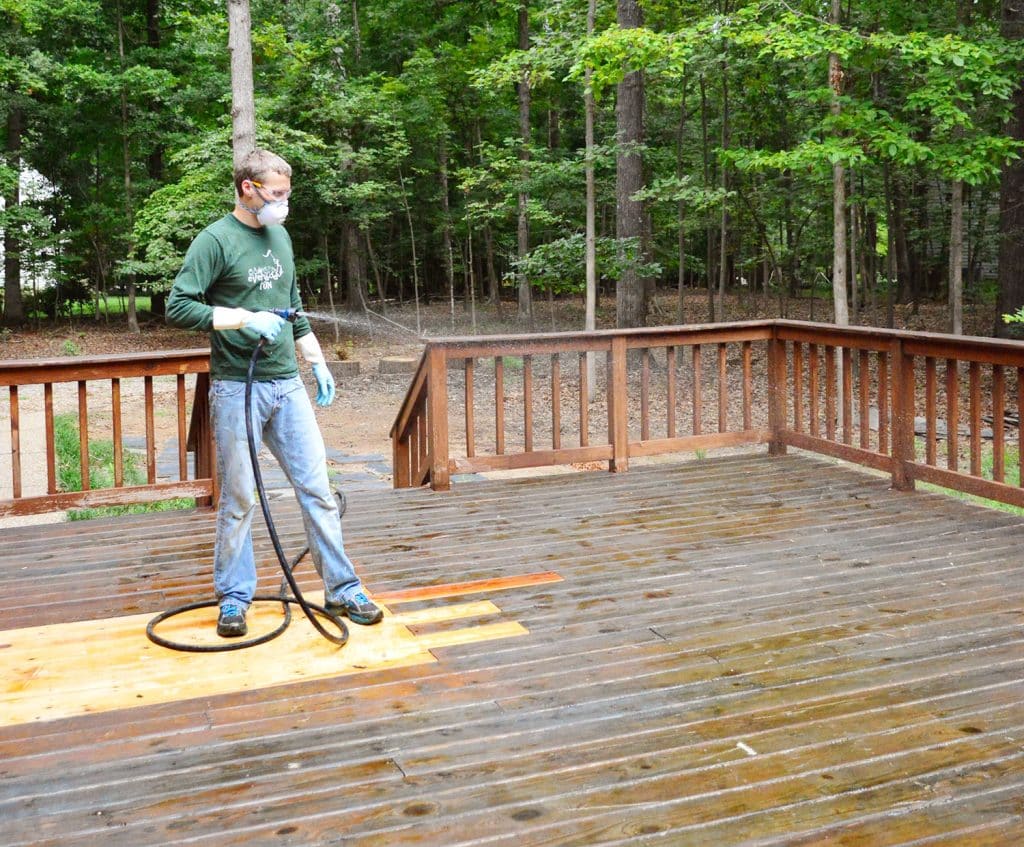
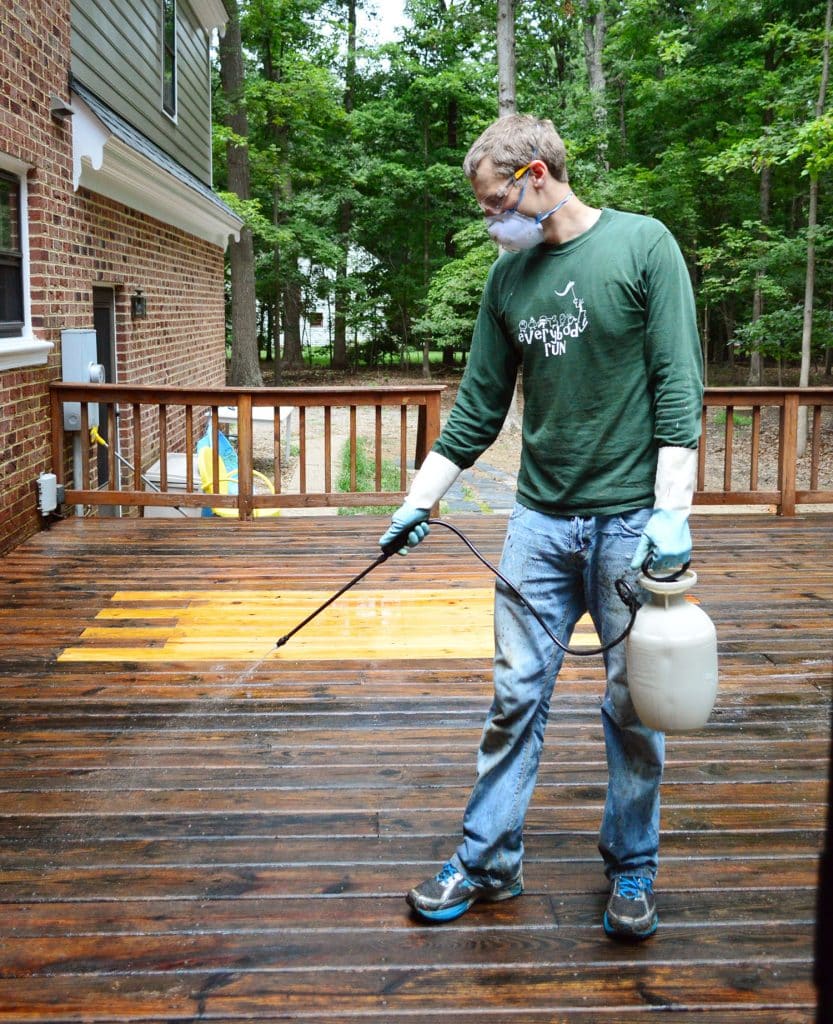
Step 5: Neutralize The Deck Stripper
To finish the process, you need to apply a deck cleaner to brighten the stripped wood and, more importantly (to me at least) neutralize the stripping chemical. We applied this with a basic pump sprayer filled with 1 part water and 1 part cleaner. You don’t need a thick coat, just be sure to get every spot you applied the stripper.
The Behr cleaner recommends that you scrub the deck cleaner into the wood after letting it sit for a few minutes. So after thoroughly cleaning our brush, went spent about 20 minutes or so of brushing our giant deck again. It said it would “foam” but I didn’t get much foaming action.
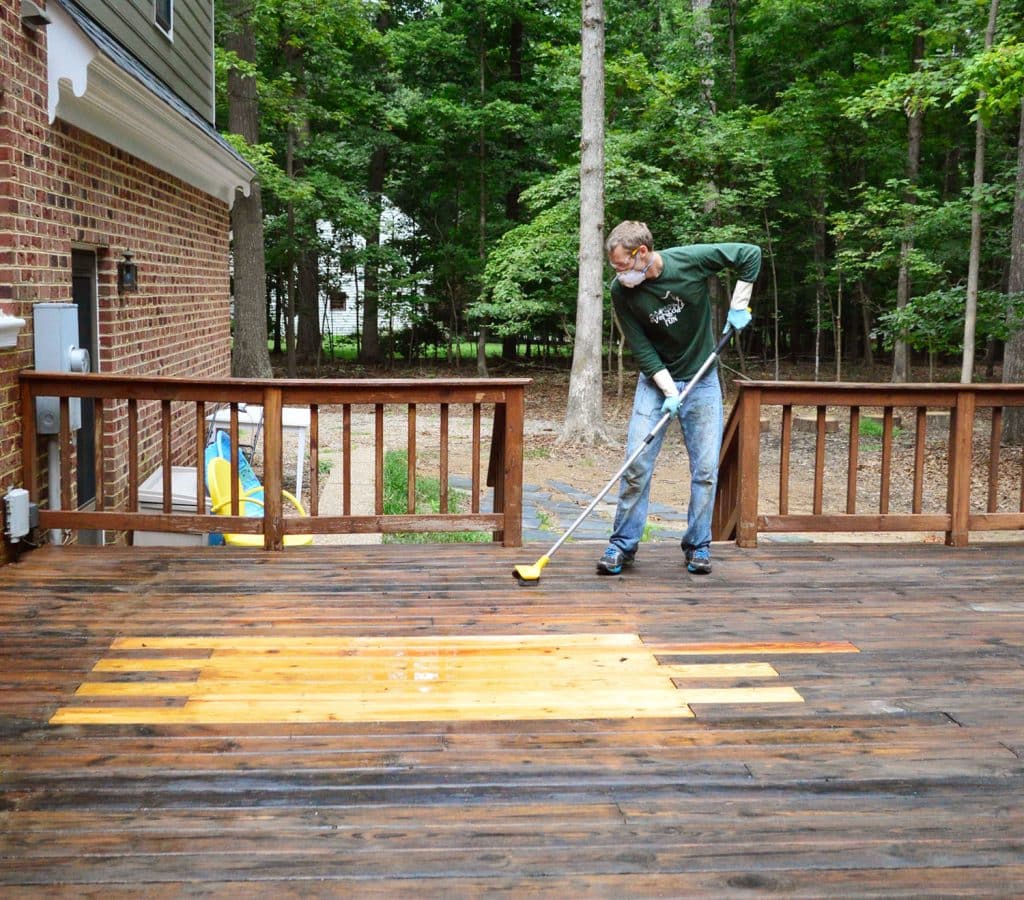
But foam or no foam, I proceeded by giving the deck one last good rinse down to hopefully rid it of any residual deck stripper and cleaner.
Step 6: Enjoy Your Results!
We were VERY impressed with the results. It seems to have gotten rid of not just the peeling paint, but a lot of the gray weathering too. It almost looked like new, albeit bleached, wood. It almost blended perfectly with the new wood we added where we had to have a tree removed.
Here’s that before and after again so you can see how much better it looks, even without the new stain coat applied yet!
The whole process took me about 3.5 hours and I was pretty tired and sweaty (okay, and hungry). Wearing pants and long-sleeves in 85° will do that to ya. So we actually did our deck in two sections, and we completed the next area the following day. But at least my half-attempt makes it easier to see the difference the stripping made. See that obvious line where the sunroom ends?
Our plan now is to stain it with a semi-transparent stain that’s similar in color to the previous rich brown color. It must have been glorious in its day, before it started to wear away. In fact we didn’t go through the trouble to fully strip the small vertical railings (because it would’ve taken a million years, but also because we liked their color and they were in much better shape). So we’re hoping using something close in color that will make the whole thing look seamless when we’re done.
UPDATE: You can see how the stained deck turned out here!
So yeah, that’s the stripping story. I guess the lesson is that even if you have a rough-looking deck, some elbow grease (I think I scrubbed this thing thirty times) might just save it. Either way, we’re pretty pumped about being one step away from breathing new life into this baby. Deck stain, here we come!
BONUS: More Deck Posts
We’ve got more tutorials for making the most of your deck (or, at least, how we made the most of ours). Here are some other posts you might be interested in!
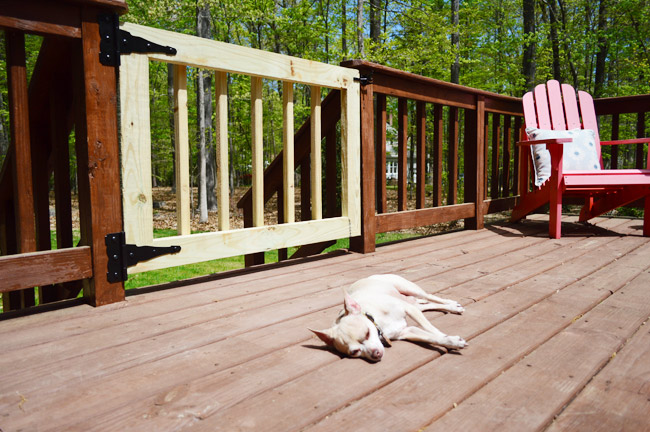
- How To Build A Gate For Your Deck
- How To Stain & Seal Your Deck
- How To Build A Deck
- Why We Decided To Tear Our Deck Down
*This post contains affiliate links, so we may earn a small commission when you make a purchase through links on our site at no additional cost to you.

Leave a Reply