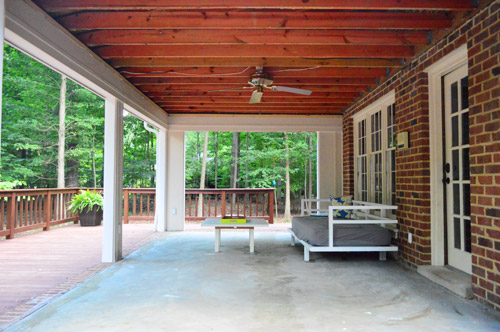
Last you saw our sunroom, it looked like this:
Well, now it’s looking a little something like this:
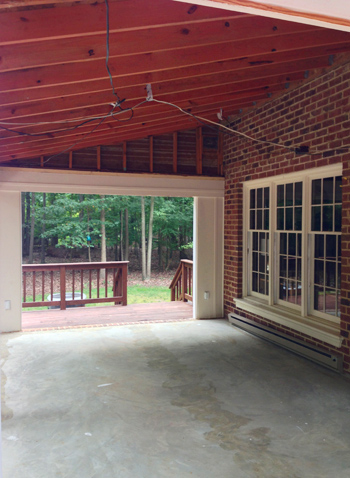
Forgive the poor iPhone pic, but it’s the only one I snapped (just to text to my parents, actually) before Richmond turned into rain city yesterday. But you get the point, we’ve made some good progress lofting the ceiling (with the help of a professional framer who came out this week to make sure our roof wouldn’t collapse). But we’ll get into the story of the ceiling next week once the electrician has come and turned the (now loose) wires into junction boxes for two fans.
Today we’re talking about a floor plan. As in, a plan for the sunroom floor.

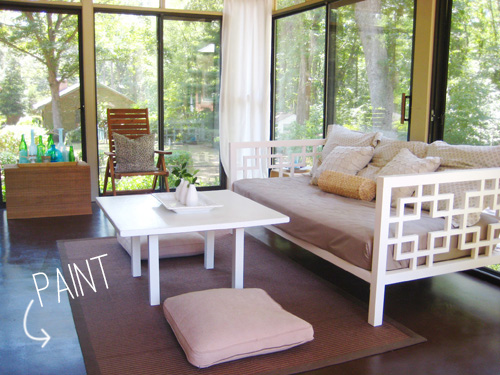
We’ve definitely been putting a ton of thought into it and debating the pros and cons of a few different methods. The easiest solution would be to stain or paint the concrete floor, kinda like we did to our first house’s sunroom.

We originally stained that a semi-transparent “Tuscan Yellow” color and later painted over it in a glossy chocolate color (when we decided we didn’t want yellow floors anymore). The process is pretty straight-forward and it’s just about the easiest and most affordable way you can update a concrete floor.
But the stain/paint shoe just didn’t seem to quite fit here at this house. For one, the concrete isn’t very pretty thanks to glue stains leftover from the carpet we removed (any semi-transparent options are out of the question since it would show right through).
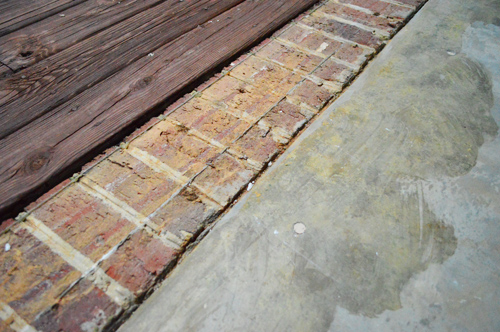
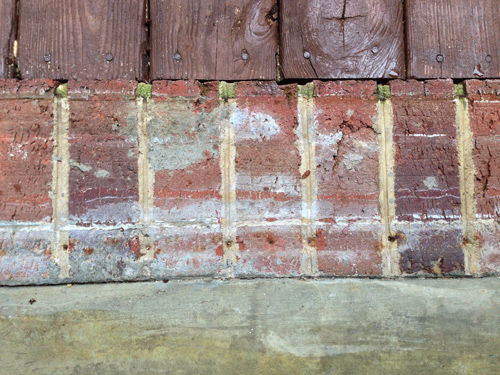
And even if we just painted the concrete with a solid color, the brick border – which is charming at a distance – is a bit scraggily looking up close with glue stains and even a few gaping nail holes and gouges from the old sliders that used to sit on them.
We’ve also had issues with how slick the concrete is when it’s wet. Clara’s feet are often soaked from playing with her water table or plastic pool and then she slips and Sherry gasps and she screams. You get the picture. So something with a bit more grip that’s meant to be outside, like a rough patio tile, had us leaning in that direction.
The real nail in the paint-the-floor coffin was when we learned that painting the floor would effectively eliminate the option to tile it later. Paint prevents thinset from bonding to concrete, turning this tile-ready surface into a no tile zone forever (you can’t even use a solvent to strip the paint later since the solvent would also prevent thinset from bonding, so we’d literally have to hand-chip every trace of paint off the concrete if we wanted to undo our quick-fix of painting it). So as much as we were tempted to paint as a for-now solution (yay, cheap & easy!) we just couldn’t do it knowing that it would severely complicate future plans to luxe up the space with some nice outdoor tile. So in the throes of indecision, we went tile shopping…
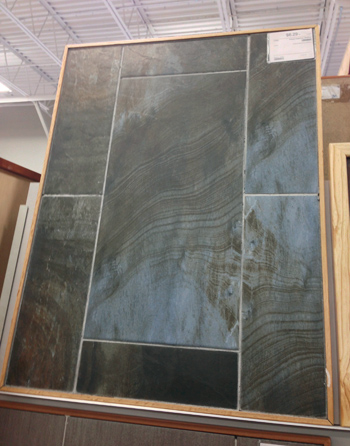
We were quick to fall in love with big beautiful tiles like that one above. But as we did the math on puppies like that (which was $6.29 per square foot) we realized that tiling our 200 sf+ space was probably going to be out of our price range. ‘Til we spotted the Labor Day Sale sign that said 20-25% off your total purchase plus 35% off tools and supplies (that promotion seems to be running through Labor Day by the way). Score!
25% wasn’t going to put that $6.29 sf beauty in our budget (not even close) but it did encourage us to hunt down some other options. We found three good choices that met our criteria. It had to:
- be outdoor friendly (the guy at The Tile Shop suggested that we focus on porcelain tiles, which are known to do best outside)
- have a rough texture (to prevent slipping)
- be a lot less than the one pictured above (as much as Sherry loved that guy like it was her baby)
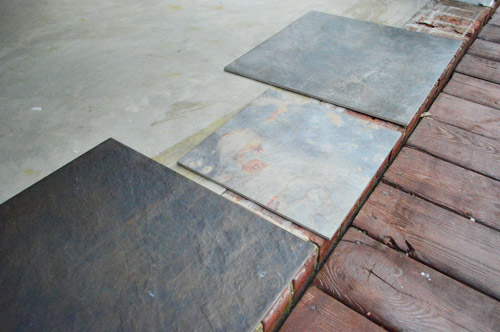
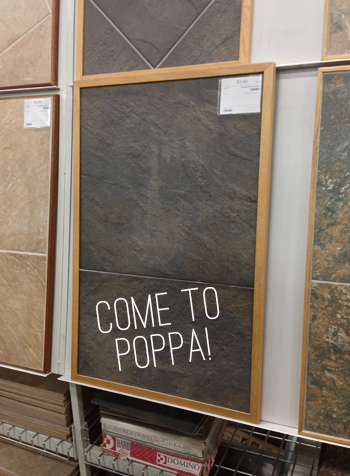
We bought a sample tile of each (*although we’d actually purchase the middle one in a 1ft x 2ft rectangle, they just didn’t have that in stock to take home) and laid them in the sunroom near the deck. We wanted to see which played best off of the wood color, while also providing enough contrast so people would notice the super-slight-but-still-there step up into the sunroom (around an inch). Update: Although they each have other stone references in their names (slate, limestone, etc) these are all porcelain tiles since the tile pros said those were best for outdoor projects in our area – so it’s just called Mtn. Slate Iron because it’s modeled to look like slate.
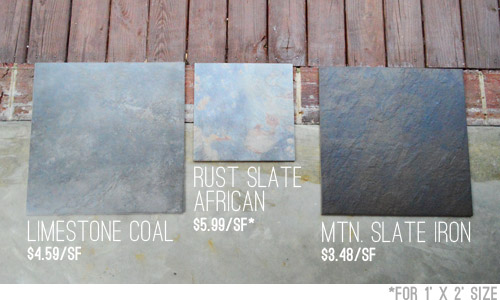
Our immediate favorite was Mountain Slate Iron because we liked how the deep color and brown undertones worked with the deck. The others felt too cool and washed out when the sun hit them. And it didn’t hurt that Mountain Slate Iron was the cheapest and had the most texture (making it the least slippery when wet). So not only were we sold on that as the best tile option, we were officially sold on just diving in and tiling now. It’ll be more expensive and more work than staining or painting, but ultimately we think it’ll elevate the space more while solving a bunch of issues that those options couldn’t.
So as of last night, we’ve officially placed our order. Woot!
The tile won’t be in stock for pick up ’til next week. And even so, we want to finish the ceiling overhead (i.e. beadboard installation, new fans, painting) before doing anything too precious underneath. But we’re relieved to have made a decision AND to have caught a sale in the process. The discounts took our tile down from $3.48 per square foot to $2.61. Clara was so excited she just had to call Elmo right then and there on her toy phone.
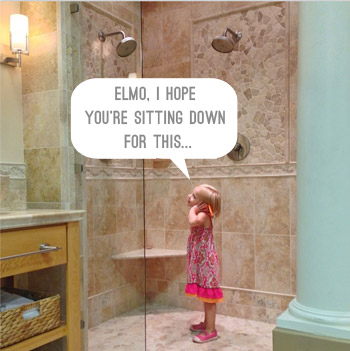
Okay, that’s not really what they were talking about. Although she could easily play in those display showers all day, so I guess she’s showing a smidge of peripheral interest in our flooring decision. I’ll take it.

Leave a Reply