“I’m Blue Da Ba Dee Dabba Da-eeeeee” (anyone remember that song?). Picture us maniacally singing it while priming and painting trim for hours days. We’re slowly losing our minds, but we’re having fun doing it. Please feel free to click over and jam out so we feel less alone (and slightly less certifiable).
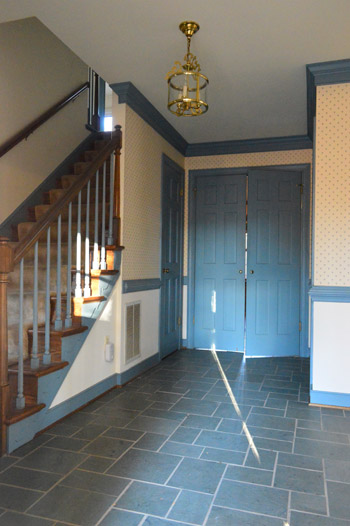
Ok, so when we last left our hero, er, our foyer, he was sporting some snazzy blue trim.
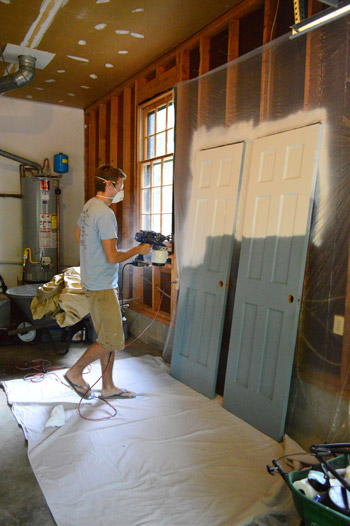
We had stripped down all the wallpaper, and had also removed two closet doors and the bathroom door so we could take them out to the garage and use our paint sprayer to apply a coat of primer and two coats of white semi gloss paint.
As for how we like our paint sprayer, it has definitely been a huge help in these two scenarios:
- when we can remove something and lay it or lean it on a drop cloth and spray it (like doors, cabinetry, or crown molding before it’s installed)
- when we don’t have a ton of other rooms/floors/areas to tape off (like when we had removed the carpeting upstairs and could quickly spray all of the trim and doors without worrying about getting it on any of the floors upstairs)
We’ll still definitely roll walls and ceilings (we think the sprayer is best for when we tackle trim, doors, cabinets, furniture, etc). Like how you wouldn’t spray paint walls but you might spray paint cabinets, doors, or furniture.
Here’s a video of it in action, just in case watching the motion of someone using it helps you picture things. John’s moving a little slow here, so for an even smoother finish we learned to go faster (it lessened the chance of drips).
The pros that we’ve found to this particular model (we had a Graco True Coat II – but we’ve since switched to this Wagner model) are:
- great coverage (it goes on thicker and smoother than a brush or roller for a faster finished result)
- you don’t have to water down the paint with anything (many sprayers require this, and it’s nice and easy not to have to worry about it)
And just to be balanced, here are the cons:
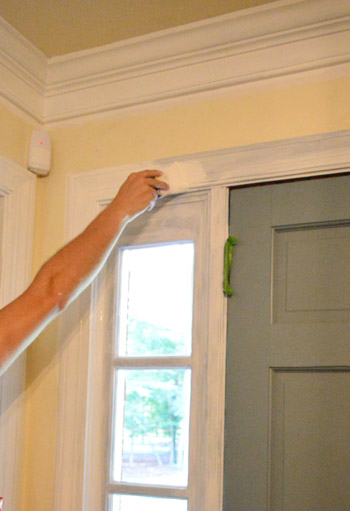
- as with every paint sprayer, there’s overspray, so it’s not as controlled of an application as using a roller or brush since you get paint flying around outside the item you’re sprayer (check out the image above – all the paint on the plastic drop cloth behind the doors is overspray)
- you have to learn how to control it so you don’t get drips – spray quickly and don’t hold the sprayer too close to the surface (this just seems to take some time to master, so it’s not as much a shortcoming of the sprayer as it is a skill that the operator has to hone)
So with the doors out in the garage being primed and painted with the sprayer, we dove into priming and painting the rest of the trim in the foyer by hand.
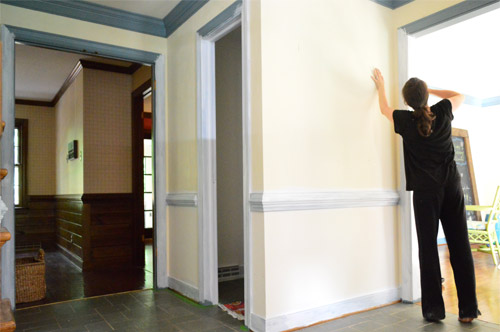
As for why we didn’t remove the trim and spray it in the garage like the doors, we were all for using it on the doors that way (which were easily removed and brought out to the garage) but removing and reinstalling all of the baseboard, chair rail, and crown in the foyer, as well as the trim around the seven doorways (!!) in there would have taken forever. We also considered taping things off and then spraying while standing in the foyer, but it leads into the kitchen, the dining room, the office, the portico, two closets, and the bathroom – so taping those all off to protect them from flying paint would have taken about a million years.
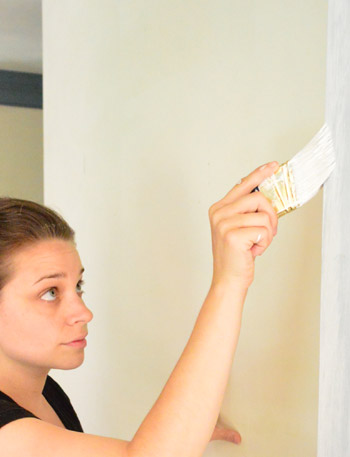
So we primed, and we primed, and we primed, and we primed (two coats on all of the blue baseboard, trim, chair rail, and crown). This is my tired of priming face.
If you have shiny wood trim or glossy painted trim, you’ll want to rough it up with sandpaper and wipe it down with liquid deglosser before moving on to the primer and paint step (be sure to use a stain-blocking primer if it’s raw wood). But since ours was chalky and matte painted wood, we didn’t need to sand or degloss it, and we could skip right to applying a primer followed by some semi-gloss paint.
It really depends what color you’re starting with when it comes to how many coats you’ll need of primer and paint, but in our case it was four coats (so after two coats of primer we could move onto two more coats of paint). We used Benjamin Moore’s Simply White in semi-gloss just like the trim and the doors upstairs. Here are some other designers’ best white paints you could use instead.
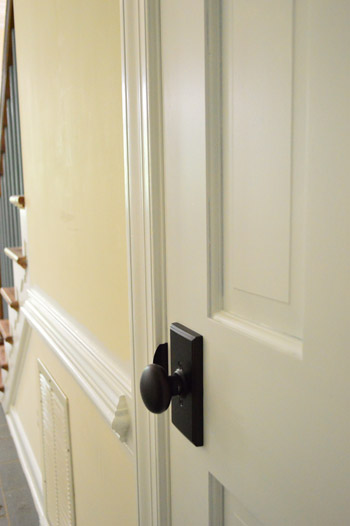
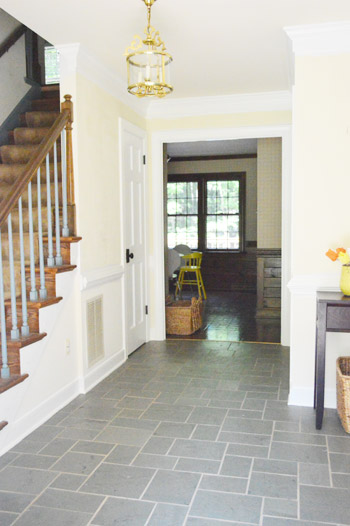
Finally after everything dried we could rehang the doors (with the new knobs that we ordered to match the ones upstairs).
We have yet to paint the back of the front door in the same teal color as the front of it (or ebonize the stair railing and paint those blue spindles white)…
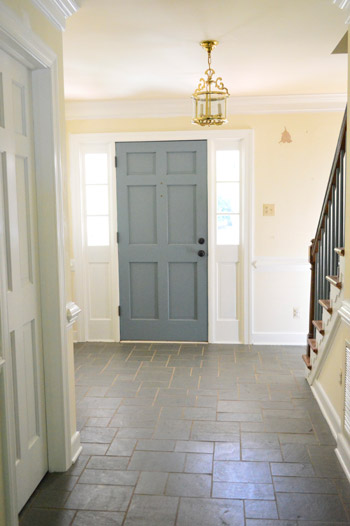
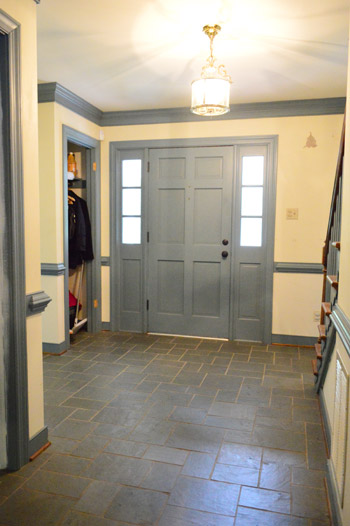
… but it’s already a lot lighter and more open than it felt when we inherited it with blue trim and wallpaper aplenty.
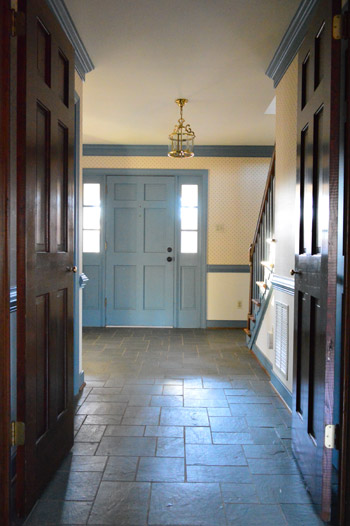
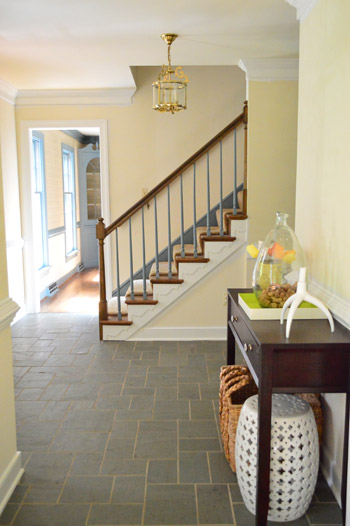
Here’s a before picture from the other side.
And a now shot with the white trim and doors. It’s also funny how much less blue the slate looks now that all the blue trim isn’t reflecting on it. It definitely still has some blue undertones, but it feels more neutralized now that we de-blued the trim.
So while the stairs are still quietly mocking us, we’re slowly inching towards a fresher looking foyer. We can’t wait to paint those yellowed walls.
And just in case you’re worried that we might be close to done painting blue trim, you’ll be comforted to know that it’s still hanging out in our office and our dining room – both of which not only have window trim and baseboards, but also have crown molding (along with blue chair rail and built-ins in the dining room). So there’s a fair chance you might be reading about us painting blue trim for the next decade or so. While we softly cry into our paint brushes.
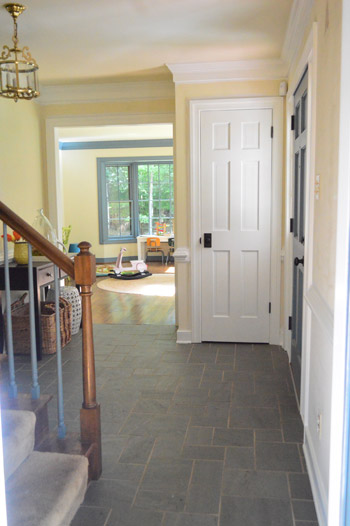
But man oh man, does the glossy white result make us happy. The things we do for love.
Psst- In family news, here’s what we did for the Fourth of July and here’s how we spent our sixth anniversary.

Leave a Reply