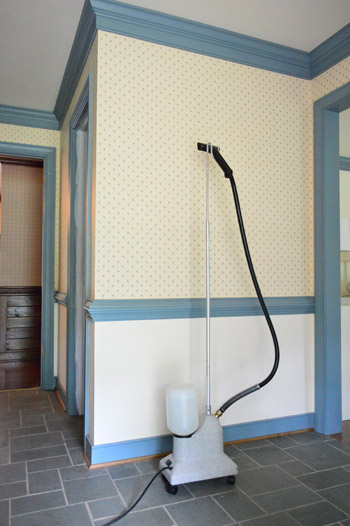
Things are getting steamy in the foyer! As a refresher, we have five rooms full of wallpaper and we’re attempting to take five different removal methods for a spin, just to see what ends up working (and what bites the big one). For our first time at the wallpaper removing rodeo we used hot water and a spray bottle, which actually worked out pretty well. And in this week’s hard-hitting Wallpaper Exposé we’ll be tackling the foyer with this guy. His name? Steamer. His game? Steaming clothes. He’s actually John’s sister’s, but it was free to borrow and we thought we’d see how it worked out for wallpaper too.
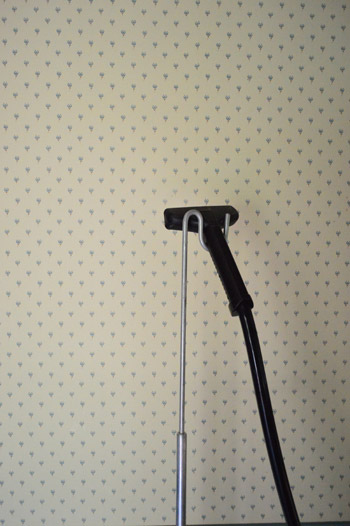
But first, a moment of silence for the small blue flowers.
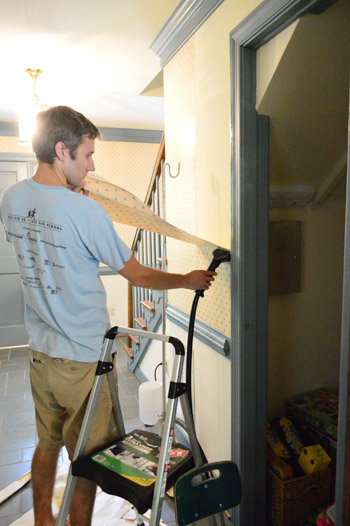
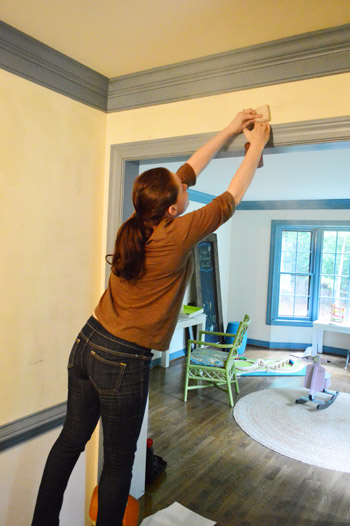
Ok, let’s get it going. This is the first area of the foyer we tackled, and our method for this area was for John to run the steamer all over that section of the wall and then I followed behind him, yanking all the way.
It worked pretty well (some areas left the backing when I peeled so they had to be resteamed and reyanked, but it wasn’t too bad. I’d score it as working a smidge better than the boiling water method simply because it was probably 10% faster/easier since around 10% more of the backing seemed to come off so it didn’t have to be removed in a second pass. But when you factor in the expense of buying or renting a steamer I’d say it was only marginally better than our first (free) method of hot water in a spray bottle. So it’s kind of a toss up. Do you want to pay $20-50 for something a little bit easier or would you need it to be a whole lot easier to spend that loot? Of course someone else might swear by a steamer and say it worked in two minutes, so the paper and how it’s applied are definitely a factor too.
Oh but it got a little hairy when we had to get the tops of the walls.
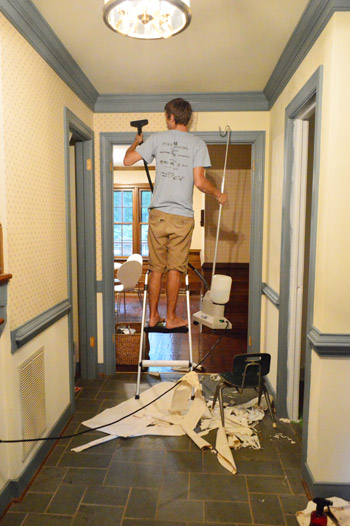
Since we were only dealing with a clothes steamer the hose wasn’t built to stretch very far, so it wasn’t quite long enough for the steamer to rest on the floor while we did the upper areas (which we never thought about until we got to that part). It wasn’t too much of a big deal, but John did get a nice workout holding up the equivalent of a gallon of milk as he worked his way around the top part of the foyer. So that’s just something to think about (definitely rent/buy a wallpaper steamer over a clothing steamer if you’re actually going to spend money on something).
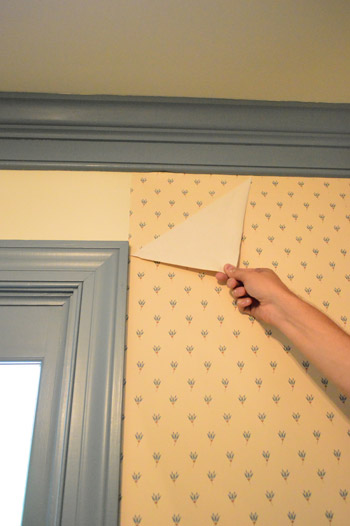
Around halfway through we decided to try another method, which was pulling the paper right along with the steamer, so instead of John doing a big area and then me following behind him peeling, I literally peeled as he went like so:
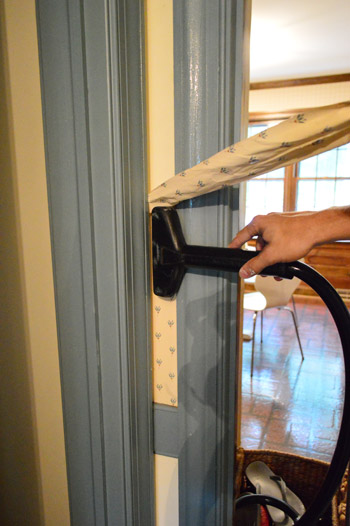
This method was awesome. In almost every case it removed both the wallpaper and the backing behind it so the wall was bare and perfect underneath. Must have been because there was more heat on the part we were actively peeling instead of pulling the paper off after it started cooling down and John had moved on to another area.
Another reason this second steamer method was awesome was because one person can do it, so if you have a solo meeting planned with a wallpapered room, don’t fret. You can do it. And you can look this sexy doing it:
So I’d rank this second faster-peeling steamer method as around 30% quicker & easier than the hot water/spray bottle method. Although we were tackling a larger area than a small bathroom, so it was still a substantially longer process for us. Especially when we hit this Amazing Race-ish Road Block. Layered wallpaper.
For some reason, there had been two layers of wallpaper applied to the entire front door side of the wall. But it wasn’t an older paper underneath, it was exactly the same stuff.
You guys. It was like GROUNDHOG DAY. Basically we had to do that wall twice and I’m not gonna lie. There was whining. But we got ‘er done. Eventually.
The funny thing is that we have no idea why it was doubled along that entire wall. Our only guess was that something didn’t match up so they redid it with a second layer of wallpaper to correct whatever got crooked or mismatched.
Oh and we did have one “incident” where we think the paper was glued a lot more in one spot for some reason, so our drywall’s top layer got peeled off. Pretty, eh?
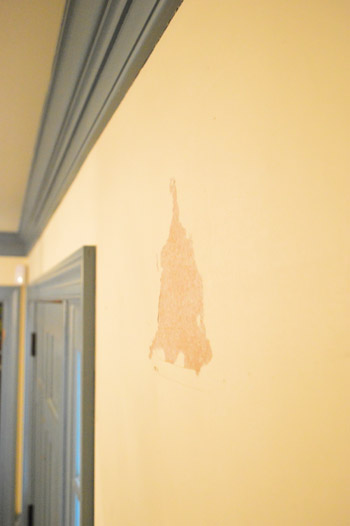
My plan is just to skim coat that with some spackle and then sand it down so it’s hopefully flush with the rest of the wall and just as smooth.
After we wrestled all of the paper down I went over the walls with a spray bottle full of half vinegar and half water (not hot, just room temperature) and used the rougher scrubby side of a sponge to make sure there wasn’t any glue residue anywhere. For the most part it had all come up with the backing so there wasn’t much to scrub, but a few tacky areas were a lot smoother after this step, so it’s definitely worth adding onto the end of your peeling project.
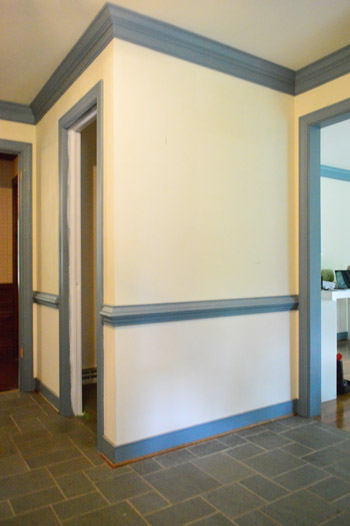
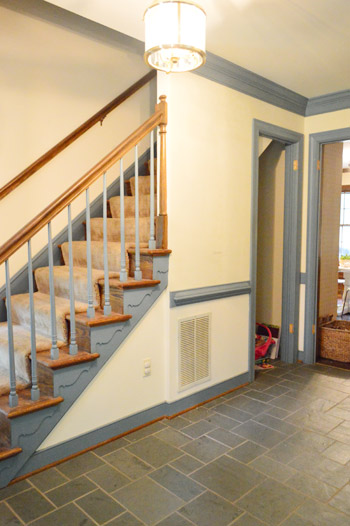
So that’s how we steamed things up, all in the name of deflowering the foyer.
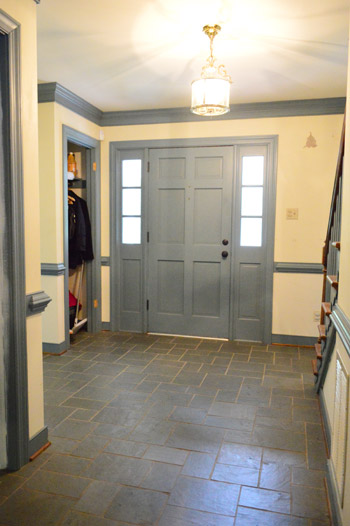
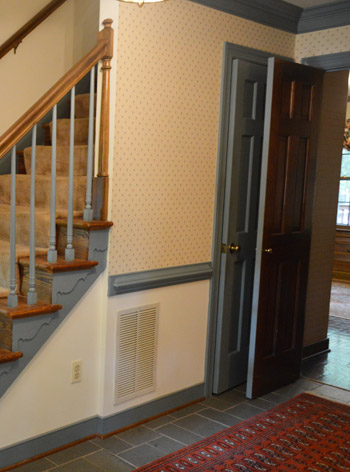
Obligatory before shot from our walk-through. You know, for closure.
Oh but you’ll notice that the closet and the bathroom doors are off in the second to last shot, since we’re actively working on taking those from blue to white. We’re also about 20% into the blue trim out there, so we can’t wait to get that done and share the photos, hopefully sometime next week (four coats = Barfville).
Has anyone else taken a steamer for a spin? Did you do the follow-right-away peeling approach, or the steam-a-section-and-then-peel method? So far we’ve loved that we’ve never had to score anything and haven’t even needed a spackle knife (hand-yanking has done the trick). So I’d definitely put that in the pro column, right along with the zero dolla (holla!) cost so far.

Leave a Reply