Again? Already?!? If you had told me 10 months ago that I’d be doing deck construction again less than a year later, I would’ve punched you in the face.

Okay, not literally. I’m not the punching type. But I would’ve thrown you a look that said “I would be punching you in the face right now if I were the punching type.”
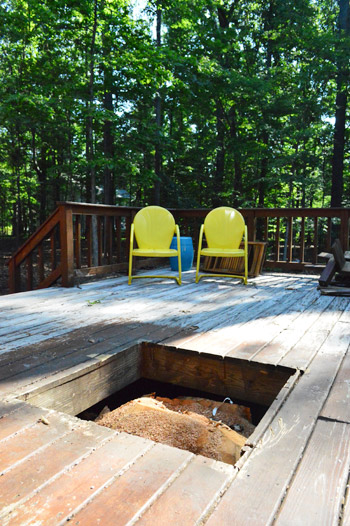
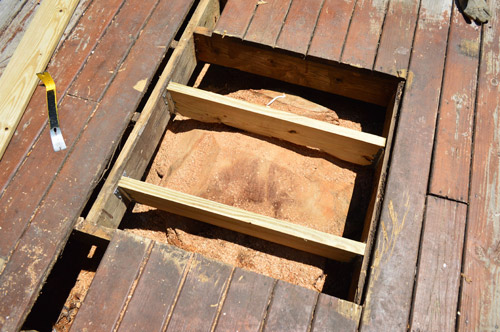
It’s not that I didn’t enjoy the process of building a deck in the heat of summer… I just wasn’t really looking forward to doing it again so soon. But at least it wasn’t an entire deck this time. It was more of a patch job. Remember this puppy?
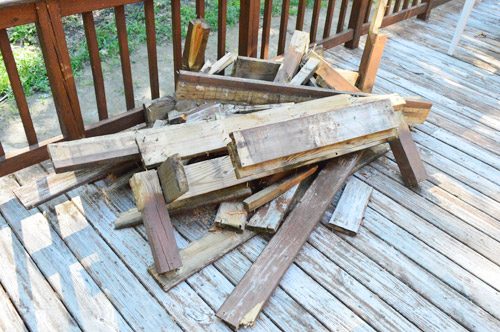
That’s the hole leftover from the big tree that we had to remove. The tree guys were nice enough to disassemble the bench that surrounded it (okay, technically they had to demolish it to remove the tree). Only downside is that it left us with this pretty pile of bench scrap.
Rather than rebuild the bench, we decided it would make the deck more functional to just cover the hole so we could place a table on a centered spot out there (if the hole stayed it would squish the outdoor dining area over in a not-as-centered-and-more-cramped way. My biggest worry was trying to find deck boards that were the same width as the existing who-knows-how-old decking. I even attempted to salvage some full boards from the scrap pile, but I came up three short.
So I headed off to Lowe’s to get my supplies and (with an old scrap piece of board in hand) quickly discovered they were a standard width that I could buy right off the shelf. Score! So into my car I packed:
- Seven 8 foot long deck boards – $42
- One 8 foot long 2 x 8″ board that was cut in half (those pieces would act as my joists) – $9
- Four metal hangers to hold the joists in place – $4.50
- TOTAL: $55.50
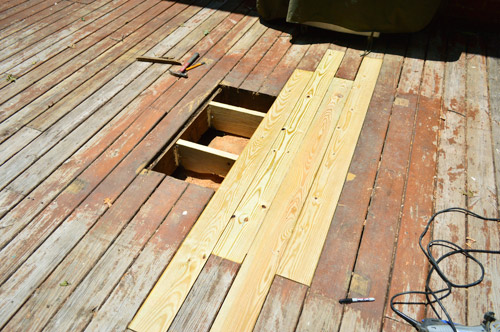
First up, I cut my 2 x 8s to the width of the hole and secured them with the hangers, using some decking nails that we had leftover from last summer.
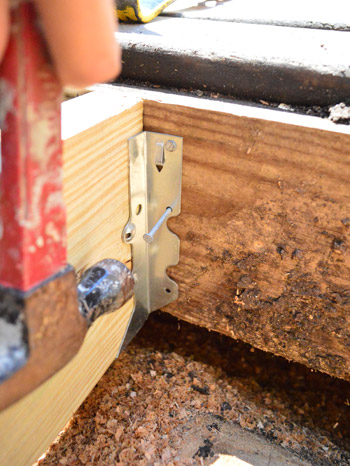
I probably only needed to do one joist (the space was just a little over three feet wide) but the tree guys had cut the stump down at a weird angle so I couldn’t put a joist right across the middle – so this ended up being my weird spacing. As long as it keeps the deck boards from falling, it’s cool by me.
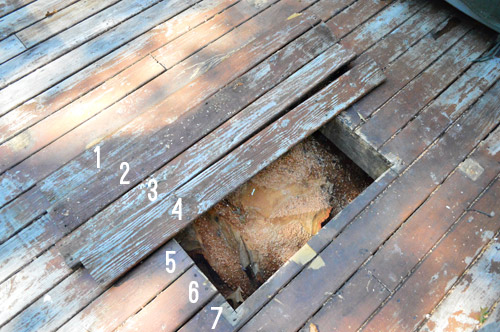
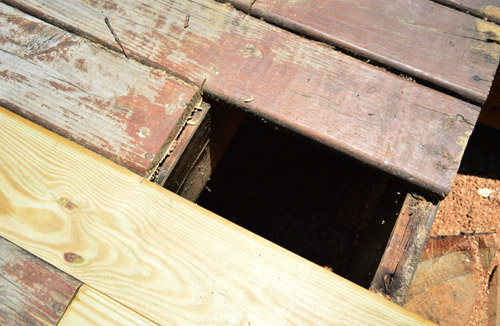
For stability and appearance reasons, I knew I wanted my new boards to extend beyond the hole. That way my patch-job would looked a smidge more natural and the new boards could rest on an existing joist at either end for even more stability. So that decision involved cutting back some of the other planks to lay in my fresh new boards and camouflage the hole.
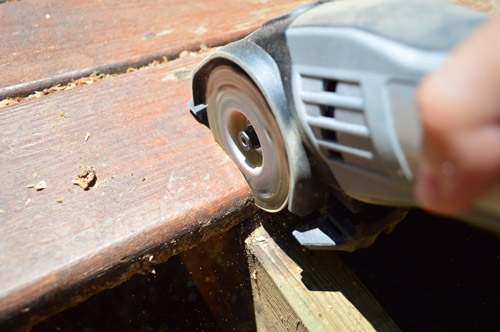
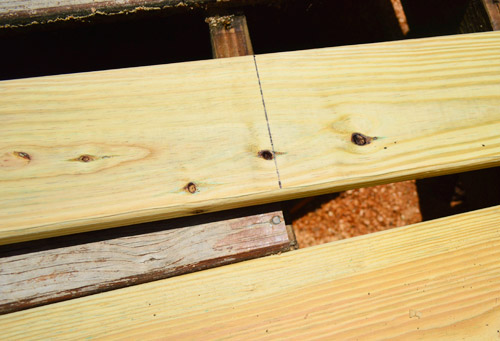
To do this, I broke out my Dremel Sawmax and cut a deep slice. It wasn’t deep enough to go all the way through, but it was enough to make the board snap right where I wanted it (hence the slightly rough edge you see above).
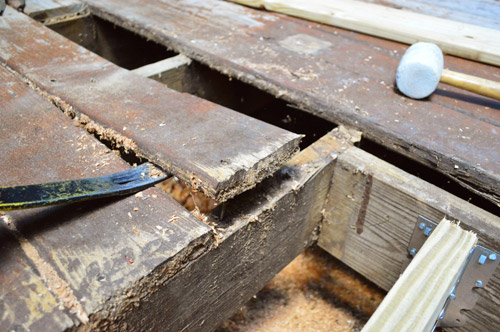
This process saved me from having to pry up the entire length of each board. Instead, I just had to pry the sections that I wanted to remove.
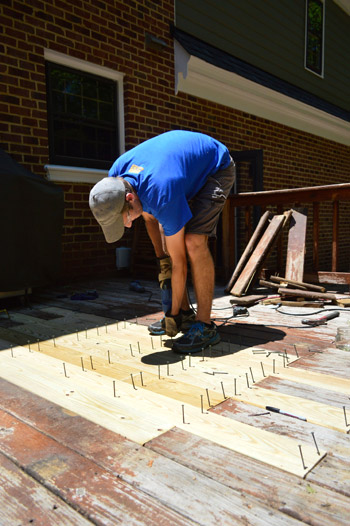
When it came time to fit the new board, I just laid it across the space and marked it with a pen. No measuring tape needed.
Then using the stairs as a makeshift sawhorse, I cut each board down with my circular saw.
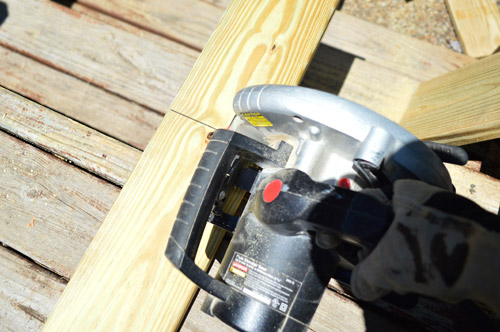
Then it was just a matter of putting my puzzle pieces together as I went.
Well, that and screwing them down. I was thankful that I had kept all of my leftover screws from last summer (maybe the universe knew I’d be doing deck-work sooner than I thought?). It saved me a few bucks and most of all it saved me from doing one of those annoying extra trips to the store because I forgot to grab something.
So here she be. Certainly not the prettiest home improvement “after” but the mismatched boards are at least an improvement over a gaping hole. Oh, and don’t mind that weird long board on the bottom left. One of the old boards cracked while I was prying it up so I had to patch a little more than originally planned.
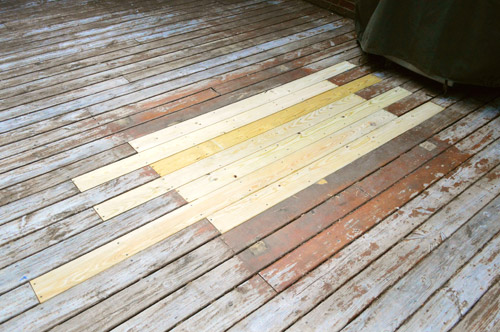
We’re hoping that once the whole deck gets a good cleaning / stripping / restaining the new boards will blend right in with the old ones. Or maybe I should say that hopefully the old boards will look newer and they’ll all fit right in.

But for now, we’re just enjoying being able to have people over without worrying that someone’s about to fall through the deck. Check out Sherry’s chair bravely sitting right where the old hole used to be (she took this photo, which is why she’s missing).
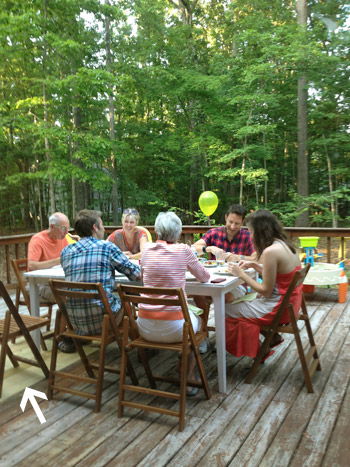
So next on the deck to-do list is to give the whole thing a deep cleaning/stripping and then stain & seal it to hopefully bring back some like-new glory. And eventually we’d love to open up the back of the deck by adding extra wide stairs that lead down to the backyard. Sort of like this. Maybe from the thick post that’s in front of Sherry’s left elbow to the thick post that’s in front of the pot of herbs in the photo below? But that’ll probably be a “Phase Two” thing for us down the line.
We also later added two gates to the deck to keep the dog from running away!

Is anyone else tackling a project they didn’t foresee in their future? Something that was a pleasant (or maybe not so pleasant) surprise? As much as I didn’t enjoy having a deck to-do on my list again, I definitely appreciated the fact that this one only took me one afternoon to complete.

Leave a Reply