“Oh what a feeeeeeling, painting on the ceeeeeiling.” Why yes that was a Lionel Richie reference. You’re welcome.
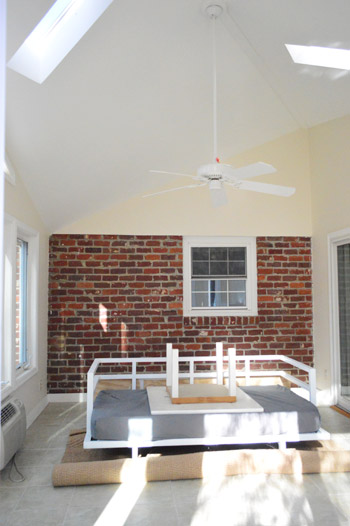
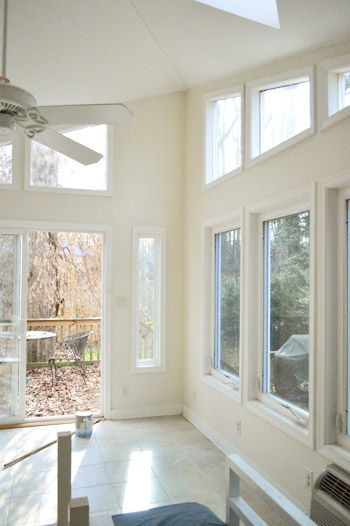
It was time to get some paint up in this heezy. And by heezy, I mean sunroom… hence the furniture being all piled in the center.
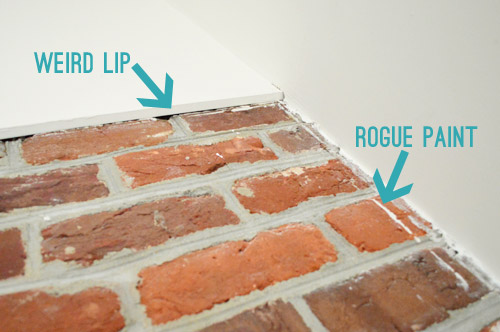
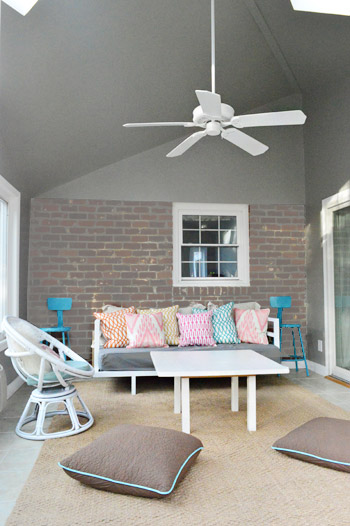
But before we get to painting, let’s talk about the half-brick wall in this room – since you guys offered up lots of thoughts and suggestions in the last sunroom post. Some had suggested covering the drywalled portion in brick veneer or reclaimed wood.
Unfortunately the dry wall sits in front of the brick, so there’d be this weird lip between the real brick and the veneer/wood (so we’d prefer not to add anything up top to make it stick out further like an awkward above-the-window overbite). We’re actually leaning towards either trying to distress/fade the brick or straight up painting it (like the same brick that was already painted by the previous owners in our living room, especially since it already has some splatters on it from the previous paint job).
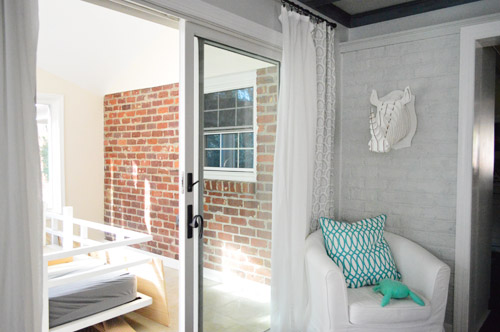
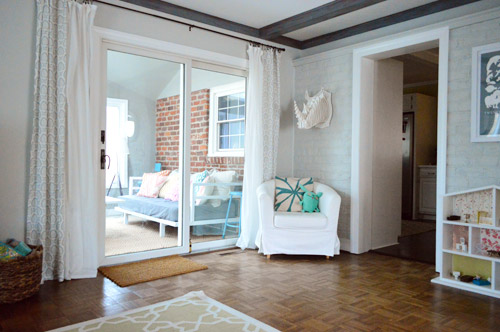
See how the last owners of this house had already painted the wall of brick in the living room (on the other side of the sunroom doors)? Since they’re both in the same sight line, we think painting that small u-shaped expanse of it in the sunroom may be the most cohesive solution – so the sunroom feels more connected to the rest of the house.
But before doing anything rash, we wanted to give the brick the benefit of the doubt – so we decided not to take any action on it yet. First we wanted to paint the rest of the old yellowy-cream colored walls in the room to see if that influenced our decision about the brick at all.
So we readied the rest of the room by moving out almost everything, which turned our living room into a temporary disaster zone. This shot below is for all of you who love the chaos of DIY. Oh yeah, it spreads to at least a few other rooms when you’re painting one…
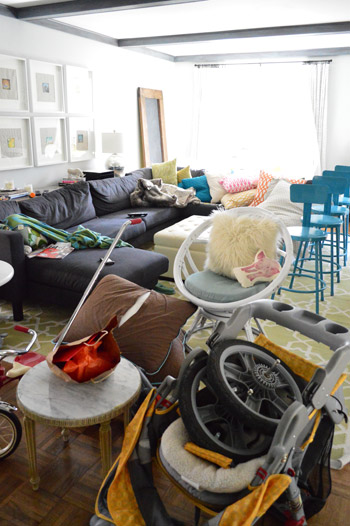
Burger didn’t seem the mind the temporary influx of extra pillows to curl up on. This is his “excuse me dude with the camera, someone’s trying to nap here” face.

And thankfully Clara was on a play-date with my parents, so we could dive in and do as much as we could without worrying about her getting into paint or tripping over the massive pile o’ chaos on the living room while we painted.
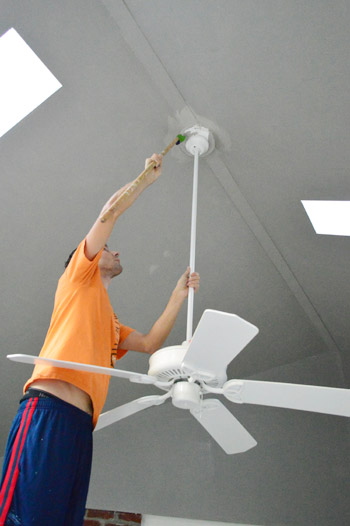
But back to the sunroom. Painting is one of those projects we can practically do in our sleep by now… except for when it involves 12 foot ceilings. That was a new challenge for us. But we couldn’t live with those white ceilings and those yellowed old cream walls anymore (yes, they were two different colors) so we dove right in.
How? We just busted out our ladder and go to work.
Oh yeah, forgot to tell you the paint color. We went with our current favorite: Rockport Gray by Benjamin Moore (which is also in our bedroom, and is actually more of a warm brownish-gray than a cold cement gray). I’ll explain why we made that choice when we get to the after pictures, so just hang on for the time being. I realize it’s not much to look at when all you see so far is the edged corners…
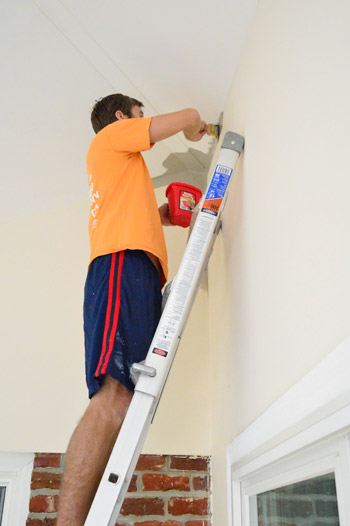
Edging actually took a long time – even with us both doing it – since this room is basically all corners and windows. And if I do say so myself, I’m not half bad at it. Yep, there may be a new edging sheriff in town. Take that Deputy $herdog. Ok, I take that back. Sherry can pretty much lap me when it comes to edging. So she did all of the edging around all of the doors and windows except for the few windows up near the ceiling, which I tackled on the ladder.

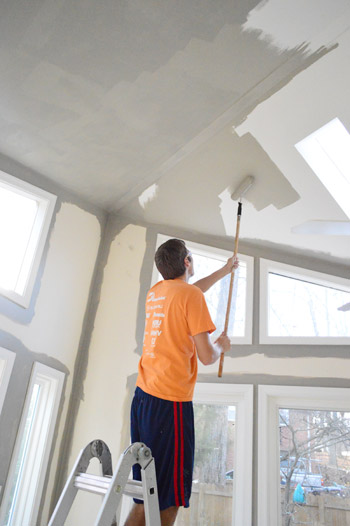
Once all of the edging was done, Sherry did a second coat around all the doors and windows while I took to the pole. Wait, that sounded bad. I’ve actually never painted with a roller that’s attached to a pole before. Even when doing other ceilings (8ft ones, that is) I usually just stand on a stool. And I gotta say I was impressed with how relatively easy it was. Granted it did get tiring to hold your arms and neck up like that for so long, but it wasn’t terrible.
But the rod extending pole couldn’t help us get the area where the fan attached to the ceiling (where we needed to be more exact than a roller ever could be). And my ladder couldn’t get me high enough to edge that area by hand either. So that’s when Sherry and I whipped up this contraption. Yup, it’s a brush taped to a pole. We’re true professionals around here.
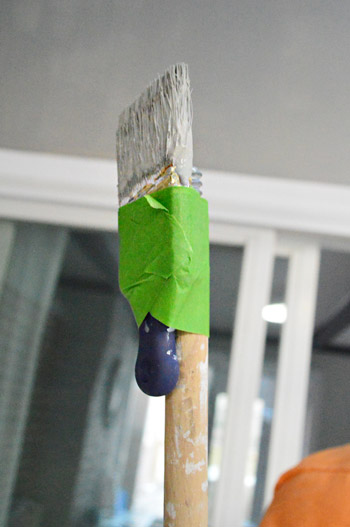
If you weren’t convinced of my edging prowess before, just check out this magic going on. That’s what we call painting with surgical precision. Although I realized I should’ve taken a detailed after shot of how awesome this actually turned out. Seriously, it worked like a charm, guys.
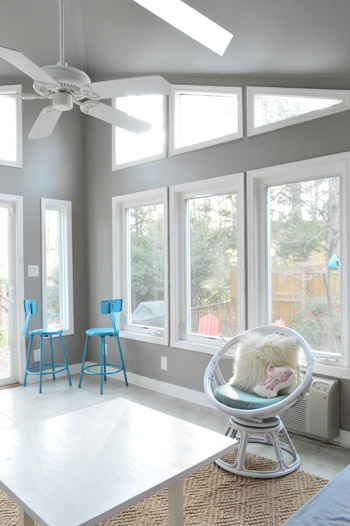
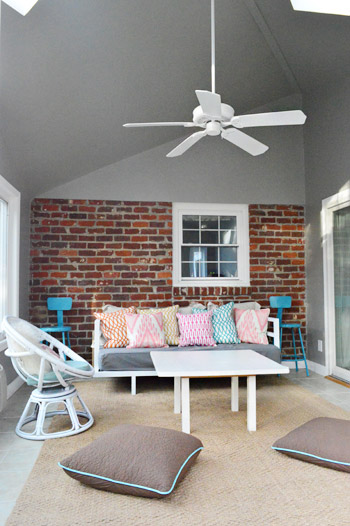
It took us two coats and a total of about seven hours across two days, so it certainly wasn’t our fastest paint job in the world – but we’re really happy with the results.
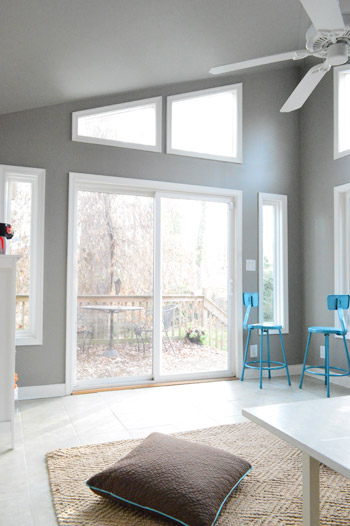
Trust us: despite the warm gray color, this room is far from gloomy. Light floods in (which is one of the reasons we knew we wouldn’t regret going with a darker tone in there) and even the tiled floors feel less yellow now that the walls aren’t the same creamy-bisque tone. Although we’re the first to admit that the room still has a looong way to go until it’s a functional, finished room (remember how the middle makes no sense?).
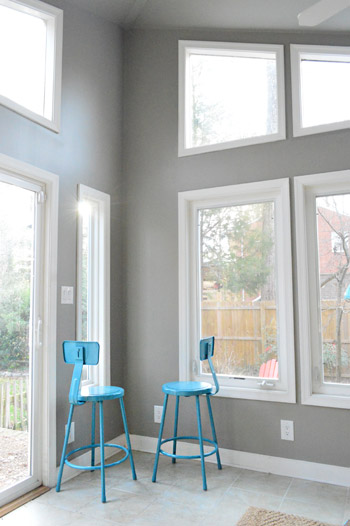
And if you’re wondering about the two blue stools having a hushed conversation in the corner together (stool meeting is now in session!), we’re just experimenting with some layout ideas. The stools are helping us picture maybe tucking a small cafe table in that corner, but we’re not married to anything yet. We’ll keep you posted!
Oh, and I promised I’d explain the rationale behind Rockport Gray a bit more so here we go:
- It really makes all the white trim in the room stand out, so it feels crisp in a way that the old yellowed cream walls didn’t (this paint choice did the same trim-crisping thing in our bedroom, which we loved about the color)
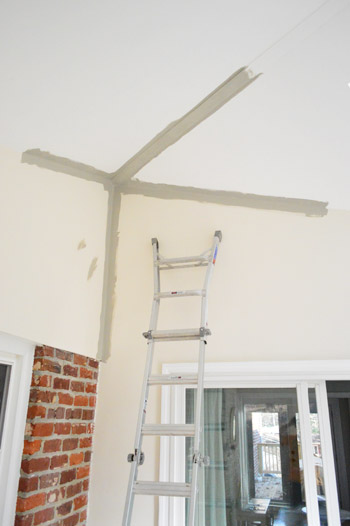
- The room has a pretty crazy ceiling (it slopes away from the house and up, like a rocket ship) so we thought a moodier and darker color might downplay the strange angles and make it all blend together more than it did with the previous white ceiling and creamy-yellow walls
- As we mentioned a few photos up, the tile floor feels a lot less monochromatic and yellowed since the walls are no longer the same exact tone (it felt like a beige box with an oddly shaped white top before)
- We also thought it’d tie in well with the living room’s Moonshine walls as well as the grellow walls of the kitchen (both of which you see from the sunroom – so whatever we chose had to go with both)
- In the spring, summer, and fall (aka, any other season than the bleak and bare one that we’re currently in) we want the greenery outside to be the star, so we thought picking a moody not-crazy-or-compete-y color would keep from overshadowing it
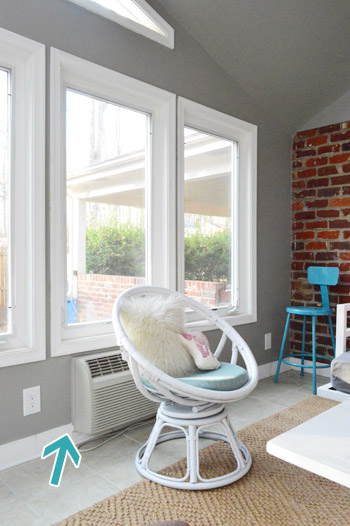
- The brownish-gray helps us camouflage that similarly colored heating/cooling unit a bit
We also thought the new wall color picked up the tone of the mortar too, just in case we decided to keep the brick as is.
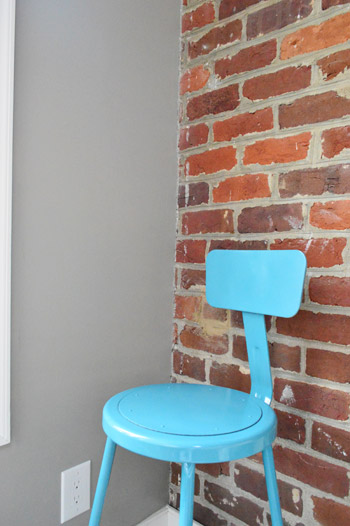
And now that the room is painted, here’s where we stand on the brick: we’re not sold on leaving it as-is. It still feels really awkward to us since the top end of the drywall above it rests oddly on the window (like it’s squishing it or something). And since there’s already a whole wall of painted brick to the right of the slider (in the living room) it still feels awkwardly disjointed from the rest of the house in a way that a painted brick wall would not.
We did think about trying to gray-wash it a little first (with watered down paint, stain, or even by rubbing some cement on it) just to see if that helps to tone down the red – as demonstrated by my poor Photoshop attempt below…
…but that still feels like not-as-seamless-of-a-solution-as-painting-it like the brick in the adjoined living room. So that might be where we end up.
As always, we promise to keep you posted! Oh and speaking of future planning in here, we’re putting more thought into the window-seat-under-the-window-wall idea, so that should be exciting if we decide to go for it. You know we’ll share all the details as we creep along.
Oh and as much work as we still have to do in this room, I must say that this has definitely reconfirmed for me (once again) that painting a room is an awesome way to make it feel like it’s yours. Our sunroom suddenly doesn’t feel like a forgotten project-room stuck on the side of our house, it’s actually starting to feel like a place we can hang out on a lazy Sunday – which is exactly how we used the sunroom in our first house, so it has us all sorts of excited about the possibilities. What did you guys do this weekend? Was there any painting or planning? Any other pole-related projects going on?

Leave a Reply