Go navy! Please don’t misinterpret that previous sentence as a taking of sides in the long-standing Army / Navy feud. I’m 100% neutral on the rivalry. And if anything, my dad was in Army. But what am I doing stirring up trouble? This post is about the basement (and it’s up early since we’re on a flight)… so let’s dive in where we left off: this hot mess of a shelf.
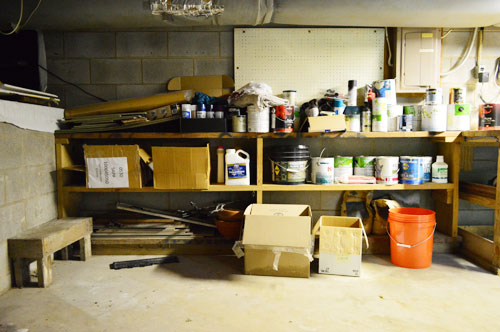
This is where we’ve been storing haphazardly placing paint cans and other paint-can-shaped items. It has been the very antithesis of organization for the nearly 24 months that we’ve lived here. In fact, these are two boxes of items that haven’t even been unpacked yet from our move. Well done, Petersiks. Well done.
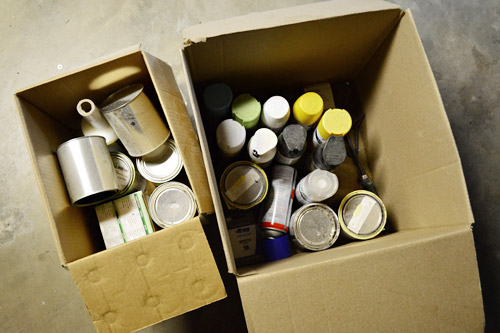
So I kicked off this little shelf spruce by getting everything off of them. It gave me some space to dust and also to inventory what belonged up there (paint cans) and what didn’t (boxes that contained paint cans, which needed to be emptied, broken down, and ditched in the recycling bin after two years of service).
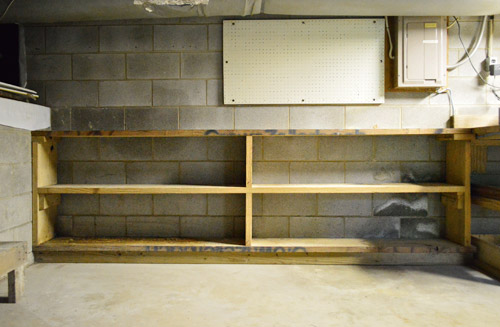
Within about 30 minutes, things were looking a bit more like this:
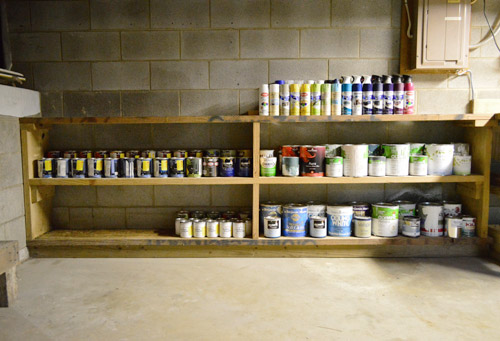
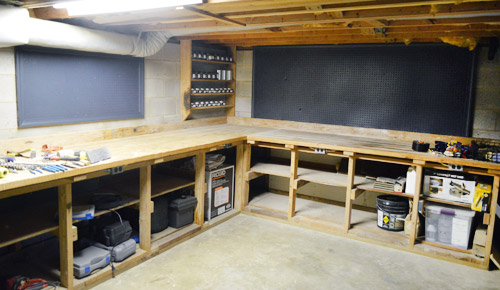
All of the non-paint things (like bags of grout and polymeric sand) went on other shelves in the room (under the work area) so that this zone could be paint and paint only. Okay, and some stain and primer too. Because, if you haven’t noticed, we’ve accumulated lots of it. In fact, this entire left side is strictly paint leftover from book photoshoots (which is why they’re all quarts or tester sized cans).

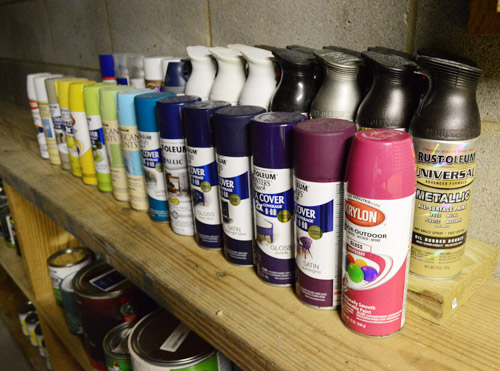
Oh and quick organizing tip: I got the “tiered” look by just placing a simple piece of scrap 2 x 6″ wood under one row of paint. That way I could see the color more easily. You can see the tiered effect more clearly in this shot of our spray paint collection. Should I be worried that we have just about every color of the rainbow? Although I can blame book projects for a good portion of this spectrum.
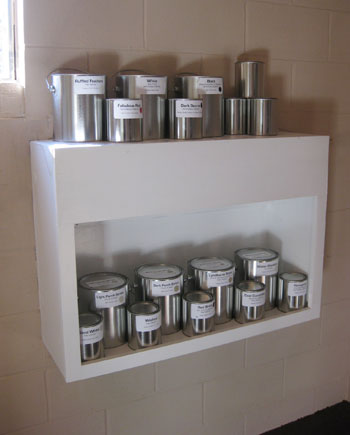
This system is admittedly less intense than our previous basement’s paint system – which involved repackaging and labeling all of our leftover paint (see below). As I feared, that technique proved too cumbersome to keep up with as we purchased new paint. So don’t expect this basement’s paint shelves to go much further than they already have. But man, just knowing I was once this organized makes me feel all warm and fuzzy. #thosewerethedays
But speaking of paint, how about I show you how I put a small dent in that collection by putting some leftover paint to use? Can you guess what’s getting painted? Need a hint?
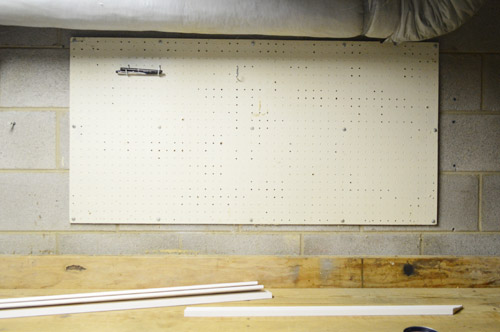
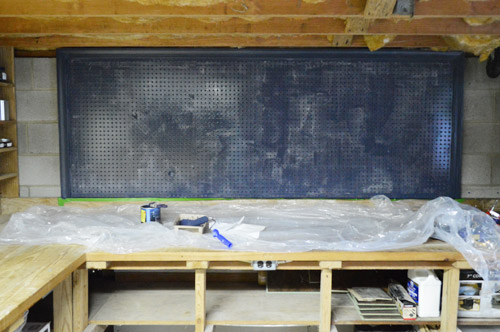
Before I busted out the paint, I actually decided to dress up my pegboard with a little trim. This is thanks to some scrap and about $10 worth of new stuff.
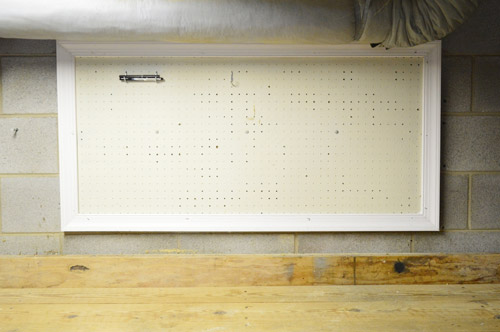
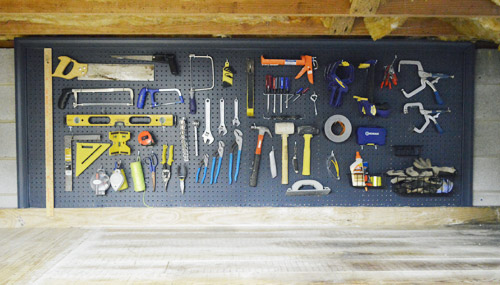
I figured adding the frame would help my pegboard look a bit more polished. After all, aren’t these neatly organized tools a work of art in their own weird, nerdy way? I think so.
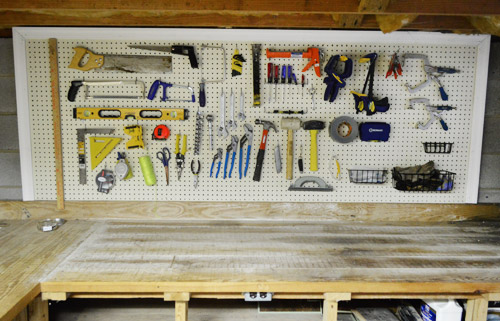
I only framed 3 sides of the big board because, well, one edge sat cleanly on the edge of the work surface. And since my yardstick was going to overlap I figured it didn’t need it.
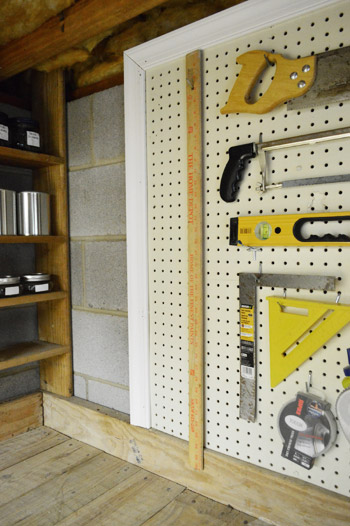
So here are the two pegboards complete with frames (I just held the wood frame pieces into the pegboards with a few finish nails). Still haven’t figured out what’s going on the small board. Right now it’s just a pen hanging there… chillin’ all by its bad self. But you know I’ll keep you posted when that pegboard fills up too.
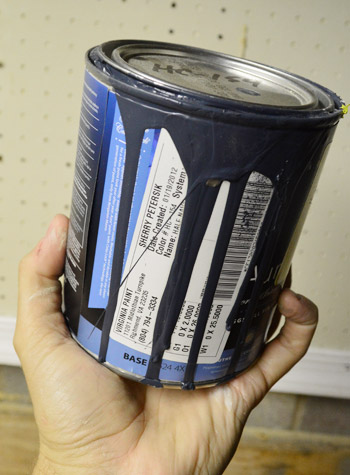
With the frames all done, it was time to paint. Out of my plethora of options, Sherry and I agreed on this leftover quart of Hale Navy by Benjamin Moore. We used it on a project in the book (page 287) and we’ve both been a little crazy for it ever since. Speaking of crazy – how alien does my hand look below? Just picture a giant raptor talon hidden behind the paint can.
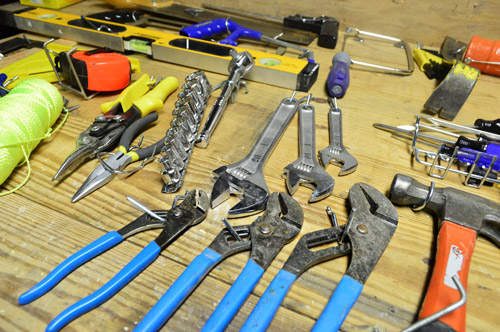
I systemically stripped the peg board of all of the tools, laying them out sort of like they fit on the wall and leaving their hooks with them. Since I know you’re wondering why I didn’t paint first – here’s why: I wanted to see how the tools looked before deciding how I wanted to paint the background (for example, if I didn’t fill the whole board I might have opted to do a pattern on one side or something). But since I thought the tools looked pretty kick butt on their own, I opted to just keep it simple with a dark manly background. And remember, we decided not to outline each tool since we liked the idea of keeping it flexible, so I can easily add new tools or reorient things if the mood strikes (flexibility = one of the best qualities of pegboards to me).
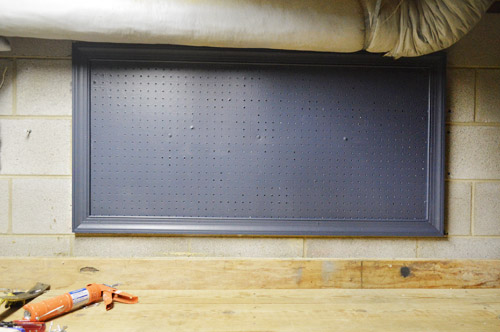
Here’s the big board after one not-perfect-yet coat. Note that I painted the trim too. I’m a wild man, I know.
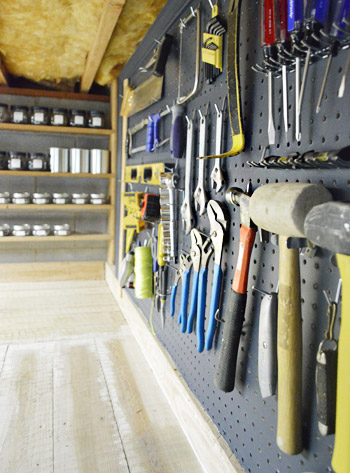
Here are both boards once two coats were done and dry. I realize the light is so lopsided in that room it makes the boards look two totally different shades, and it makes the one on the right look splotchy, but it’s just the light playing tricks on you. In person they both look the same color, and are nice and evenly painted.
Here’s a shot of the more well-lit board so you can see the true color. I love that it’s distinctly navy, but is still pretty deep and muted at the same time. And I think keeping the frames the same color keeps it from being too high-contrast and makes it a smidge more sophisticated. That is, if you were ever to call a basement pegboard sophisticated. Oh and as for how the paint went on and if it gummed up the holes, I just applied it with a small foam roller as thinly as possible, and it didn’t gunk up the holes at all (some were clogged from previously applied white paint, but it’s still completely functional since you can shove a peg into them and unclog them).
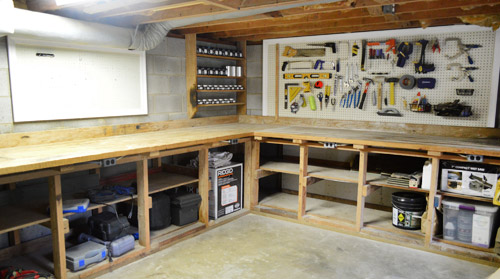
Once the paint was all dry, the tools got to go back in place. So for $15 of trim (if you don’t have any leftover scraps like we did) and $15 worth of paint (that’s the price of a quart if you don’t have any extra paint around) your basement can bring sexy back.
And thud. I officially fell more in love with pegboards.
Adding the paint was a simple touch but it did something that happens anytime we put fresh paint in a room: it starts to feel “cared about” and more like it belongs to me, not the previous owner. So in that spirit, I’m thinking the next project will be to stain some of the wood in the room. It could use some freshening up and I think a deeper color might help bring some much needed contrast to the space. Like so…
Thanks Photoshop. If only staining all that wood in real life were that easy. I’ll keep you posted! What are you guys up to? Any basement or garage upgrades going on? Any pegboard love affairs growing by the day? Do you think we need Painters Anonymous for all those cans and spray bottles? I kinda think we do.

Leave a Reply