Last week during the blogiversary madness, there were requests for more fast & *almost* free projects – especially the ones that renters and homeowners alike can whip out in under an hour. So here’s an under $10 project that I took ten minutes, tops.
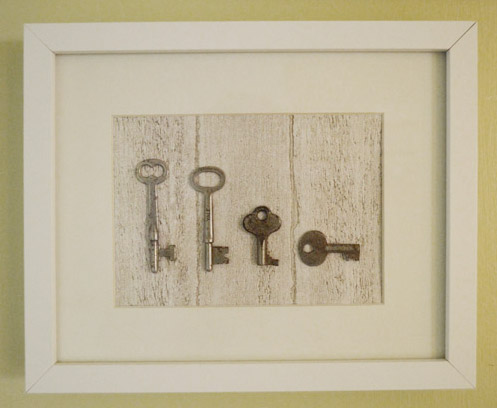
Do you get the hidden meaning behind the keys? Look a little closer. See how there’s one tall key, one medium key, and two small keys (one of which is horizontal while one’s vertical)? Well, that’s our little key family. Haha. Burger’s the horizontal guy.
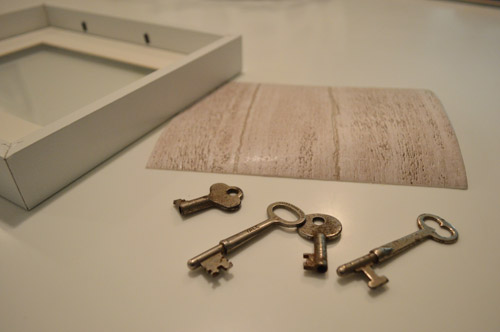
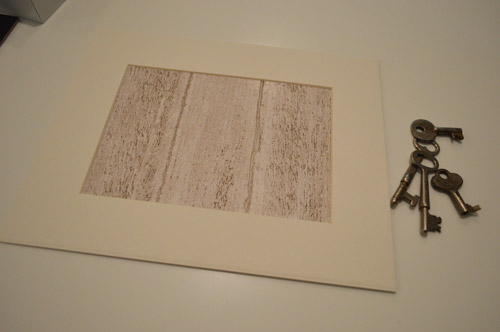
When I saw a bowl of keys for $2 at an antique store on the way home from Granny’s, I stared at them for a while, literally thinking “what can I do with these?” When I saw some big ones and some small ones, it came to me. Why not get a daddy key, a momma key, a Clara key, and a Burger key? So eight bucks later I had my little key “muses” at home on my desk in a pile. It took me a few weeks to get to the craft store to grab some nice thick wood-grain-ish paper (I ended up finding it Michaels for 60 cents), which I decided would make a fun natural background for my rustic little old keys. So I got it home and cut it down to fit into the Ikea frame that I already had on hand.
Then I just taped the paper in place behind the mat (which came with the frame).
Next I laid out the keys in height order, and tipped the Burger key over since that’s more like his shape. After snickering for a minute at my little key family (yeah, I’m that ridiculous) I grabbed some Gorilla Glue and put a few dollops on the back of each key and pressed them down into the paper so they’d dry in that layout. You might want to do this on top of cardboard or a dropcloth, just in case the glue bleeds through the paper (ya don’t want to glue everything to the table/counter).
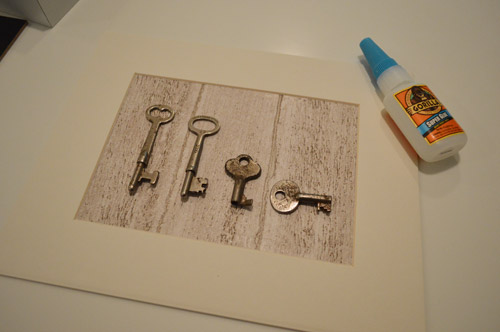
Oh and to anyone at home trying to glue something slightly heavy like a metal key to something, the key is to get thick enough paper – or if you have thin paper, try backing it with something thicker (like gluing it to cardboard or card stock) to stabilize it so it’ll hold those metal keys without buckling or sagging. Thankfully our paper was nice and thick- sort of like card stock.
Ta-daaa. The fun part about this was that it was so quick and easy that if we should ever add another little one (pooch or human) to the pack, I can always pop these off of the paper, choose a new background in any print or pattern, and grab a few more old keys at a thrift or antique store to glue on.
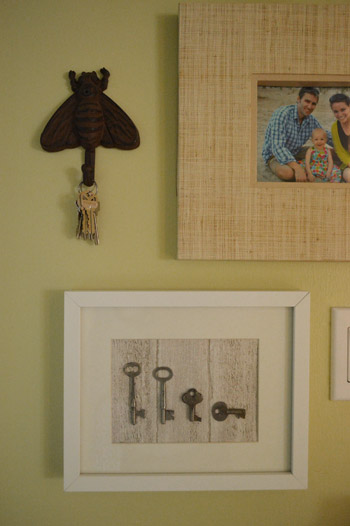
Oh and you can kind of tell from the picture, but there’s still glass in the frame. I wondered if the keys would be too thick for the glass to work (in which case I just would have used the frame without the glass, so they would be 3-D/exposed in the front) but I just tried securing the back of the frame with the glass in there and it latched, so it’s nice to know that I won’t have dust collecting on the keys. But if you have a more shallow frame that doesn’t allow the glass to remain once you add the thickness of the keys, getting a shadow box or just removing the glass is always an option.
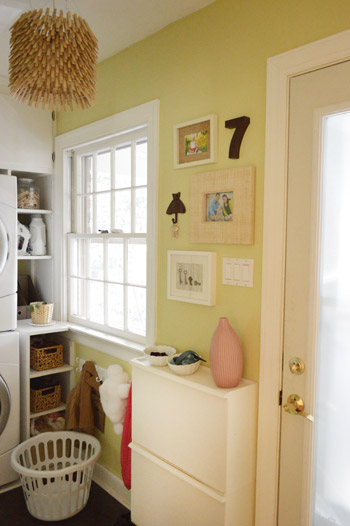
As for where we hung it, the wall in the laundry room right next to the door that we go in and out of everyday seemed like a nice spot since that’s where we have a few favorite personal/family pics along with other randomly meaningful items…
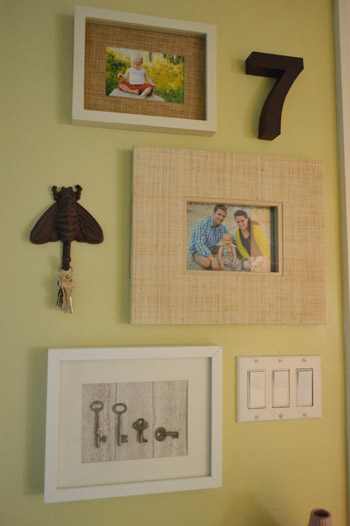
… like an iron bee hook that reminds us of the bees on our wedding invites and a metal 7, which is a nod to our wedding date (we actually picked that up at a local outlet, The Decorating Outlet, this weekend and I hung it when I hammered in my key art).
What are you guys popping into frames lately? Don’t you love that you can grab cool textured paper like the wood grain stuff that we used? I’m a happy camper in that paper aisle, I’m telling ya. Do any of you have old skeleton keys that actually work in a door or two in your home? That has always been a dream of mine. Well, that and living in the paper aisle…

Leave a Reply