“Can’t we just lay some decking already?!” That quote’s an homage to this kitchen post from last December about all of the little annoying prep steps we had to squeeze in before we could get down to painting cabinets – and I feel like we just hit the same stage in the deck project. Which means we’re making progress, but we’re impatient little DIYers. After getting all of the joists set in place we were soooo excited to finally lay down the decking… until I realized I had a bunch of nitty gritty details to take care of first. Womp womp. But not to worry, you’ll actually see decking going down at the end of this post (and that process continues – wahoo!) so we’re a lot closer to the end of this project than the beginning. Whew.
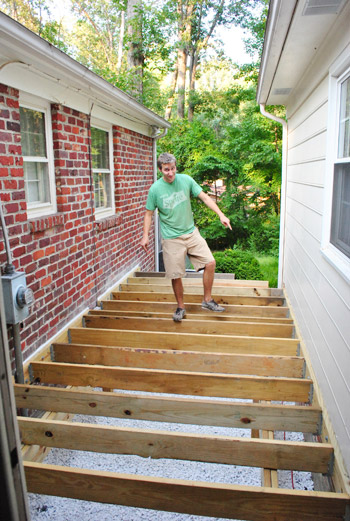
The first item was actually getting an inspection. A voluntary one at that. Shocking, I know. Technically our next mandatory inspection from the county was a final one, once everything was complete. Call us insecure, but the idea of finishing the whole thing only to find out we’d made a mistake at this stage (and thus having to undo lots and lots of stuff) gave us cold sweats. So Sherry called the county and found out we could have an optional “framing inspection” just to make sure we were on the right course. Yes, please.
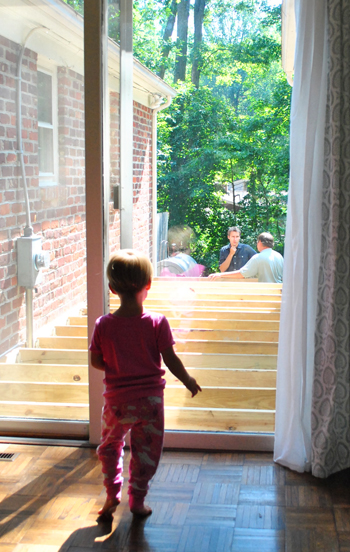
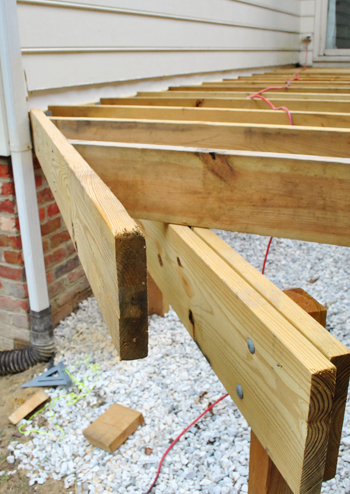
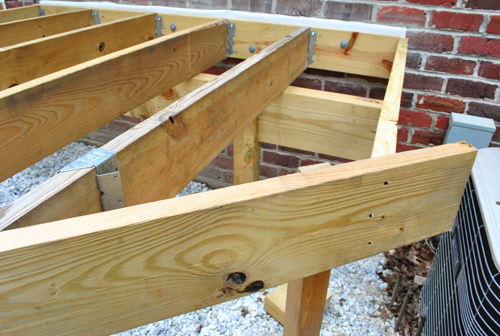
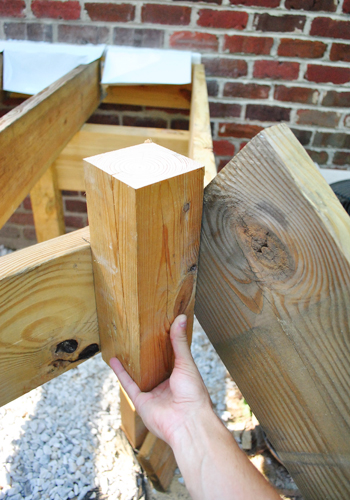
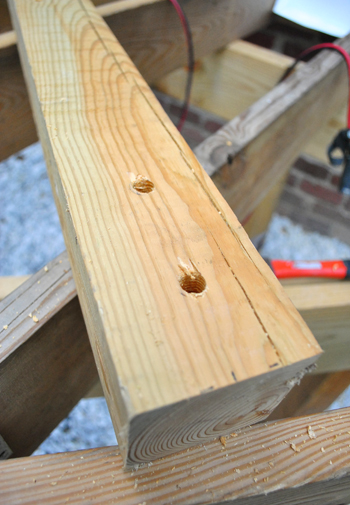
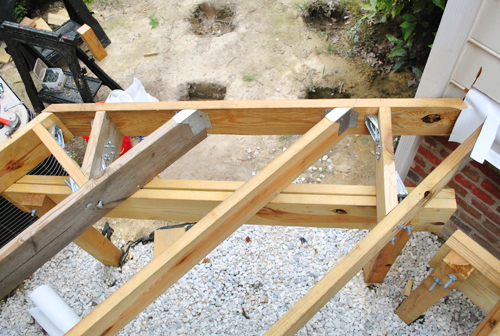
I’ll spare you the suspense – we passed. Though technically I made a minor error by notching my 4 x 4 posts (see below). Our county only allows notching of 6 x 6 posts. If you use 4 x 4s like me you’re supposed to attach to the top of the post with special bracket. But this inspector (a different guy from the first two) was sympathetic to the fact that I had already done it – and acknowledged that their instructions aren’t 100% clear on this point. I guess it’s more important when the deck is bigger, higher, and will be holding more weight, but since ours is just a few feet from the ground and only 8 feet wide he wasn’t worried at all. I’ll share a quote from him (probably my favorite thing I heard all day): “this thing’ll hold up five elephants and about 500 of those (points to Clara through window).”
In short: assuming we’re not planning on hosting the circus anytime soon (or a party with 499 of Clara’s closest toddler friends in attendance) he was happy to give us the okay to proceed. These inspectors seem to be getting nicer each time. Maybe the next one will bring me cookies?
So proceed I did. My first task? Completing the framing around my joists by adding the two band boards that would finish off the exposed edge of the deck that currently sported some uneven joists just dangling over the edge.
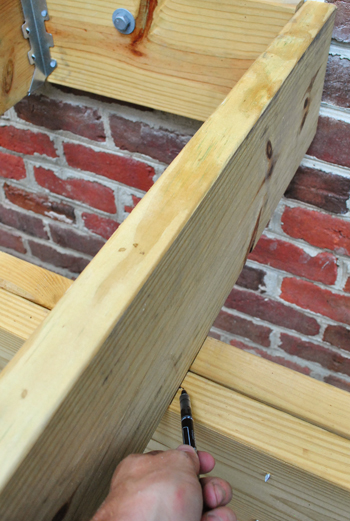
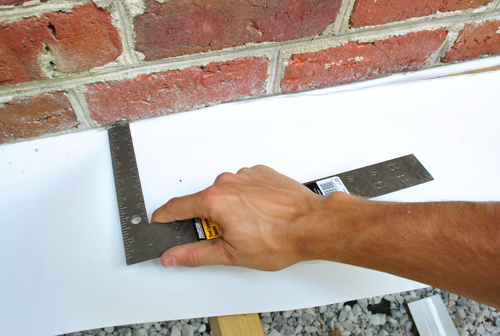
This is the angled portion of our deck (where the stairs will lead down from it) so it took some special attention – and more than a few miter cuts. My first task was to cut off the excess portion of the two joists so that I could attach another 2×8 to the end. So I held a nylon string in place to help me mark where my 45-degree angle would go.
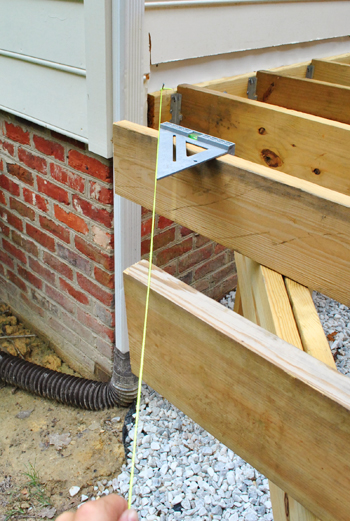
With my tops marked, I used my “Ross Gellar” Pivot ruler to mark where I needed to slice my joists at an angle.

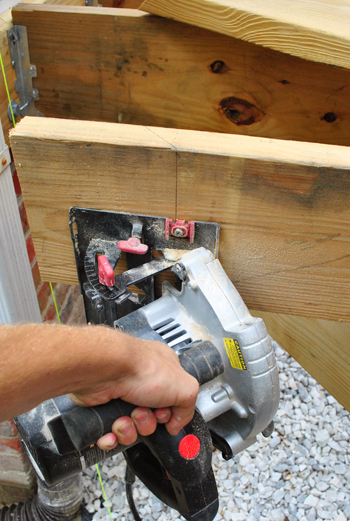
My circular saw can do angled cuts just by adjusting the saw’s table, so I was able to cut these two joists in place. Note: this isn’t actually how I hold the saw when I cut (since my hand is nowhere near the trigger) – it’s just the only way I could hold it and take a picture at the same time. So yes, let’s call this a bad reenactment.
Here are my two boards cut at the angle.
Then I took the 2 x 8 that would act as my band board across the two cut joists and cut it to size – including an angled cut on one end where it would rest against the house at an angle.
Here it is all in place. To actually get it there I balanced it on one hand while I temporarily hammered it in place with the other (using some nails I set in place before holding it up). Once the nails had it in place I secured it with screws.
So that was all fine and dandy for finishing one edge. But I still had this open end that needed a board of its own.
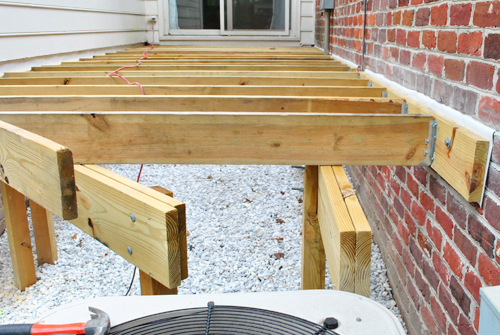
So I started off by cutting another 2 x 8 to size – once again with a mitered cut on the end so it would rest flush with the board I just finished attaching. It’s just resting loosely in place in this shot below:

Because before I attached it I realized I needed to trim the girders that it was resting on because they were too long and they stuck out the edge. I did this intentionally when putting the girders in because I knew I could always cut off excess inches, but adding it back would be tough.
I used my circular saw to cut them most of the way through, and then finished off with my reciprocating saw (since my circular saw doesn’t cut deep enough to go through two 2 x 10s).
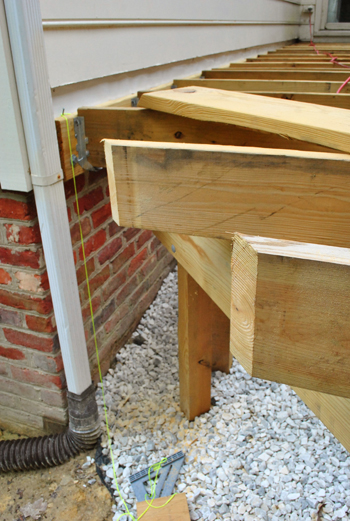
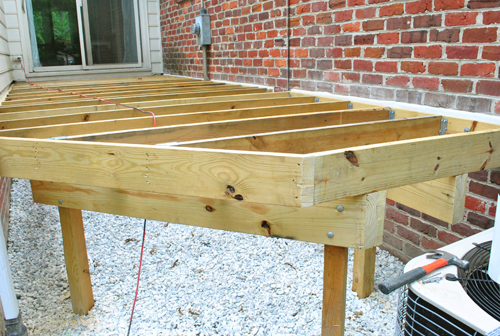
Then I was able to set my board in place (resting on the edges of girders) and screw into the rim board against the brick and the angled band board.
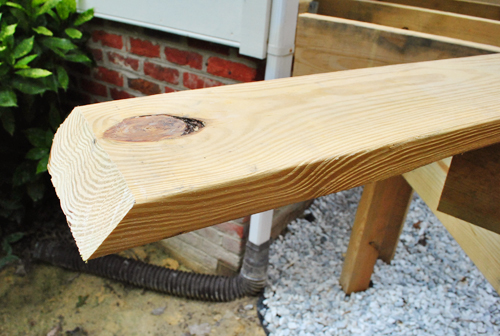
And once I cut the excess off of the angled band board I was finally getting the finished edges that I was looking for.
With the end of the deck looking better, I turned my attention to my next nitty gritty task: adding counter flashing. If you recall, one of the conditions of leaving my ledger boards (the ones that caused me to fail my first inspection) was to add this additional flashing over the tops of the boards.
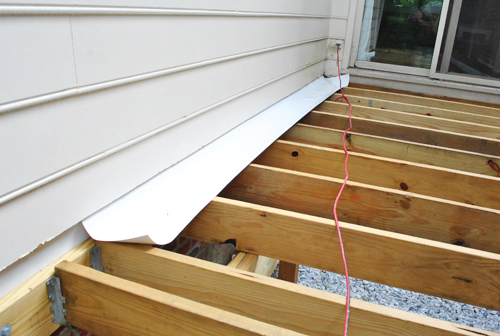
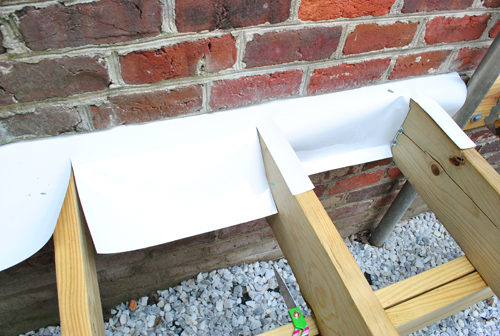
On the siding side, I just slid the flashing up under the bottom piece of siding and nailed it in a few places like before. On the brick side I also repeated my process of folding over a small piece and then stuffing it into the crevice I cut in the mortar (the same crevice the original flashing also went into).
Once this was in place I used scissors to cut the vinyl to go around the joists. The idea here is that the counter-flashing will further protect moisture from damaging the ledger boards and the house by directing water away from both. And you can see on the far right how I folded up a small lip at the bottom of the flashing to be sure the water drips away from the brick.
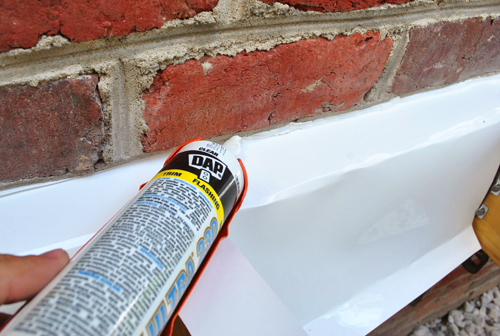
To keep the flashing in place on the brick side I also ran a line of clear silicone caulk in the crack. Not only does it act like a glue to keep the flashing in place, it also keeps moisture from collecting in the crevice.
The flashing was more tedious than it was difficult, but I was still happy to have it done and be one step closer to putting in my deck boards.
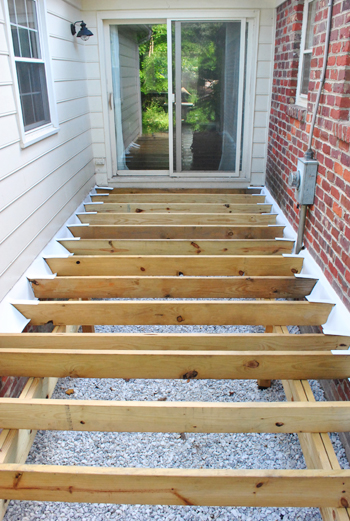
I was just about to start on the deck boards when I realized one other task that was worth thinking through while the “bones” of our deck were still exposed: the stairs and railing. This whole time I’ve sort had a “I’ll cross that bridge when I come to it” attitude towards the stairs and railing. And suddenly I found myself at that bridge. After all, if I was going to have to add any special reinforcements or attachments to secure the stairs or railings I figured it was easier to do that now.
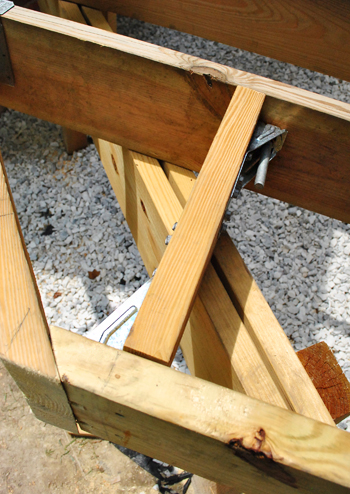
So I started off by figuring out where the stairs would attach and where I’d need to put in guard rail posts. I borrowed two spare 2 x 10s to act as my stair placeholders (based on the placement of the already-dug holes for my stair posts).
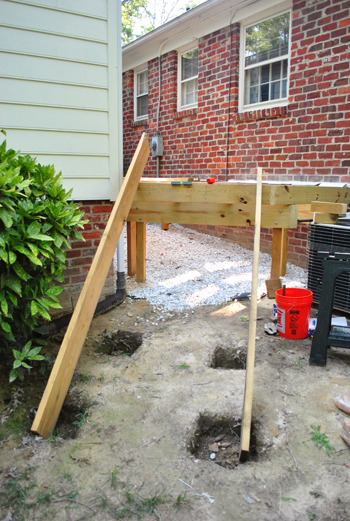
That helped me determine where the posts needed to go on the deck itself. I’ve decided to do the stair railing “inside” the stair stringers so that the steps kind of wrap around the posts a bit.
Once I was able to mark where each of my 4 x 4 rail posts would go, I had to determine how they’d be attached. Fortunately, the instructions provided by my county were super easy to understand.
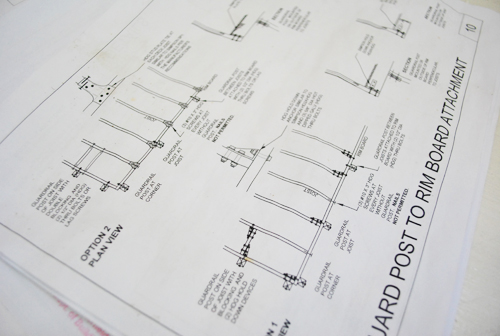
I can not emphasize enough how sarcastic that last sentence was. I stared at the page for what seemed like days trying to figure out what it was telling me to do. Then I called Sherry over who was just as confused as I was. Part of our confusion came from the fact that nothing indicated what to do with the angle we had. And we couldn’t find any of the products they suggested on the sheet.
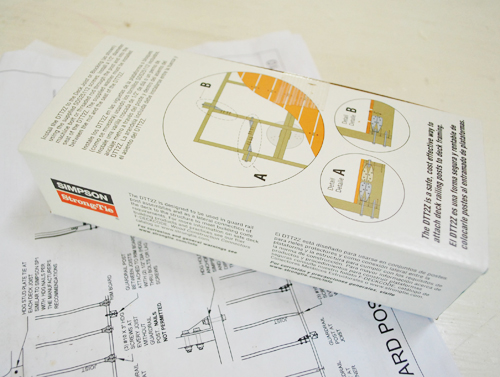
But we finally found these Deck Tension Ties on our third trip to Home Depot (after overlooking them on the first two) and this Deck Magazine article that gave me some sort of indication as to how to deal with my angle situation.
My understanding is that the old system of just bolting a guard posts to the outside of your deck is no longer considered as secure as it should be. That same Deck Magazine article explains it better than I should attempt to (there’s a reason I’m not an engineer) but I just trusted that these would help me pass inspection and keep my railing from folding over when we lean on it. You can see below how it got screwed to the rim board against the house.
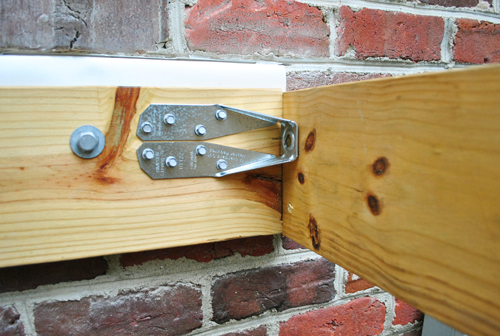
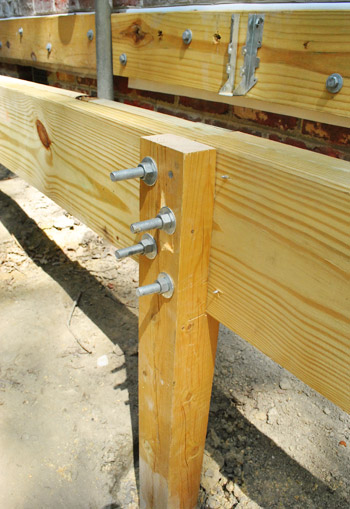
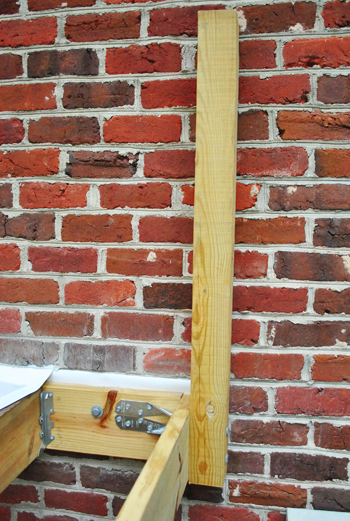
Then I drilled a matching hole in my 4 x 4 post (which I had already cut to meet the 36″ railing height requirement in our county) along with a second hole below it.
Then I used two 1/2″ bolts to attach the post to the deck – the top one going through the tension tie. It felt very secure, so I’m thinking (hoping?) this is an inspection-passing guard rail I’m starting to make.
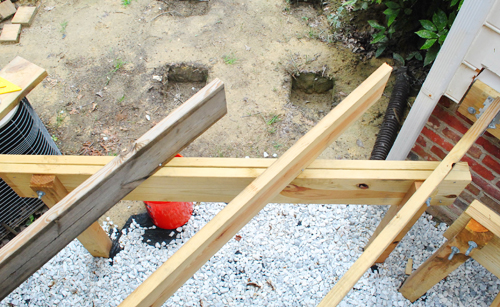
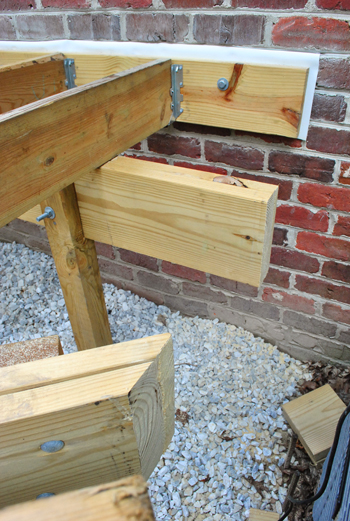
But of course I have more than one post to install. And the others – which wouldn’t be right against the rim board attached to the house – required some additional blocking. You can see below how I added a piece of scrap 2 x 8 between the two joists (which I secured with screws) and then bolted a tension tie to either side of it. That’s known as additional blocking.
I decided not to actually attach any more posts yet (since I though they’d only get in the way as I install deck boards) but I wanted to get all of the hardware in place while I could still easily access everything from the top. So without bolting the next post in place, I moved on to adding the extra blocking and tension ties for my two posts on the angled portion of the deck.
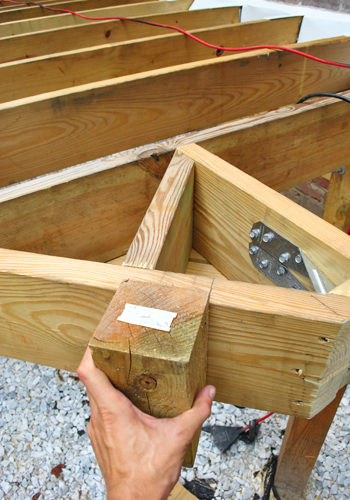
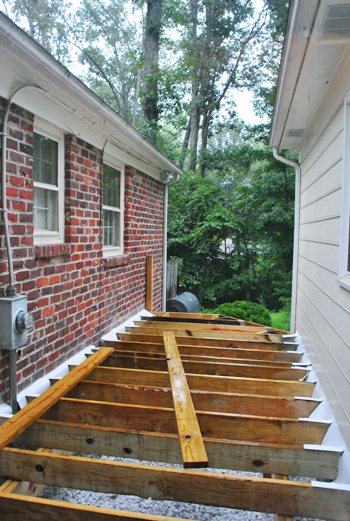
Here’s what it looked like by the end of it all. You can see I also added some hangers where my joists met the angled band board. I’m not sure they were necessary, but they made me feel better about it. Maybe now this deck can hold six elephants?
I realize my glossed-over description of making these preparations for the guard rail may make it seem like an easy, speedy task. But it actually took me two days of work to complete. Partially because none of my power tools would fit into the small spaces, so I had to do a lot of the screwing and bolting by hand. But it also took so long because of the weather. Yep, just when I had become accustomed to working in extreme heat I now have been enjoying pop-up thunderstorms that have cut more than one afternoon of work short. And although we’d be faster with Sherry on the case, we have lots of book stuff due, so when she’s not blogging and watching Clara (for example, when the bean’s napping) there’s book proofing and a pretty detailed resource section at the back of it to compile.
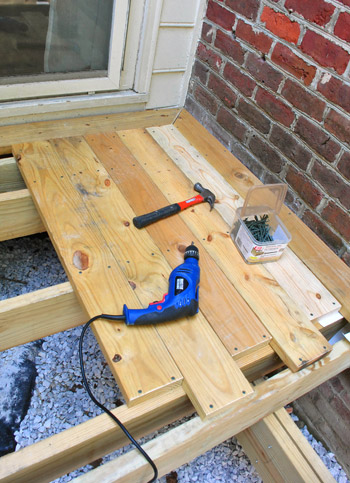
But even though the thunderstorms are delaying my progress, they’re definitely not stopping it. In fact, I’ve finally gotten some actual deck boards down. And since you’ve patiently endured this otherwise not-very-exciting post, I give you a little bit of visible progress to hold you over until I can make more progress and come back next week with some more oooh-and-ahhh-worthy photos. Oh yeah, we’re going all out when it comes to the board layout. Not only are we mitering the corners to create one big frame around the entire deck, we’re also adding a few zipper-like seams with the boards (first mentioned here). So far we love how it’s turning out. Can’t wait to get more done and share the pics!
Now that we’re finally getting somewhere, all this work is starting to pay off. It’s about time, right?
So what nitty-gritty / annoying / unglorious tasks have you tackled recently? Have you finally done those paint touch ups you’ve been putting off? Switched all the batteries in your smoke detectors? Weeded your patio? Replaced your air filters? Oh man, this is starting to sound like my to-do list…

Leave a Reply