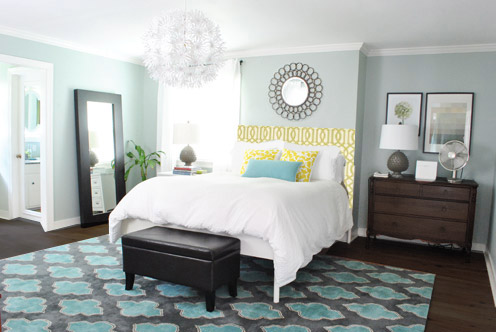
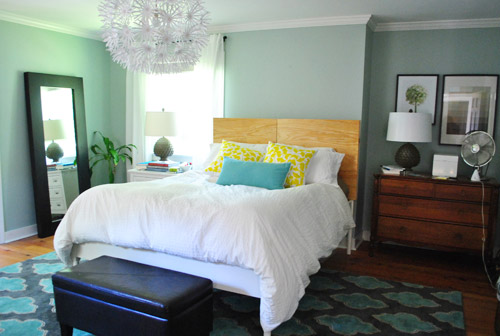
We owe you a huge post about all things Haven/ATL, but we’re actually driving home today (after crashing a bunch of awesome houses, doing a thrift store tour with Katie B, hosting an informal backyard wedding for Clara and Will, etc) so we’ll share what we snuck in before we left for Atlanta: the beginnings of a headboard for the freshly rearranged masted bedroom. With Ed the Bed officially minus posts, we quickly turned our attention to making him plus headboard – as you saw Sherry mock up in Photoshop last week – along with darker floors and a darker dresser:
We wanted something upholstered over something wood/tin/woven/stenciled/painted since we wanted something cushy to lean back on (we’ve been doing a decent amount of reading in bed lately, and with the new arrangement the room feels cozier but not as “soft” as it could – especially since our first house’s bedroom had two curtained nooks on either side of the bed, so maybe we’re just fabric-starved individuals).
For this headboard we decided to forgo our usual stretched canvas technique since we’re working around Ed’s existing headboard. We devised a quick plan to use plywood and some 1 x 3″ boards to create a headboard that would wrap around what’s left of the existing posts and essentially hide them from view. Just pretend those Photoshopped blue blocks below are wood:
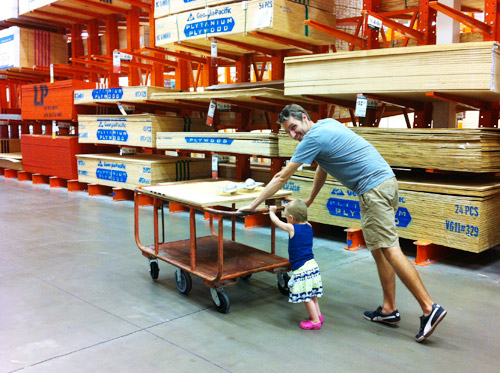
Clara was being quite the little helper at Home Depot (when she wasn’t simultaneously mesmerized / terrified of the big saw they used to cut our piece of plywood down to size). We bought a piece of 5/8″ plywood cut to 65″ x 36″, though I actually had them slice it down the middle so the darn thing would fit in our little Altima’s trunk. It also made it easier for Clara to help push us towards check out (where our total was $22 for the plywood plus two 1 x 3″ whitewood boards).
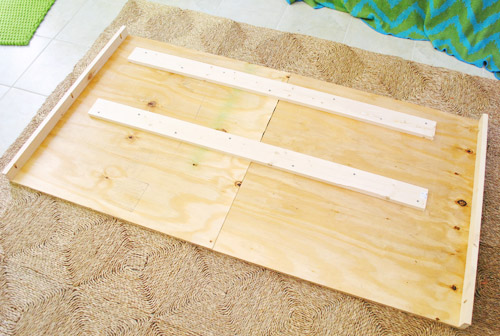
Here are all of my pieces laid out back at home so you can see how we planned to assembled it. The two brace pieces across the middle would make up for the fact that we had to cut our plywood in half. The two on the sides are what will wrap around to hide the posts.
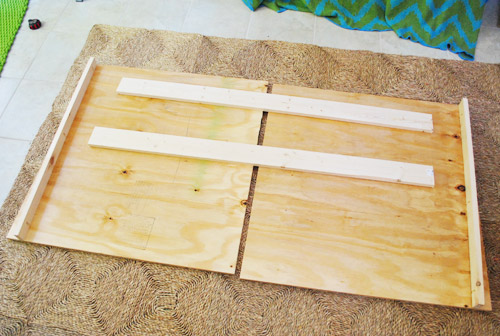
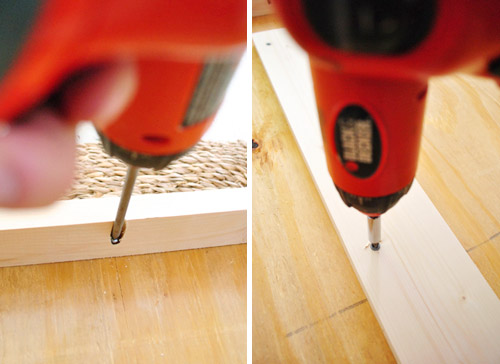
I attached my side pieces using my Kreg Jig and for my brace pieces I just drove a few spare screws right into them.
So here’s the headboard all assembled. If it wasn’t already obvious, this is the backside that will face the wall.
I had considered my work done and declared Ed’s headboad (Ed’s head? The Ed-board?) ready for upholstery. But Sherry, in all of her wisdom, suggested we bring it in the room to make sure it fit before covering it with batting and fabric. Smart cookie.
It did fit. At least, it did side to side – but we realized it was looking a bit taller than we wanted. In person it just sort of felt too top-heavy if that makes sense, so we thought a bit of a lower rise would work better with the proportion of the bed.
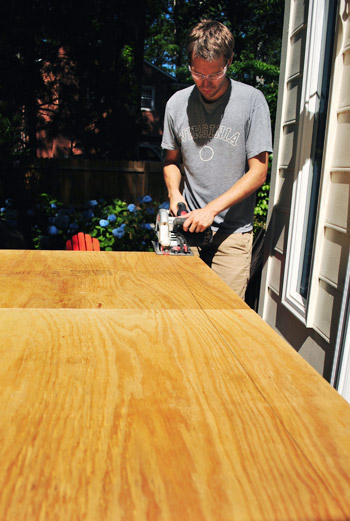
So after a bit of debate (and actually holding up paper while standing across the room to block off different lengths of the top) we decided to lop off about 5″ (poor guy, first his posts get chopped off – now this) using a circular saw so that I didn’t have to disassemble and cut the pieces separately on my table saw.
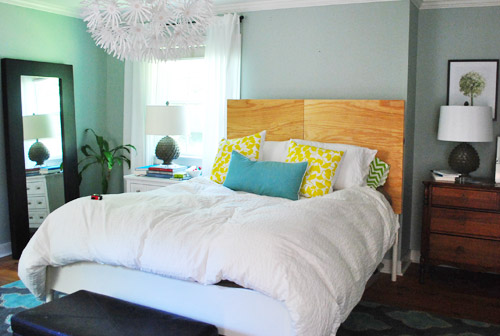
So here’s the headboard back in place, looking much better. It’s a modern bed with nice clean lines, so anything taller just felt off in person (a little too traditional/ high-flying) and we want to leave room above it to hang something there to break things up and add more “layered bedroom ambiance” as the lady-wife calls it.
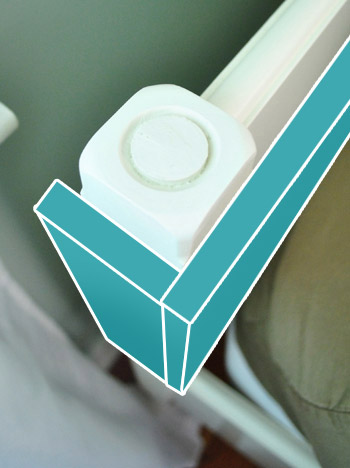
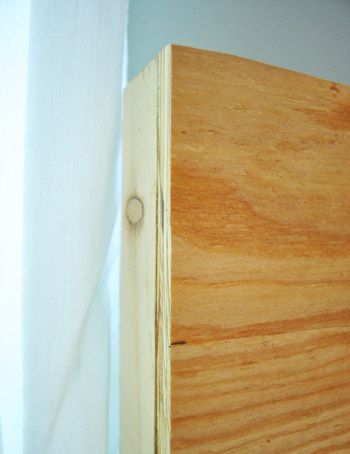
And in case that Photoshopped headboard-building-plan picture at the beginning of the post still confuses the heck out of you, maybe this close up of the side will help clear things up. That piece of 1 x 3″ just curls around the side enough to hide the post – that way once it’s upholstered it’ll be a seamless, even fatter looking headboard (rather than a headboard with a random white post behind it).
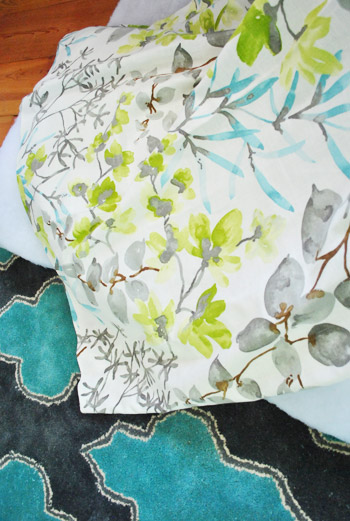
Sherry will cover the actual upholstery process tomorrow (we took way too many pics that we still have to upload so Sherry can write up those details) but I promised her I’d give you all a preview of the fabric that we picked out. We opted for a more free-form botanical print that picks up the turquoise in the rug, but doesn’t compete with it by being another perfectly symmetrical geometric. It’s a nice mix of light-and-airy-meets-mathy-and-shape-riddled. It looks a little crazy with them touching in the picture below, but in reality the headboard will be on a different plane than the rug (floor vs. wall) so they won’t be all up in each other’s area.
Now that I’m at the end of this post I’m not so sure it qualifies as an “adventure” but don’t tell Clara that. She thinks surviving the loud “scary scary saw” and getting to push the cart at Home Depot is about as exciting as it gets (although 8.5 hours in the car with her today might add up to something “exciting”). I think it would have been more of an adventure (slash nightmare) if we had upholstered it before checking how the initial height looked on the bed, so that would be my Tip Numero Uno. Before shooting a few hundred staples into something, hold it up wherever it’s going to go and see if the proportions look right (being sure to put all of the bed pillows in place if it’s a headboard, since those can block a bunch of the headboard so they make a difference). What did you guys do this weekend? Any road tripping with a dog and a toddler? Or fellow headboard adventurers?

Leave a Reply