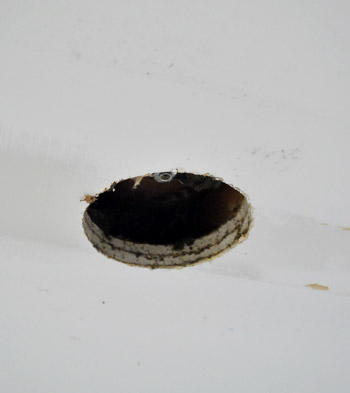
Holey moley. Our ceiling was having a little hole problem after some electrical wizork last week (warning: $herdog is in full effect in this post)…
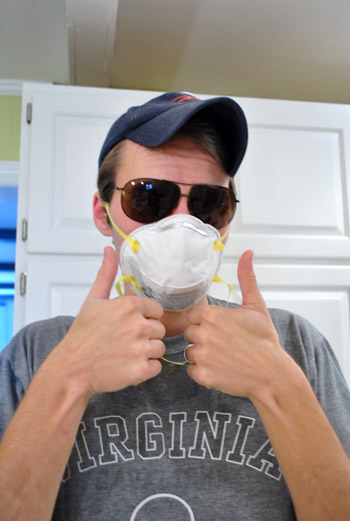
So we did the normal thing and donned sunglasses and hats along with breathing masks. Why? Because we can’t find our safety glasses (book shoots = can’t really find anything). And ceiling dust is gross when it’s up your nizzle.
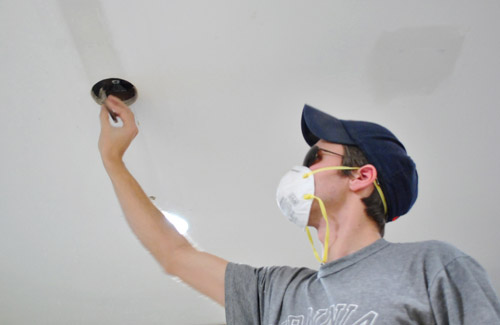
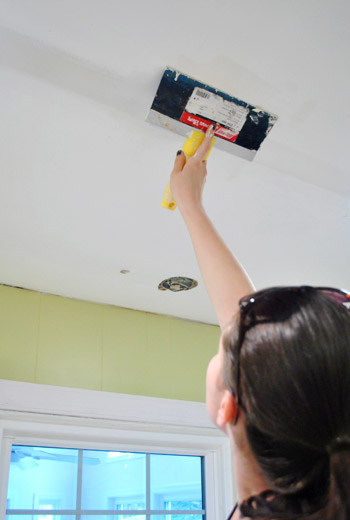
Then we got our patch on. I’m the designated Spackle Wench in our family, but John has longer arms, so he helped me by doing step one: lightly sanding the outside of the holes we were patching.
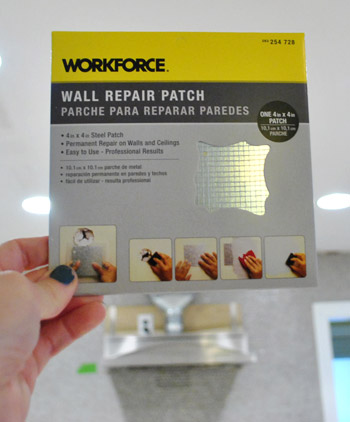
Then it was time for these guys from Home Depot. They’re basically a wire mesh patch that’s stuck to sticky paper. You stick it on the hole firmly, spackle over it, sand things down, and paint. Das it. They really make things pretty easy – even on a ceiling (the most notoriously annoying plane to work on in any room). Hardest part: gravity. More on that later (there’s video evidence of my struggle).
After the mesh patch is stuck up on the wall (darn, no pics of that, but that’s all in the video), just get some spackle on the biggest putty knife you have and squish it all over the mesh pad. Smooth it as much as you can with the spackle knife, but know that sanding everything down afterwards is when you’ll get the finished look you’re going for (so it’s always better to build things up slightly more than you need since you can always sand it down).
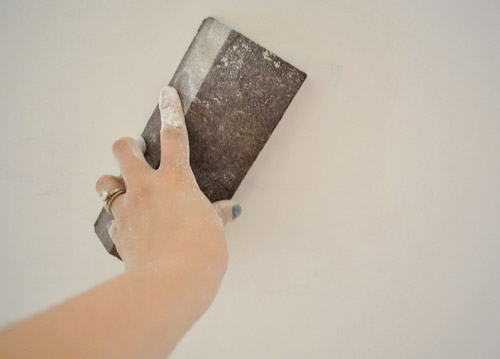
Then just wait the recommended drying time and get to sanding. I like to use a sanding block when it comes to sanding large planes like walls and ceilings, just because it keeps things straight (sandpaper is so floppy that it’s hard to keep things as rigid in this case, but it’s great for sanding furniture since it flexes to follow the lines of those items, like the legs of a chair).
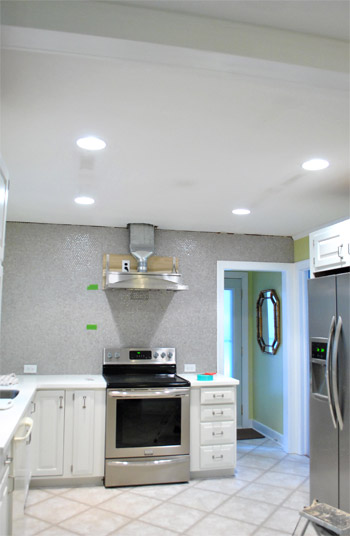
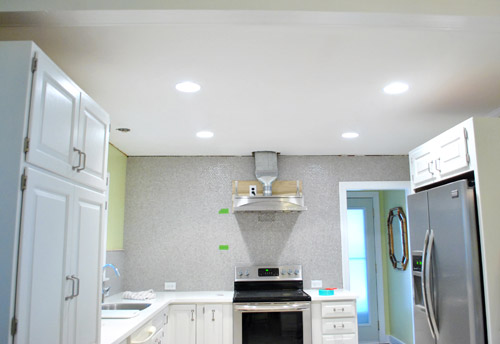
After sanding everything (and sweeping/vacuuming/showering to get the white powder off of everythingintheentirekitchen-urgh!) it hopefully looks like this. See the three dark-ish areas where those holes used to be? They just need some paint (along with other dirty areas of the ceiling that got grunged up under the old fluorescent lights).
Here’s the hole next to the new pendant lights that we patched too. Oh and see the one over the sink- that’s still waiting for a fixture, so it stays. We’re on the hunt so we’ll keep you posted when we plug that guy up with something light and pretty.
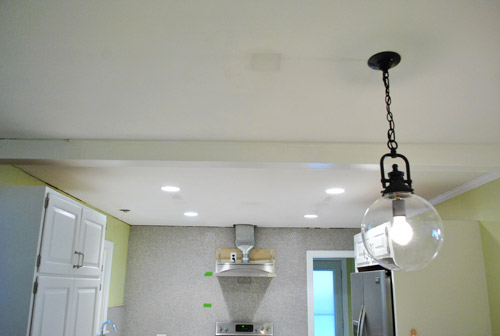
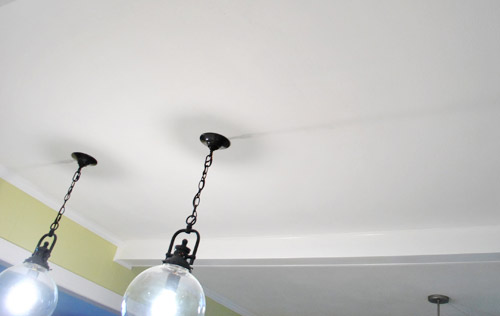
Two coats of ceiling paint later (bless the previous owners for leaving that behind for us), any evidence of those old holes were history:
Here’s the other former-hole next to the pendants after paint. See it? Me either. Huzzah!
And here’s a video. Admittedly, things got a little wonky (falling spackle, shrieking Sherry, an offhanded mention of a slug, etc). Yes, there are outtakes right in the middle of the thing. But it kind of perfectly captures the whole process. You’re gonna get messy, and it might take a few tries to get things to stick. But in the end, you can totally get ‘er done. As in, this is about a 2 on the difficulty scale. So put on your Brave Girl Underoos and get ‘er done! Or your Brave Boy Underoos if you’ve got those.
Hope that comes in handy for ya. Next up in the kitch: shelf planning and hood painting. Hootie hoo. Then floors. Momma’s excited. Bring on the colorful plates and bowls! Ah accessorizing, the best phase of every project. And the cork – that’ll be a room-changer for sure. What are you guys up to this week? Any hole patching? Shelf building? Painting? Secret project-ing? Spackle-dodging? Tell $herdog all about it.

Leave a Reply