When our saga last left off, our heroes were being shuffled around the kitchen. That is, if a refrigerator and a pantry are your kind of hero.
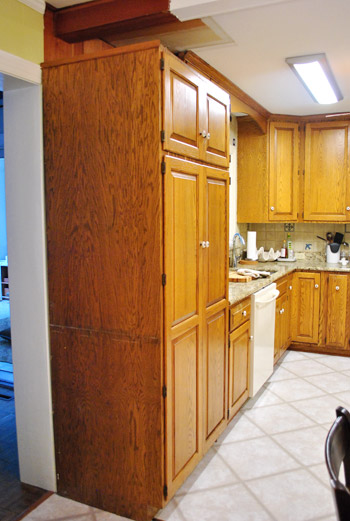
But before our new appliances arrived last week, we had to put the moves on a few more things. First in line? The cabinet that held the wall oven.
You probably recall that we were ditching the wall oven because it was burnt on the front, bisque colored, and cooked things unevenly. We opted not to replace it with another wall oven because (1) wall ovens are expensive – usually 1K more than ranges, (2) our cabinet is unconventionally narrow – most modern wall ovens wouldn’t even fit, and (3) the tall cabinet was big and bulky (we’d like the pantry and the fridge to be the only two tall things in the room). So that whole tall cabinet was getting the axe – but of course we’ll be repurposing parts of it.
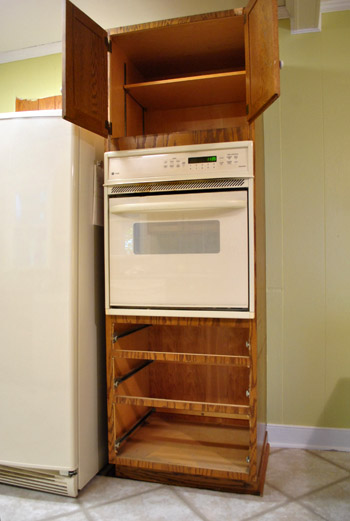
Once emptied, we unscrewed it from the back wall, removed any trim, and shimmied it out of its hole in the floor. Oh yeah, this was all after turning the power off.
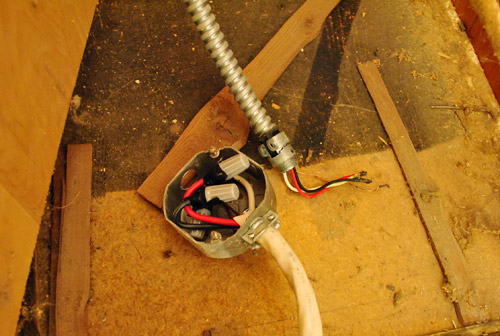
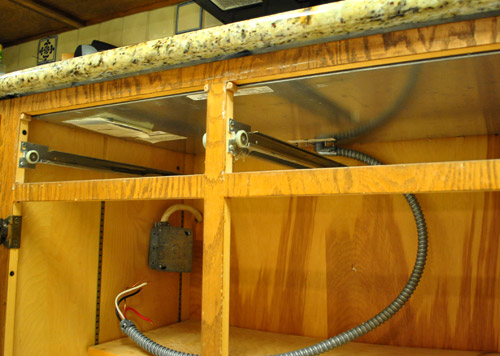
The darn thing was hardwired, so rather than just unplugging something, I had to do a bit of “unscrew this, rescrew that” to get it disconnected. Don’t worry about the crazy exposed wire. I capped it, put everything into the metal box (which had a lid) and left the electricity turned off to that area of the house until the electrician arrived this morning to take care of it all – and to finally figure out what that mystery wire is above the pantry (details as soon as we know!).
With a few more screws unscrewed and a bit more shimmying (we feel like we do a lot of that lately) we had the oven out of its wall hole and ready to be moved out of the room (we’re donating it to the Habitat For Humanity ReStore).
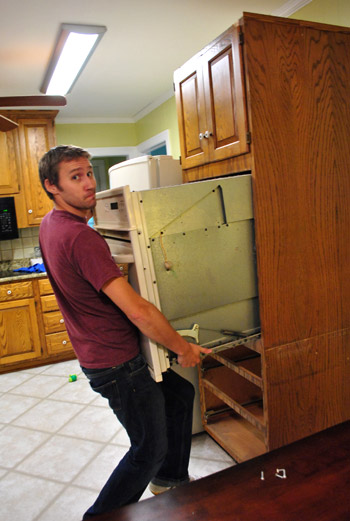
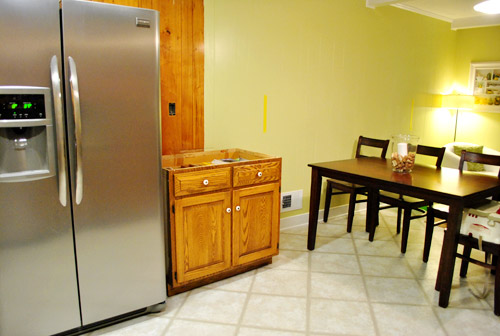
Once the oven was removed, the cabinet itself was awesomely light, so it joined our stockpile of kitchen scraps in the sunroom (we’ll be reusing things like the doors and drawers and possibly some of the other oak trim). We’re hanging on to everything until we’re done with the kitchen just in case a piece comes in handy (so our sunroom looks crazy – we should snap a photo for you guys). Then once we’re done, we’ll try to donate or craigslist as much of it as we can.
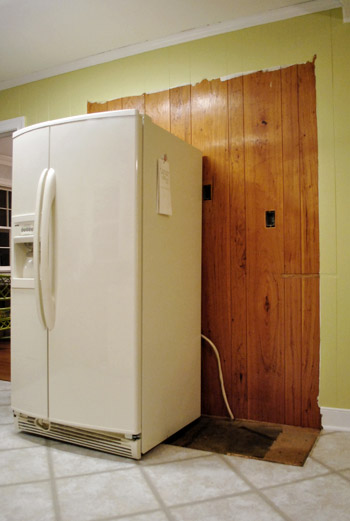
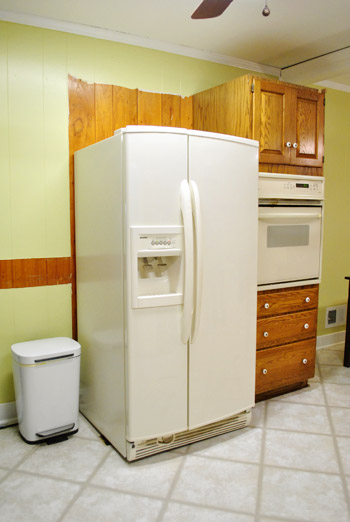
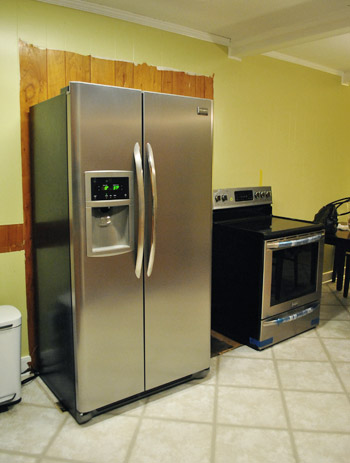
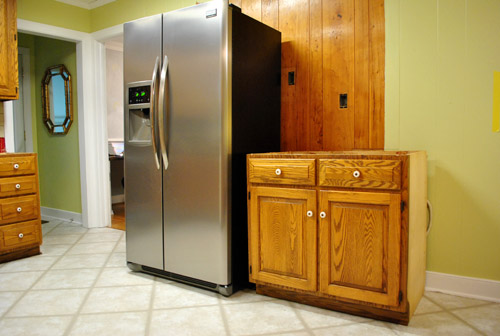
The womp-womp of having just exposed more unpainted paneling wasn’t so bad. Mostly because the next morning our new appliances arrived. Joy. The fridge got installed in place (the old one was hauled away to be donated to a local church) and the new stove temporarily sat by its side (not hooked up, because it will soon live on the wall to the left of the fridge as you face it – more on the future floor plan here). The dishwasher and microwave are sitting in boxes in front of the fireplace. Yes, our kitchen looks pretty insane right now if you couldn’t tell. And although the only new appliance that we’re actually using is the fridge, so far we love it.
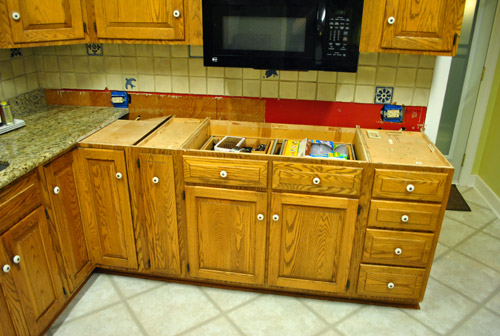
With the wall oven gone and the new stove not in place, we’d lost our baking function in the kitchen. No good. So our next mission became getting the new stove installed in its soon-to-be-permanent home. Only problem? This stood in our way:
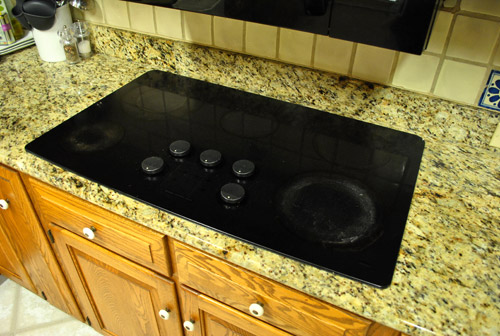
It was time for the cooktop to join the wall oven in craigslist/donate purgatory (we planned to craigslist it because it’s a pretty nice JennAir model). We started by emptying the cabinet below and I disconnected the electrical in the same turn-off-power-and-cap-it-all-in-a-metal-box-and-leave-off-power-to-that-area-until-the-elecrician-arrives-this-morning fashion.
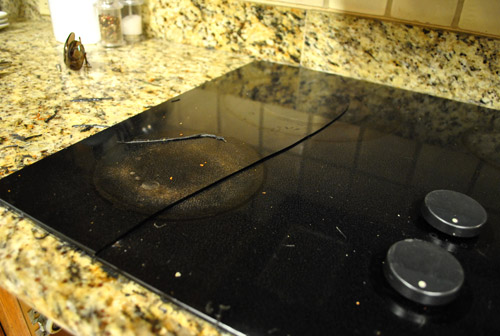
Based on the installation manual (which I looked up online), I should’ve just been able to lift the cooktop out (it wasn’t screwed in)… but this sucker wasn’t budging. That’s when we discovered this:
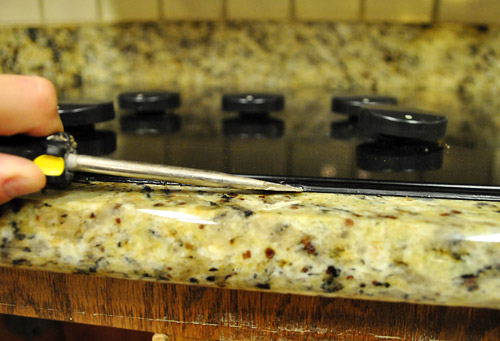
It was glued down with some sort of black silicone. Sherry did some quick Internet research on “removing cooktop glue” and came to the conclusion this was baaaad news. Apparently you’re not supposed to glue down your cooktop because it makes it very difficult to remove (uh oh) without completely shattering the glass (double uh oh) and many folks were rambling about how mad they were at their granite installers for gluing theirs in which they only learned was completely wrong after it needed to be removed to be serviced or replaced and was shattered in the process. Even though it wasn’t looking too good for our “craigslist the cooktop” plan, we were determined to at least give it our best try. So we started gently scraping and slicing the caulk to free the cooktop.
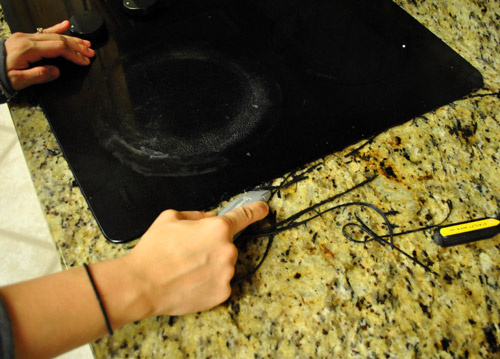
Well, the odds won. After about 15 minutes of trying to sloooowly and caaaarefully pry it up, we got our first crack in the glass. Then our second. Then our third. Then… well, we just accepted the fact that our cooktop wasn’t really sellable or donate-able anymore. Sucks. But from what we hear, any drop-ins that are caulked usually suffer a similar fate. So if you’re adding one remind your granite or countertop folks not to glue it down!
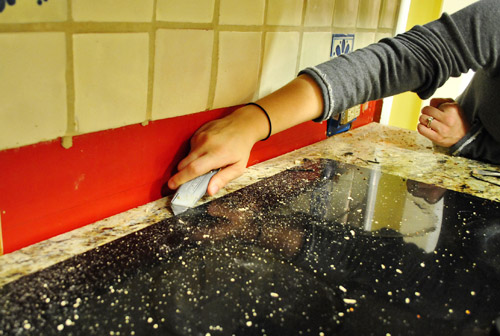
With our rescue mission having turned into a recovery, we plugged away at trying to detach the cooktop from the granite. After all, this whole section of granite was next on our remove-list (to make way for the stove) and it was already gonna be heavy enough without a cooktop piggybacking on it. So Sherry kept working on the cooktop while I started with the granite backsplash – which, ironically, came out quite easily. Having the backsplash out gave Sherry enough room to cut along the back edge of the cooktop (even her small hands couldn’t fit back there with the backsplash in place). Perhaps this would do the trick?
NOPE. No luck. So we gave up on trying to remove the cooktop and decided to just carry it out with the granite instead. Sherry was quite excited to turn her attention to something that (based on my backsplash experience) would be much more satisfying.
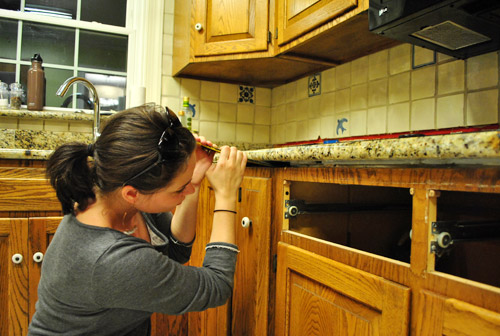
And it was. After a few slices along the silicone caulk that held the granite in place, Sherry was able to wedge a crowbar and screwdriver in a few places and start to pry it up within minutes.
Once it was fully detached, we called in reinforcements (my dad, whom we had invited over to “help with a little project”). Because granite is HEAVY. He must’ve known our definition of “little project” usually calls for work gloves, so he showed up wearing his.
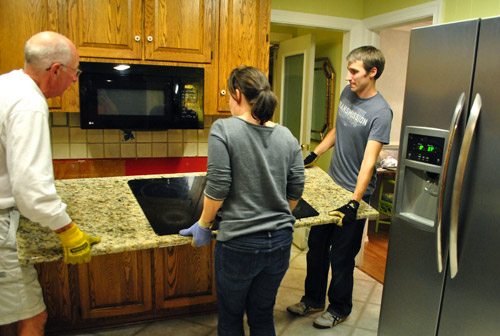
Moving it actually wasn’t that bad. We were able to get it into the carport no problem, where it now sits awaiting – you guessed it – our craigslist/donate bonanza. Meanwhile, back inside we were left with this: no cooktop or granite, but still a cabinet where our stove needs to go.
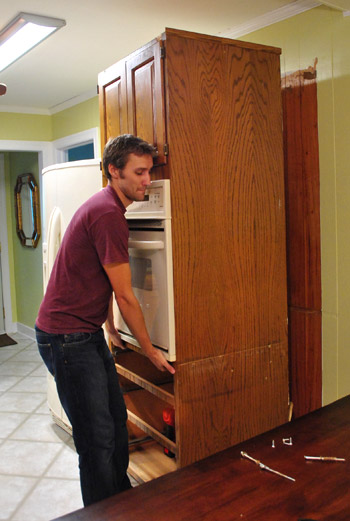
So with everything emptied, we pried out some more trim and unscrewed a few more screws…
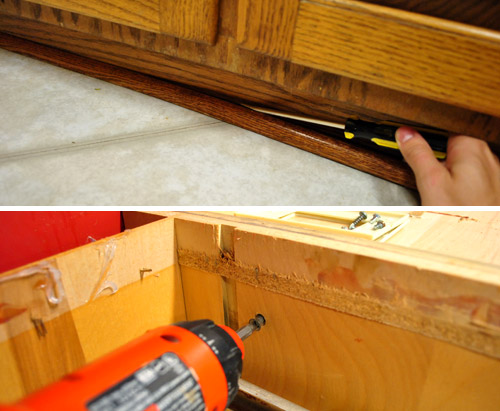
…and pulled the cabinet right out of its spot…
…and shimmied (darn it, there we go again!) the stove into place.

We left all of the wrapping on the stove as a visual reminder not to try to use it (it won’t be ready until the electrician finishes with things this morning since he’ll be converting the raw wires to a standard plug).
A couple of other things to note about that picture:
- See how close the top of the stove is to the bottom of the mircowave? That’s how awkwardly low our microwave is hung. Not normal, right? Can’t wait to upgrade to a properly hung range hood.
- The stove is 30″ wide, but the cabinet base had been 36″- so we’ll add some 3″ filler pieces to make it look built in (since the hood is vented/ducted to be centered over the 36″ opening, moving the stove to one side or the other would be major ceiling surgery that we just don’t want to take on). But once we add 3″ filler pieces and paint everything white we think it’ll be pretty darn seamless – and definitely worth having a work triangle instead of some sort of odd work parallelogram.
- The stove is counter-depth, so although it looks a bit deeper, we just didn’t push it in all the way (since the electrician is coming and we’ll have to pull it back out).
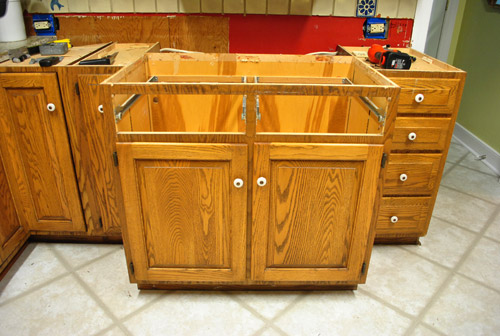
Oh, and speaking of that 36″ cabinet base. It did not end up in the sell/donate pile. Instead, it’s getting put to use where the giant wall oven cabinet used to live:
Yup, it’s gonna be part of the new workspace that leads from the fridge (which will get built in) all the way around to the peninsula that we’ll be adding. By reusing this cabinet it means we only have to buy 2 new ones to create our peninsula (one corner base cabinet and one 21″ drawer base cabinet). But we’ll talk more about that later (we got planz, yo).
With every item that we check off of our kitchen to-do list it seems like ten things get added, so I won’t even attempt to lay it all out here. But the main things are securing materials (backsplash, cabinets, counters, etc), painting the exposed paneling, and scheduling our wall knock-down-fest (we finally picked a contractor to help us – so it looks like we might accomplish it within the next month). Woo hoo!

Leave a Reply