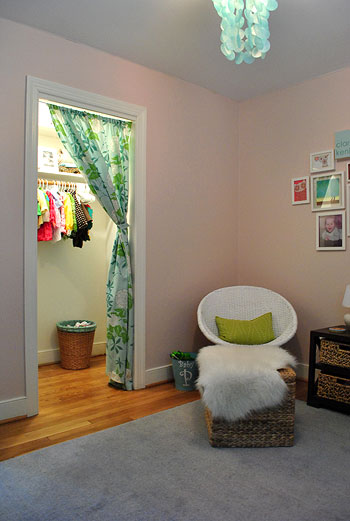
After admiring various ribbon chandeliers in baby stores, catalogs, magazines, and even over on Pintrest, I decided to try my hand at one for Clara’s closet. Her closet is actually big enough to become a little reading nook when she’s a little older (I have visions of making her a beanbag for chillaxing on the floor with a book). And I love that the closet has its own light but it’s one of those fugly bare bulb ones that you tug on a piece of string to turn on and off. So I thought a happy little ribbon chandy could pretty things up.
So I spent $2 for an embroidery hoop (with a 10″ diameter from Ben Franklin) and used some white spray paint and a box full of old ribbons that I already had (I save them like gift bags to recycle them ’cause I’m cool cheap like that).
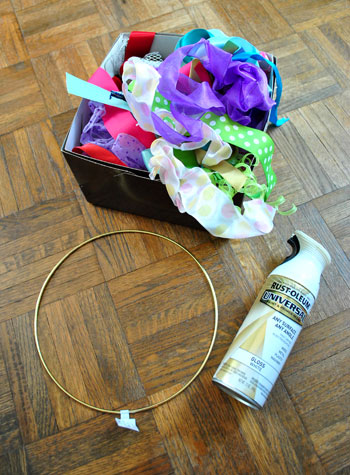
So the total project cost was just two dolla. Holla. (Yup, that’s the second holla I’ve used today- and yup, I’m counting).
Anyway, first I went outside and spray painted my big metal embroidery ring thing with white paint on a piece of cardboard. While it was drying I went through all of the old ribbon scraps that I have and picked out the ones I wanted to use. Then I popped back outside to flip my ring over with a stick so I could spray the other side.
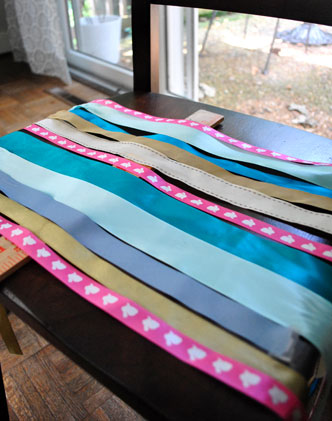
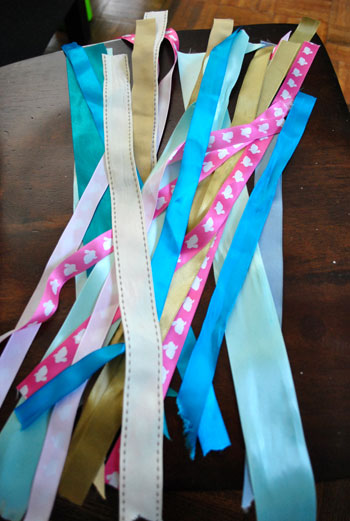
Then it was back inside while it dried to cut 16″ lengths of ribbon from all of the ones I picked to use. Here are most of them cut and ready to glue to my drying ring (I still had a few more hot pink ones to be added to the mix). Oh and I should note that I wasn’t exact about my cutting at all. If I wanted to use a strand of ribbon that I could almost get two lengths out of, I’d cut it in half (even if each piece was only 14″ instead of 16″). Yeah, call me Loosey Goosey. Wait, that sounds bad. Don’t.
Here’s where I’d show you a few photos of me and my handy glue gun as I glued each ribbon to the now-white-and-dry metal embroidery hoop. I just curled it over the top and glued the ribbon to itself in the inside of the hoop and worked my way around the top, just gluing each ribbon in place next to the other one with about an eight of an inch of space between them so they didn’t get all up in each other’s area. And I burned my fingers approximately fifteen times, which might be why there are no photos. But it was worth it. No pain, no gain. Sidenote: I accidentally typed “no paint, no gain” at first, but upon thinking about it, I also believe that’s true.
Here’s the bare bulb we’re dealing with in Clara’s closet. And I only realized as I took this photo that we never switched it out for a CFL. Probably because we never actually turn it on, but still – shame on us. It has been rectified. And the old bulb betta recognize. I’m in a weird mood today, huh?
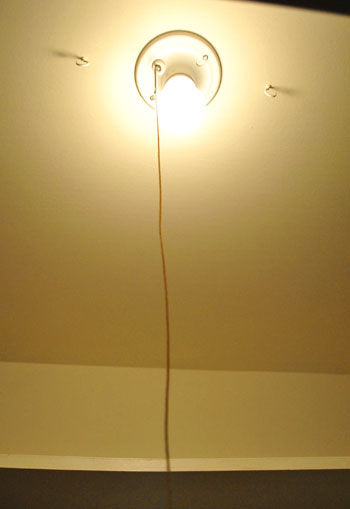
See those hooks on either side of it? We had those in the ol’ tool drawer, and I thought they’d come in handy for stringing up my ribbon chandy. I was going to use fishing wire but I couldn’t find it so I went with white string (you know, sewing machine string?). Wait I mean thread. Anyway, it worked like a charm.
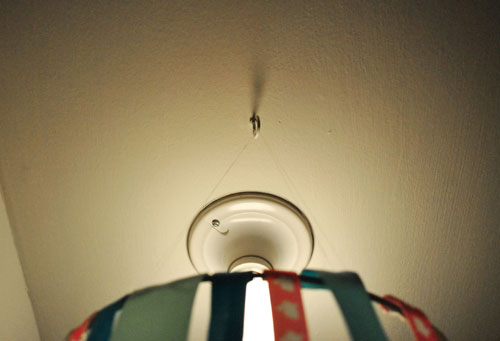
I just made four loops of white thread at four even intervals around the ring and looped them up over the two hooks so they sort of pulled from four points and stabilized the hoop o’ ribbon. Here’s what I was left with:

Cute, right? When Clara woke up from her nap I couldn’t wait to hang it slash show it to her. She loves it. And that my friends (as Martha would say) is a good thing. Oh and I totally should have ironed the ribbons before gluing but I was feeling lazy. I figured I can always take it down (it’s just hanging on those little hooks) and iron it if the urge ever strikes. Not that I’m counting on it. For now I look at it like wavy hair. There’s a place for it.
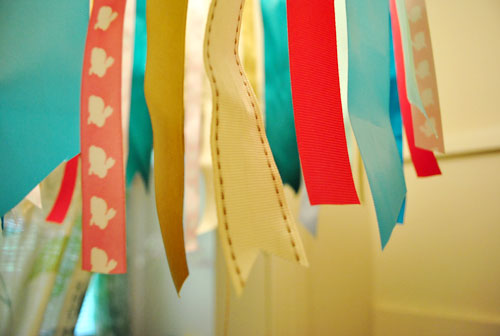
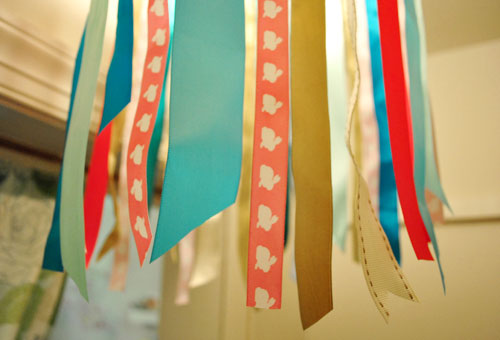
See that cute pink ribbon with the bunnies on it? It’s from this Easter basket we made her a while back. Memories. Oh and note that the bottom of the ribbons are random and staggered and some are cut at an angle or dove-tailed (is that what it’s called or did I make that up?). I went with the keep-it-casual approach.
As for how it looks from the rest of the room, I love how it just sort of peeks out from behind the curtain like her bright little dresses. So you don’t really know what’s going on until you get closer…
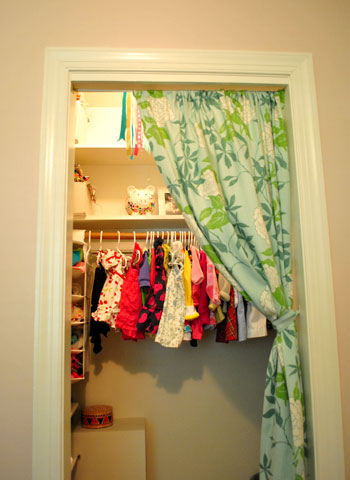
… and peer up to see those fun little ribbons.
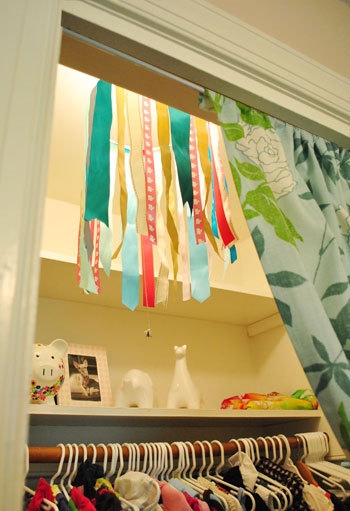
So there you have it. A $2 project that the ceramic animals in Clara’s closet get to enjoy (they’re up there because they’re breakable and now that Clara is toddling around they were in constant peril on her dresser and side table- so up they went. And yes, that’s a framed photo of Burger. Clara’s quite fond of him.
Oh and when I showed John he said “how’s it hanging?” and I said “har-har very funny” and he said “no, I’m asking you a question- how is it hanging from the ceiling?” and I explained it while trying not to wet myself. Maybe you had to be there though.
Anyone else making things out of ribbon? Or dressing up a bare bulb in another way? Tell $herdog all about it.
Psst- Don’t burn your house down! Many lamp shades are made from fabric and paper, so ribbon is cool. Just make sure it’s not even close to the bulb (and definitely not pressing against it). Our 10″ hoop offered lots of space for the heat to escape, and using CFLs helps too since they burn cooler than the regular guys. In some places exposed bulbs in closets aren’t even to code (glass domes are recommended, which could still be covered with a fun little ribbon chandy to dress them up).

Leave a Reply