Digging is right up there with the Kardashians for me. As in, I’m getting tired of it (What? I’m a guy – we don’t like those shows). I knew there’d be a lot of it involved in DIYing our patio (digging, not Kardashians), but I think I got a false sense of confidence after all of that liriope came up relatively easily last week.
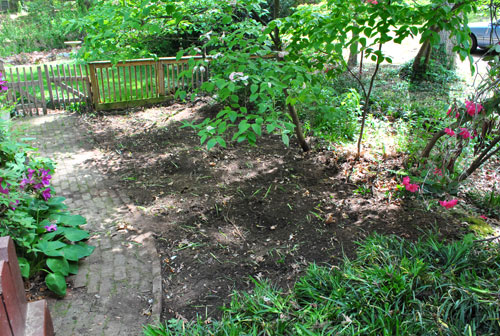
Next up was removing the brick path which, based on the looseness of some bricks on the edge, I said to Sherry “shouldn’t be that bad.” At least I can pinpoint the very moment I jinxed myself. Do you hear that? It’s the sound of the universe laughing at me.
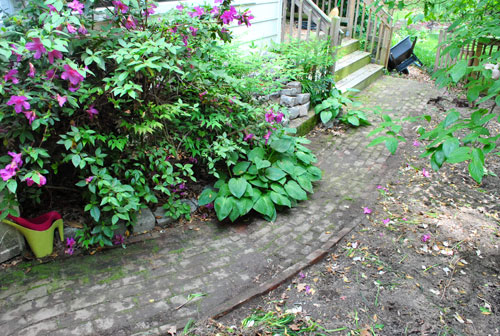
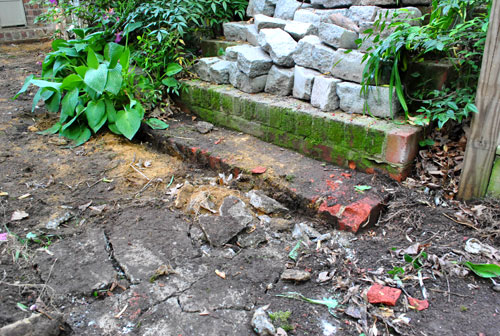
As Sherry mentioned yesterday, it came up pretty easily at first because the first half of them were just laid in sand. So I only had to find the edge of a brick with my shovel, give it a little pry and rows of brick would come loose at once… further luring me into that dangerous “this’ll be easy” mentality.
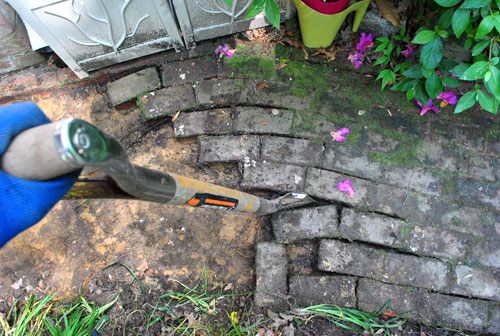
Then I hit a roadblock. And by hit I literally mean hit. And by roadblock I mean concrete. Suddenly I discovered that the second half of the bricks were set in some sort of mortar. It wasn’t that bad at first. It just took a couple of good whacks with my sledgehammer to get the bricks loose, but from there it was just as simple as prying them out with my shovel again.
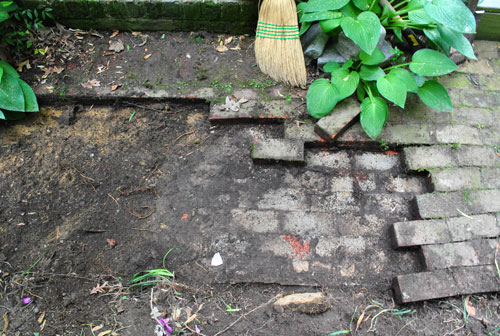
By the time I had removed all of the bricks – aka prying them all loose, knocking some with the sledgehammer and carrying them away by hand (to the carport, where I neatly stacked them for use in a later project) I was pretty darn exhausted. And I still had about ten feet of concrete that had to come out. In the words of the always hilarious Liz Lemon: nards.
With my energy gone, so was most of my confidence. I whined to Sherry that I’d probably need to rent the demolition hammer that helped me bust out the floor of our old bathroom (which Sherry then relayed to Katie B who she was jabbering with on the phone with while attempting to cut fabric in the hopes of making a birthday quilt for the sleeping bean). But knowing that driving to and spending money at the Home Depot Rental Center wasn’t necessarily the easier solution, I mustered enough strength to give the concrete a few good whacks with the ol’ sledgehammer.
Miraculously, it shattered.
With that moment of good luck came another burst of energy, so I kept smashing away at it, making good progress for a while.
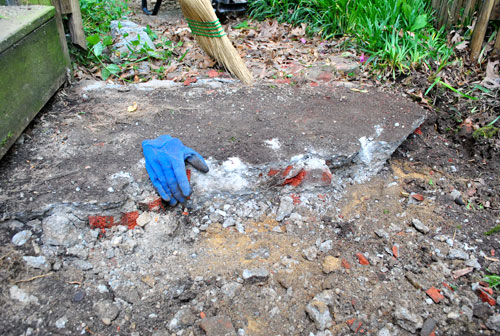
Then I started to notice that the concrete was getting thicker and thicker as I went. They must have used it to level out a much more dramatically sloped area beneath it. What had started off as easily-breakable inch-thick concrete was now about 6″ thick. Hence the creepy blue glove photo that Sherry shared yesterday:
As I later confessed to Sherry, to psych myself up / amuse myself I started to sling insults at the concrete as I swung away. I’m not very good at smack talk, so it quickly turned to weird geeky chants like “By the hammer of Thor!” (clearly I’ve been watching too many Thor commercials lately). Off in the distance I thought I caught a squirrel laughing at me. Glad to entertain the woodland creatures, I pressed on with my chanting and swinging. Either way it worked, and by the end of the day all of the concrete was out. Sherry snort-laughed at the insanity of my method, but hey, whatever works.
Okay, technically it was “out” but not removed. I saved the hauling of the shattered debris for the next day (right now it’s hidden in the back corner of our property behind some trees, although we might haul it to the dump a little later on – you know, when I have more energy).
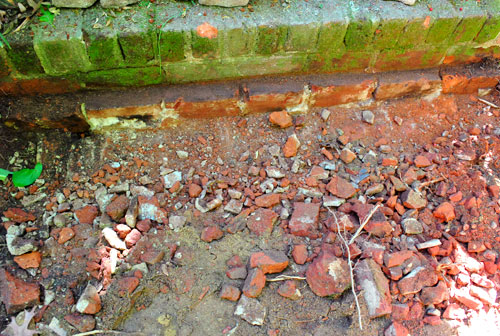
Sadly my sledgehammer slinging days were not over. The bottom step of that pesky old unusable brick staircase (next to the wooden steps that are now used) was about two inches too high so it too had to be busted up so as not to interfere with the perimeter of our paver patio. I’ll spare you the gritty details on this one, but let’s just say that my second less-exhausted day of sledgehammering meant that old brick looked like pebbles by the time I was done. That’s right, Thor worked it out:
With my proverbial slate officially clean (read: no more liriope and bricks), we could now more formally start laying the foundation for the patio. I’m following the instructions from this series of Lowe’s videos about recommended patio installation btw (along with the advice of some local experts who lay paver patios both commercially and residentially, who agreed with every step from the video), so this clip covers most of what was ahead of me (unfortunately, it involved more digging).
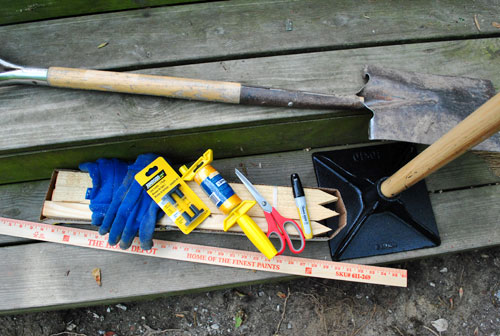
The next steps would require about $40 worth of new supplies, like wood stakes, line levels, nylon mason string and a hand tamper – along with some already owned items like gloves, a yard stick/ruler, scissors, a marker, and a shovel.
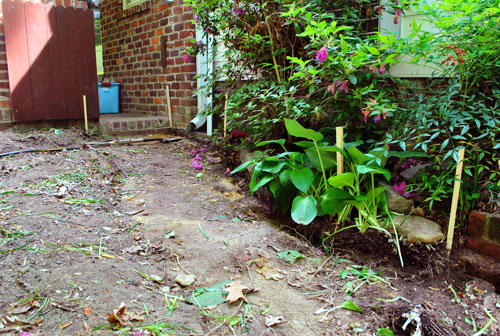
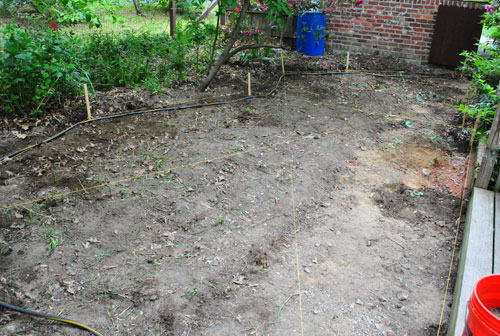
Fortunately I got a respite from all of my digging since the next task was staking out the patio area so I’d know how deep to dig in all areas. We had already marked the boundaries with our hose when it came to the desired perimeter (straight on most sides but gently curved on that back perimeter like our old patio was in our first house). So I drove in some wood stakes at key corners and turns (I learned I should drive them in deeply since I’d soon find myself digging out a lot of the dirt around them).
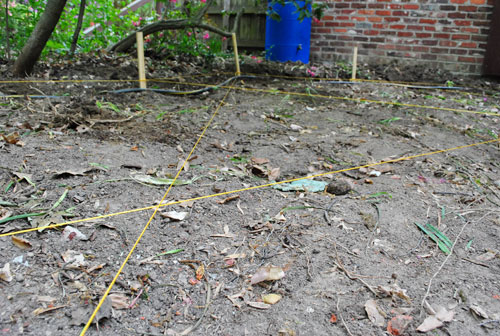
Next came marking things off with string. The key objective being to mark where the top of your pavers should eventually sit while making sure things are level. Well, actually making sure things slope gradually away from the house (to stave off any water-collecting-around-the-foundation-issues). So just as the video showed, I used my line level to tie the string between two stakes (and ensure that it was 100% level).
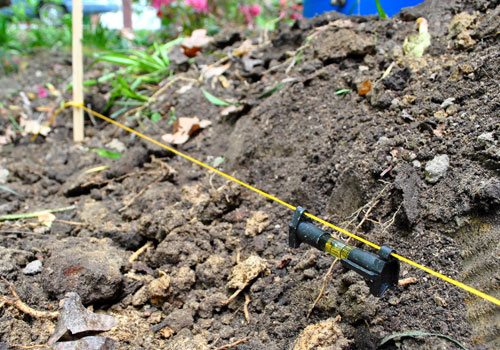
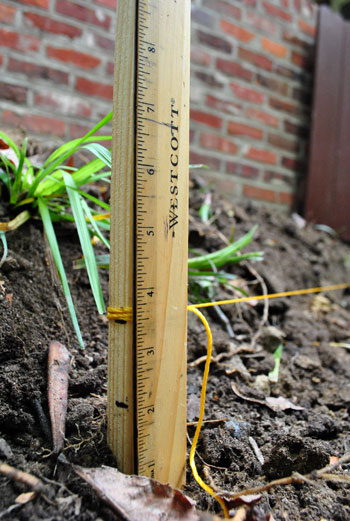
Then based on how far apart the stakes were (these were 6 feet) I marked off where I should lower my string to in order to meet the general rule mentioned in the video (that a patio should slope down one inch for every four feet). To save on string slash effort, I just moved my strings rather than tying on a second one.
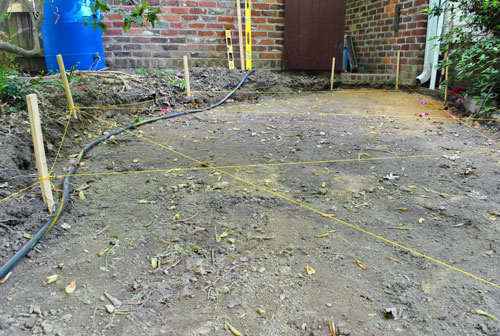
The whole string process took longer than I expected. The video fooled me into thinking it was a cinch because they were doing a square patio on a flat surface. I was doing a gently curved patio on an already sloped surface. Plus, I had pre-existing features that I had to line up with three of the four sides: the carport at the top, the deck stairs on the side and the fence at the bottom. And the area already sloped towards the house, so I was fighting the pre-existing terrain to create something that would later slope away from it.
But eventually I got all of my strings tied, my slopes going away from the house, and everything lined up the way it needed to be.
The video didn’t mention tying strings anywhere but the perimeter, but having seen Nicole’s DIY patio photos I opted to do some across the patio area too. This not only helped me check the diagonal slope as well as the perimeter slope, but also would give me some reference points across the middle while I was digging. After all, what good is a patio that’s perfect on the edges but bulges or sinks in the middle?
Oh, and if you don’t have a line level – you can always enlist a helpful chihuahua to double-check the slope of your lines.

Okay, clearly Burger isn’t smart enough to actually help with this project (besides peeing near my work area and licking my muddy face). He’s just trying to crush a bug with his neck in that photo. I recommend the line level (a two-pack was like $3) even though it’s far less amusing than a crazy bug-hunting chihuahua.
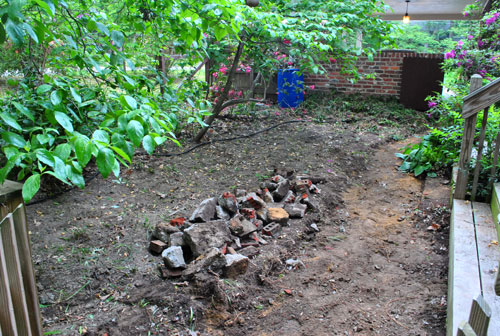
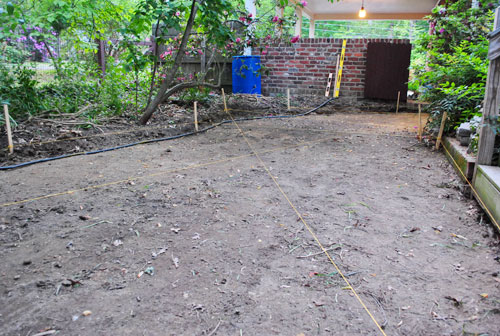
I have no “during” photos of the next part because it was basically a bunch of digging, measuring, digging, hauling dirt, digging, rubbing my aching back, digging, sitting down for water breaks, digging, begging for Sherry to bring me an insane number of granola bars for “fuel”, digging, barely working up the nerve to get up again, digging, checking things with a level, digging, cutting out roots, and yes – more digging. It took me one and half days (about six hours in total) to get the whole area nearly seven inches lower than my nylon strings (6 3/8″ to be exact, which leaves room for 3″ of gravel, 1″ of sand, and 2 3/8″ of paver to make everything nice and flush again). By the end, it looked like this (there’s kind of an archeological dig site vibe going on, right?):
Oh, and when I was done digging I went over the whole thing one last time with a level to make sure I still had the right slope going on across the whole thing. After that, a vigorous round of tamping with the hand tamper ensued (yes, the word vigorous is the best I can do at making it sound like fun). It was not. I fully realize that renting a plate compactor would be the less laborious route, but frankly I’ve heard mixed reviews about how easy it is to use and I knew it would require removing all of my middle guide strings (which I consult so frequently that I’d never want to be without them for fear of a huge sunken spot in the middle of the patio that will collect water and debris for decades to come). Plus, what’s a little more manual labor at this point? My back didn’t exactly agree but after a few hours of serious tamping (and just one blister) the dirt was compacted within a centimeter of its life. And can I just tell you that it’s nice to put that step behind me?
My apologies if this post sounds a tad whiny. Just trying to keep it real as my lady likes to say. Fake Chipper John says: it was lots of good old fashioned sweaty fun. Keeping It Real John says: holy crap that was waaaay more exhausing than I expected, and it took waaaay longer than I thought it would. But it’s done and I’m psyched to have lived to tell the tale. Now we just have an insane amount of gravel and sand to layer into that leveled and tamped hole followed by some pavers. Although I’m sure I’m oversimlifying that step too. Haha. But to prove that I still have my sense of humor intact, I wanted to share the warning that came on the new wheelbarrow tire that I had to buy (our old one got punctured last year somehow at the old house).
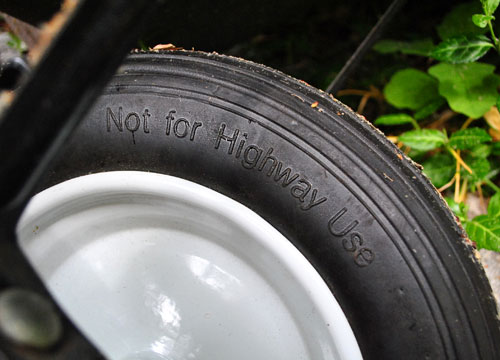
So if anyone had plans to take their wheelbarrow for a spin down I-95, you might want to work on a plan B.
And might I suggest that plan B involves helping me haul and level all of the gravel and sand that got delivered yesterday morning? Doesn’t hurt to ask, right? Oh well, I guess it’s time to put on my tough guy pants (my Thor pants?) and get back to work. More details soon…

Leave a Reply