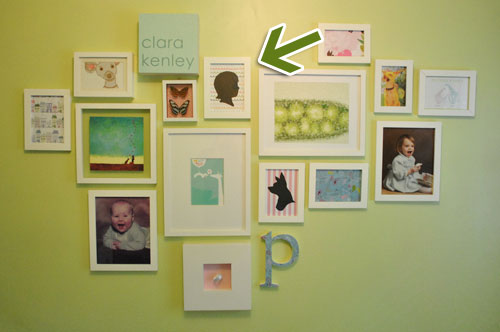
There’s been an impostor in our house. This placeholder silhouette of a little girl has been staring back us from Clara’s frame wall since even before she was born. And it’s finally time for this fake head to go so Clara’s real head can take its rightful place. Well, not her real head. A rendering of her real head. You know what I mean.
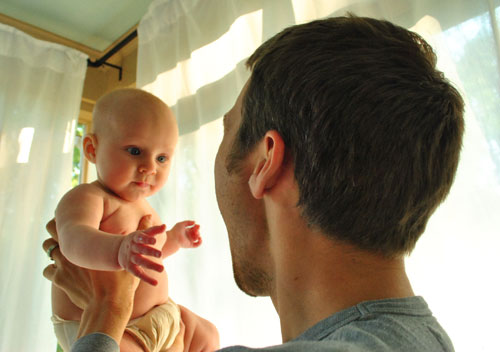
After snapping Clara’s weekly photo on Friday (see how we do that here), we decided to grab a shot of her in profile while we were at it. We’d be adjusting it later in Photoshop so all that was important was getting a clean shot (which meant taking off her onesie since it was bunching up around her neck and shoulders). Photographing her against the curtain in the sunroom helped get the silhouette effect started and making funny faces at her got her looking in the right direction (most of the time) so Sherry could snap away from the side.
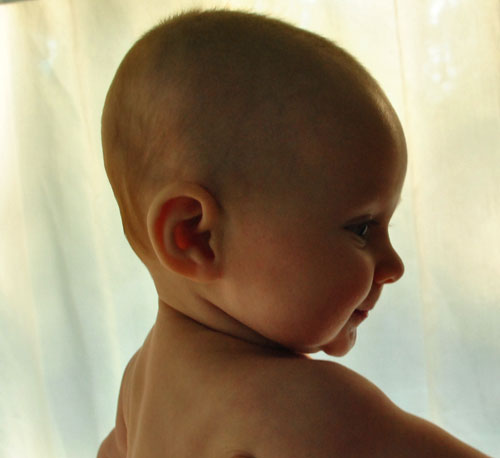
After about 15 shots we ended up with this one that seemed perfect for silhouette-ification (weird back of the neck lump and all):
Now we considered this low-tech approach (which anyone who doesn’t have Photoshop can do in about ten minutes):
- Print your profile photo out to the size that you want your silhouette to be (even if it gets blurry from enlargement it doesn’t matter)
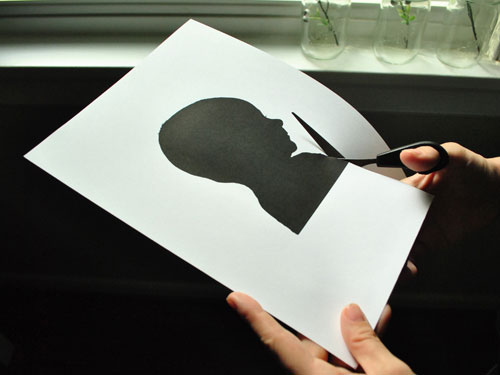
- Cut out the baby head so you’re left with just a profile and no background (yes, it will feel weird to cut off your baby’s head)
- Trace your head cut-out onto black construction paper with a pencil and then cut the shape out one last time.
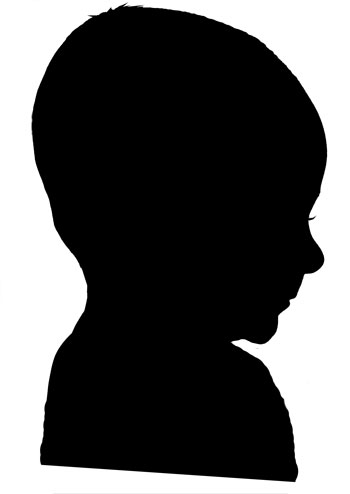
Instead I took the Photoshop approach (partially because we didn’t have any black construction paper around and I’m lazy). I just cropped the pic, desaturated it to black & white, and then played with the “Brightness & Contrast” (under “Image”, “Adjustments”) to get a mostly silhouetted look:
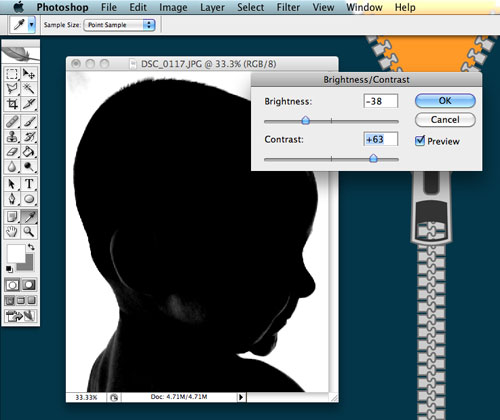
Then I used the paintbrush tool to fill in those lighter areas with black, which left me with a crisp black silhouette on a white background. Oh and I added some eyelashes and wisps of hair like we’ve seen in professional silhouette cut-outs. And I extended the shoulders a bit so we had a little more to work with. We didn’t worry about 100% clean lines on the added shoulder part since we knew the scissor cuts would straighten things out.
Once we had it done and printed to the size that we wanted (around 3.5″ x 5″ for our 5 x 7″ frame) Sherry “Steady Hands” Petersik took to cutting it out with small hair-cutting scissors. Yes, the same pair that she got at CVS and uses to give me a trim every few months.
Then came the official head swap in the frame (where we had previously used a colorful piece of craft paper from Michael’s for 60 cents as the background). Looking at our placeholder silhouette really shows how off-base our expectations were in the hair department. Oh well. She’s got time.

Oh but notice how we cut the bottom of the shoulders for a more “traditional silhouette” look (I added more than enough black on the bottom in that area before we printed for Sherry to create that little freehand shape as she was cutting).
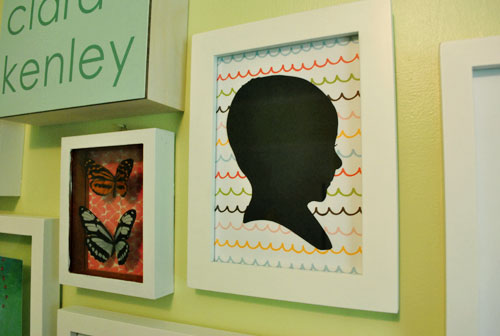
And with that, Clara’s round little head is officially represented on her frame wall. Of course I’d be lying if I said we weren’t looking forward to updating her silhouette periodically as she grows… especially when that hair finally does decide to come in. Have you guys done any silhouette DIY projects? Or cut out photos of someone’s head for any other reason? It feels weird, right?
Psst- Wanna know where we got something in our house or what paint color we used? Just click on this button:


Leave a Reply