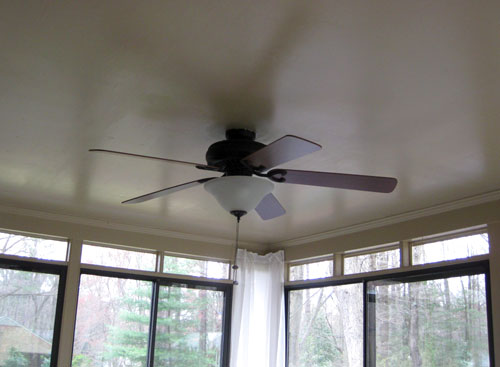
We’re back to share phase two of our big sunroom makeover with you guys. After painting the dark daybed white and bringing in our old guest room dresser and mirror for the first phase (which we affectionately refer to as our work-with-what-you-have phase) it was time to add two things to accentuate what we already had going on in the room. Paint and curtain rods. Let’s delve into the paint category first. See, we had been dying to paint the sunroom ceiling an inviting aqua color for a while, especially since it’s a tradition in the south to have a light blue ceiling on your porch (and we figured we’d enjoy the color even more in the sunroom). Here’s what we started with – a ceiling that was the same tan tone as the walls in the sunroom since the day we moved in:
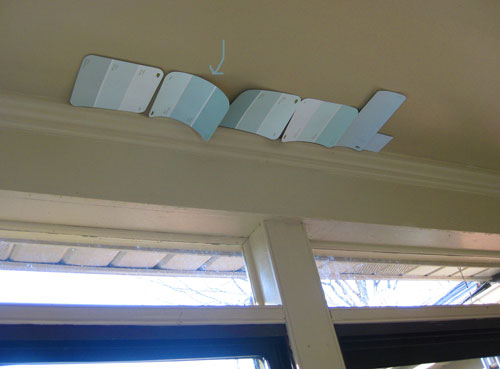
When we’re selecting a paint color, the first step for us is always to tape a few swatches on that plane (in this case the ceiling) so we can look at them in different lighting situations. After staring at them a few mornings, noons, and nights in a row we decided that Tide Pools by Behr was the one we liked best (it was semi bright but not too heavy and there’s no way it would be mistaken for white no matter what the light was like in there). So we grabbed a gallon of it in exterior satin semi-gloss paint (since the sunroom is an indoor/outdoor room that isn’t heated or cooled and we wanted a glossy pool-like effect).
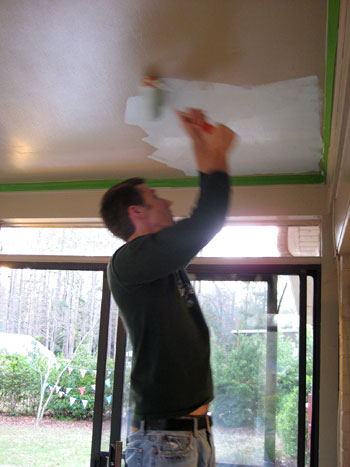
I was actually on baby duty so John did this whole project on his own. All it took was some Frog Tape around the perimeter of the room to keep the wall color from bleeding onto the molding along with a small stepstool, a paint brush (for the edges), and a roller. Note: using a rod extender can ease the strain on your back but John must have been feeling unstoppable so he opted to rely on his long limbs instead.
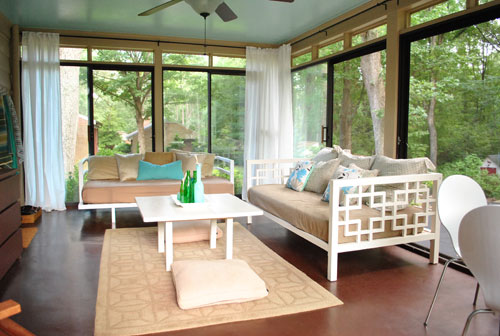
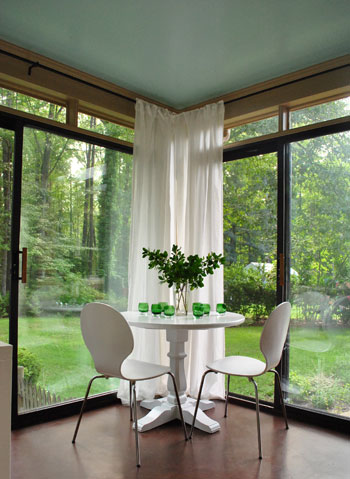
Here’s the room after two coats of luscious semi-gloss paint (again, we used Tide Pools by Behr). We love the sheen and the pop of color. And the room looks sooooo much bigger and airier since it literally feels like we removed the ceiling and are now looking up at the big blue sky.
Oh and our tip for a nice crisp perimeter would be to remove your painters tape as soon as you finish your last coat of paint (if you used any- I prefer to edge with a brush but since John went it alone he didn’t trust his hands so he taped things off). Removing the tape right away ensures that nothing dries and pulls when you remove the tape, therefore resulting in a cleaner edge. And don’t forget to firmly press your tape down as you apply it since paint can easily bleed and seep if you don’t have a nice tight seal.
But now it’s on to the curtain update that we tackled. This is one of those why-the-heck-did-we-wait-so-long things. Look how crisp and polished they look:
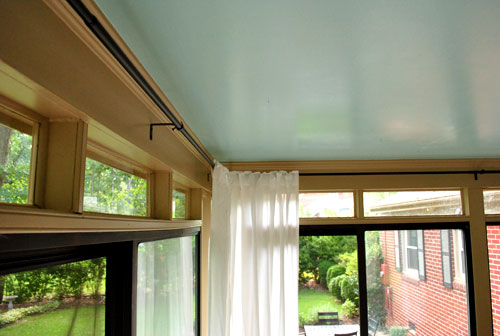
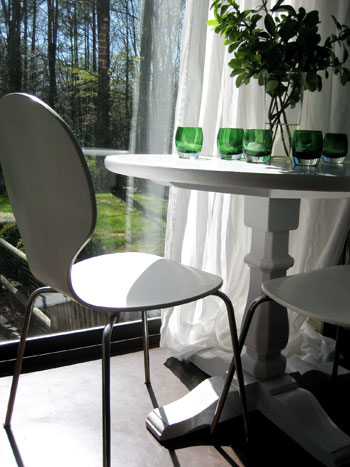
A while back (waaaay back) we mentioned that John had McGuyvered the curtains (Vivan by Ikea by the way) into each corner with some twine and a few nails (scroll up to the first picture in this post to see how they appeared to float in place). But we knew hanging dark streamlined rods around the room would not only add some handsome hardware and tie into the deep color of the door frames, but they would also bring in a ton of function (for example, we can now pull the curtains along the rods, which comes in handy for diffusing light when we’re doing things like shooting Clara’s weekly photo).
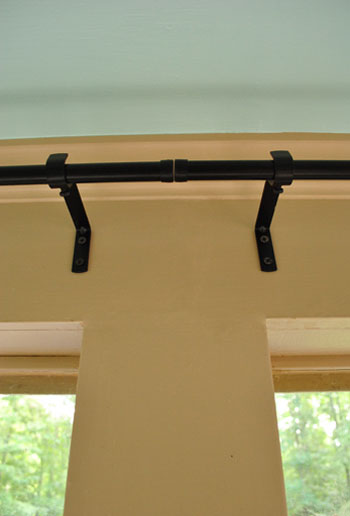
All it took were some simple curtain rods from Ikea (these, but we didn’t put the finials on, so they have a much cleaner look). Of course they weren’t long enough for the 20′ length of the room, so we just mounted two of them right next to each other so they’d meet in the middle of the wall to create the look of one continuous rod.
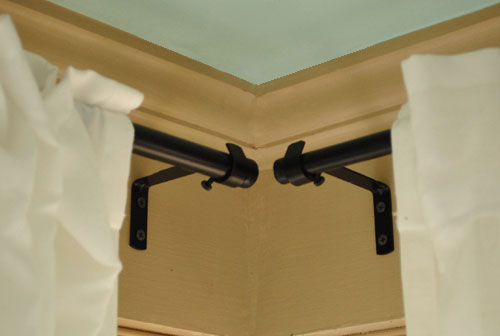
And as for how we made the corners feel uninterrupted, we simply mounted two rods so that they could be extended a bit past the bracket to touch each other and mimic the shape of the corner.
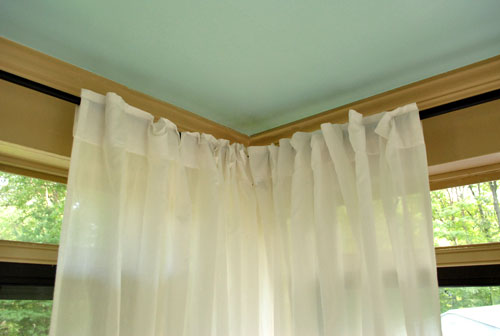
Once we extended them so they touched and pulled the curtain panels along with them, it created a totally seamless corner curtain panel (here you see two curtain panels hanging, one on each rod):
Oh and one last thing on the agenda was to hem those Vivan panels from Ikea, since they were all waaaay too long and sloppy looking on the bottom. See? Messy.
We prefer not to use Ikea’s hem tape (the curtains come with some that’s webbed) so instead we spend a few bucks at Michael’s for the iron on hem tape that we love – which is called Heavy Duty Heat N’ Bond. It’s important first to wash all of your curtains and dry them so you know how much they’ll shrink up (quite a bit usually- be sure to follow the washing and drying instructions). Then hang them on the rod and note what length you’d like to hem them. We like when ours aren’t hugely pooled but they’re not hemmed right above the floor either (so they graze the ground for a nice breezy and casual effect).
So there you have phase two of our three phase sunroom mini-makeover. The greatest thing about our transformation is that so far we’ve only spent around $20 on ceiling paint and $40 on four extra long curtain rods from Ikea since everything else was stuff that we already had lying around.
Of course we still have phase three up ahead, which is definitely going to be the most major change in the room so stay tuned. We can’t wait to spill those beans…
And speaking of phases, are there any mulit-phase projects that you’ve taken on or that you have on your to-do list? Sometimes breaking things down into nice bite-sized portions is a lot easier and less stressful. Do tell!
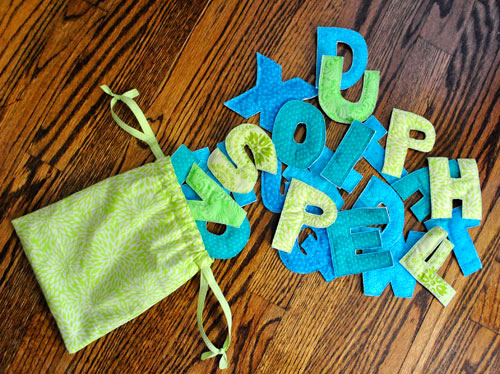
Psst- Don’t forget to check out our post over on BabyCenter today. We finally figured out the alphabet magnet situation for the magnetic wall that we created for Clara in the office/guest bedroom/playroom. Check it out here!

Leave a Reply