When Christy sent her amazing curb appeal makeover our way we couldn’t wait to share the eye candy. Here’s her letter:
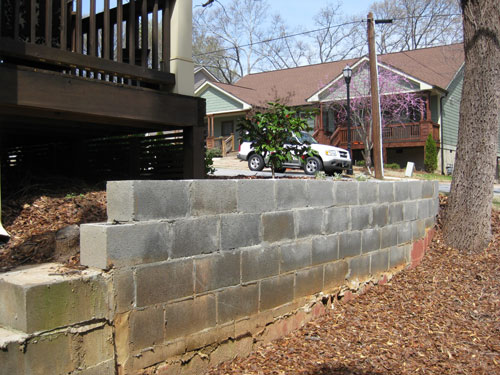
First, love the bathroom stripes! I was amping up to stripe my laundry nook and I am even more excited about it now! But the reason I’m writing is to share our new and improved retaining wall in our front yard. When Erik and I moved into our townhouse our property line on the unattached side was marked with a DISGUSTING retaining wall. It was raw cinder block, 2 rows too short and just plain u-g-l-y. Of course our builder said he would complete it with stucco to match the foundation but I, thank goodness, didn’t hold my breath because as he ran from finishing our development, our retaining wall hopes ran with him. Needless to say, we had to pick up his pieces and finish it on our own. So our plan was this: 1. Add more rows of block to raise the wall. 2. Finish the exterior of the wall with paint. 3. Add a decorative planter box to cover the top of the stone. 4. Do it all affordably!!! We just finished it the other day and we couldn’t be happier. Here’s our price breakdown: cinder blocks: free (found them), mortar mix: $5, paint: $15 (Walmart baby), wood: $30, potting mix: $16, five begonias: $25… GRAND TOTAL: $91! We hope you guys like it! – Christy (& Erik)
Here’s the icky before:
And the lush and lovely after:
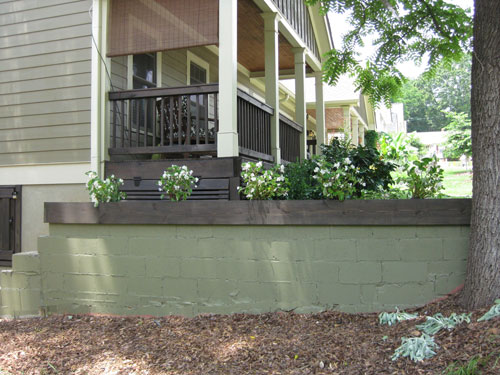
Isn’t this a great example of using your wits and not your wallet to transform something less than appealing into a functional feature that actually contributes to curb appeal? We love the planter box they built right on the top of the retailing wall. And of course prepping and painting those cinderbloks definitely took them from raw and wrong to oh so right (on a major budget). Thanks so much for sending the delicious before and after photos our way Erik and Christy (check out their blog here)! The neighbors must be green with envy.

Leave a Reply