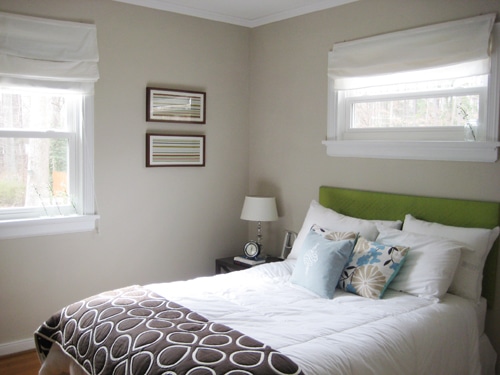
After a bunch of people wrote to us asking how we upholstered the green headboard in our guest bedroom…
… we thought we’d invite you to join us for a quick tutorial. And since John’s sister Emily was itching to make a pink headboard for her daughter Olivia’s bedroom, we got to show her how simple the process can be as well. And don’t be nervous, it’s truly a super easy undertaking. If you can wrap a present, you can upholster a headboard. Honest.
First, visit an art store and purchase a wooden frame that’s meant to stretch canvas. A craft store won’t carry these, but any true art store will. As for the size, you should aim for the exact width of the bed but the height is up to you (you can use painter’s tape on the wall to experiment until you find a height that you like). You’ll also need enough fabric to cover the canvas frame with a few inches to spare, the same amount of batting (the thickness is up to you- the plusher the batting, the plusher the headboard). Then all you need is a regular old scissors and a staple gun (you can purchase a manual one for about $12 at Lowe’s) and you’re ready to roll. *Note: You can substitute a piece of plywood for the canvas frame if you’re looking to create a headboard that’s extremely durable (ie: for people who lean against it all the time to read or for a boisterous child’s room) – it will be stiffer, heavier and a bit trickier to hang, but virtually indestructible.
Step 1: Cut your batting a few inches larger than the frame, wrap it around the back of the frame and staple it in place. I like stapling things at twelve o’clock, three o’clock, six o’clock and nine o’clock first to keep things tight and straight (sometimes starting at one end and working your way around can cause it to slowly shift or loosen, and you want a straight, tight fit). Continue to staple the batting around the frame every two to three inches until you’ve worked your way around the frame and the batting is snug and secure.

Step 2: Cut the fabric a few inches larger than the frame and follow the same stapling steps outlined above. Be sure that your fabric is straight if it has any sort of pattern (line it up carefully and be sure to check for any shifting as you go). When it comes to the corners, just treat them as if you’re wrapping a present and fold them over so that they have a seamless look from the front. (Note: staples can be easily removed, so if you need a do-over or two it’s no biggie).

Step 3: Hanging this type of headboard is easy-peasy since it’s super light (thanks to the canvas frame construction) so it’s just like hanging a picture frame. All it calls for are two nails placed on the wall for the frame to hook over. Using a level can insure that your headboard hangs straight- and look how cute this step can be. Adorable.

Step 4: Enjoy your swank new headboard. Olivia loves her plush pink palace and the polka dot headboard is the perfect punch of personality (say that three times fast).

So there you have it, headboard upholstery 101. And here’s a bonus fabric tip for ya: visit the fancy fabric store in your neighborhood. Every town has one (it’s where the interior designers go) and in Richmond it’s called Williams & Sherrill. This may seem like a surprising suggestion from bargain hunters like us, but you can often find fabulous deals in the remnant section of the store. There’s usually a table full of remnants (leftover pieces of fabric that have been marked down dramatically)- and most are still one to two yards, which is more than enough fabric for this project.

In this instance, Emily and I snatched up two yards of this thick woven swiss dot fabric (originally $24/yard) for around $19 total. Score.
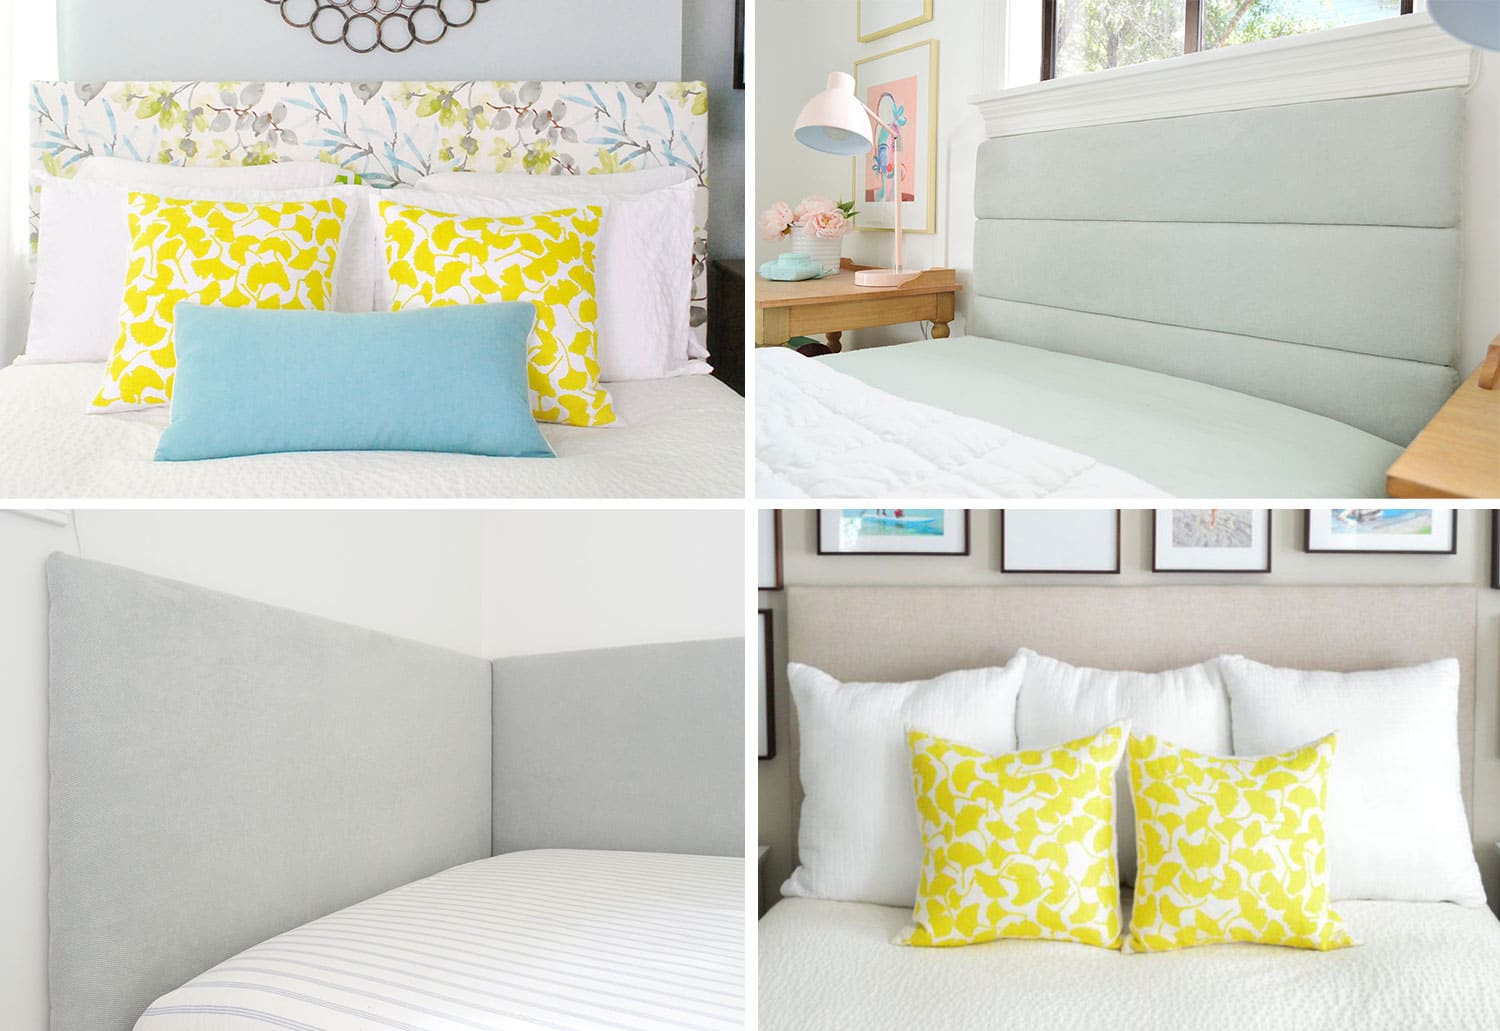
More DIY Headboard Tutorials
Want more DIY headboard ideas? Check out these other projects we’ve made using the same basic techniques:

Leave a Reply